Capabilities overview
Zendesk provides software-as-a-service products related to customer support, sales, and other customer communications.
| Supported capability | Required plan | Details |
|---|---|---|
| Passwordless SSO | Any plan | Low SSO tax |
| Automated provisioning | Any plan | API (create, remove, update accounts) |
| Password manager | Any | Auto-fill / Auto-capture |
Prerequisites
In order to integrate idemeum with Zendesk you will first need to obtain SAML metadata parameters for your idemeum tenant. Specifically you will need:
- Identity Provider SSO URL
- SHA256 formatted fingerprint of Public X509 certificate
Instructions for how to obtain these SAML metadata parameters are below.
 idemeum team
The example of SSL certificate SHA256 fingerprint is D2:F0:FA:B8:D0:56:7A:31:28:42:40:88:E1:BB:
88:4B:C5:2A:8F:A7:88:68:1F:EA:A9:29:00:C5:C7:66:2B:54
Passwordless Single Sign-On (SAML)
Configure SSO in Zendesk
- Access your Zendesk admin portal
- Navigate to Account - > Single Sign On
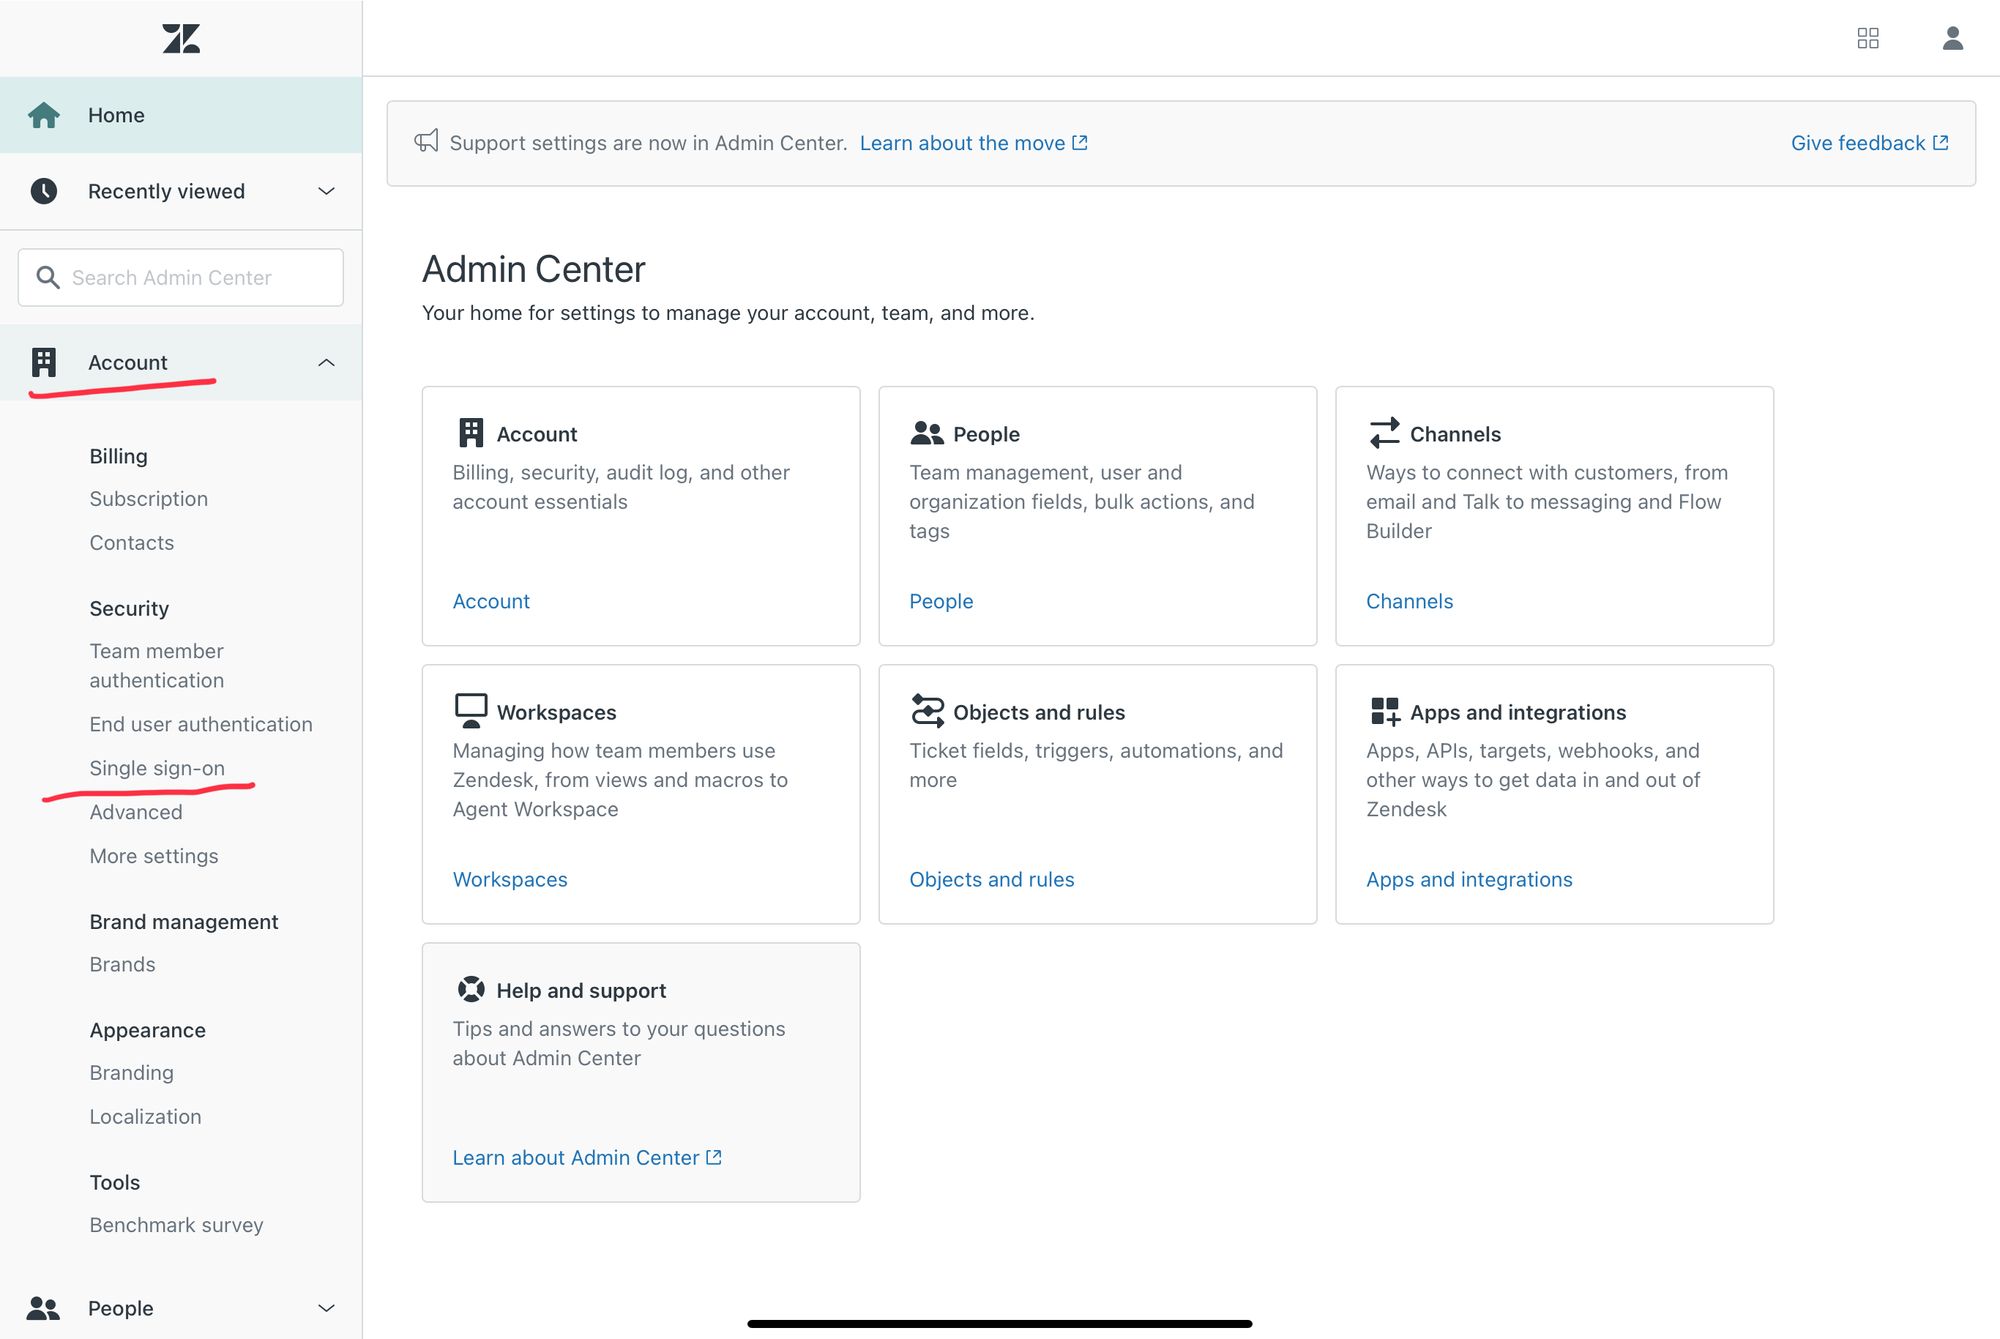
- Choose SAML section and click Configure
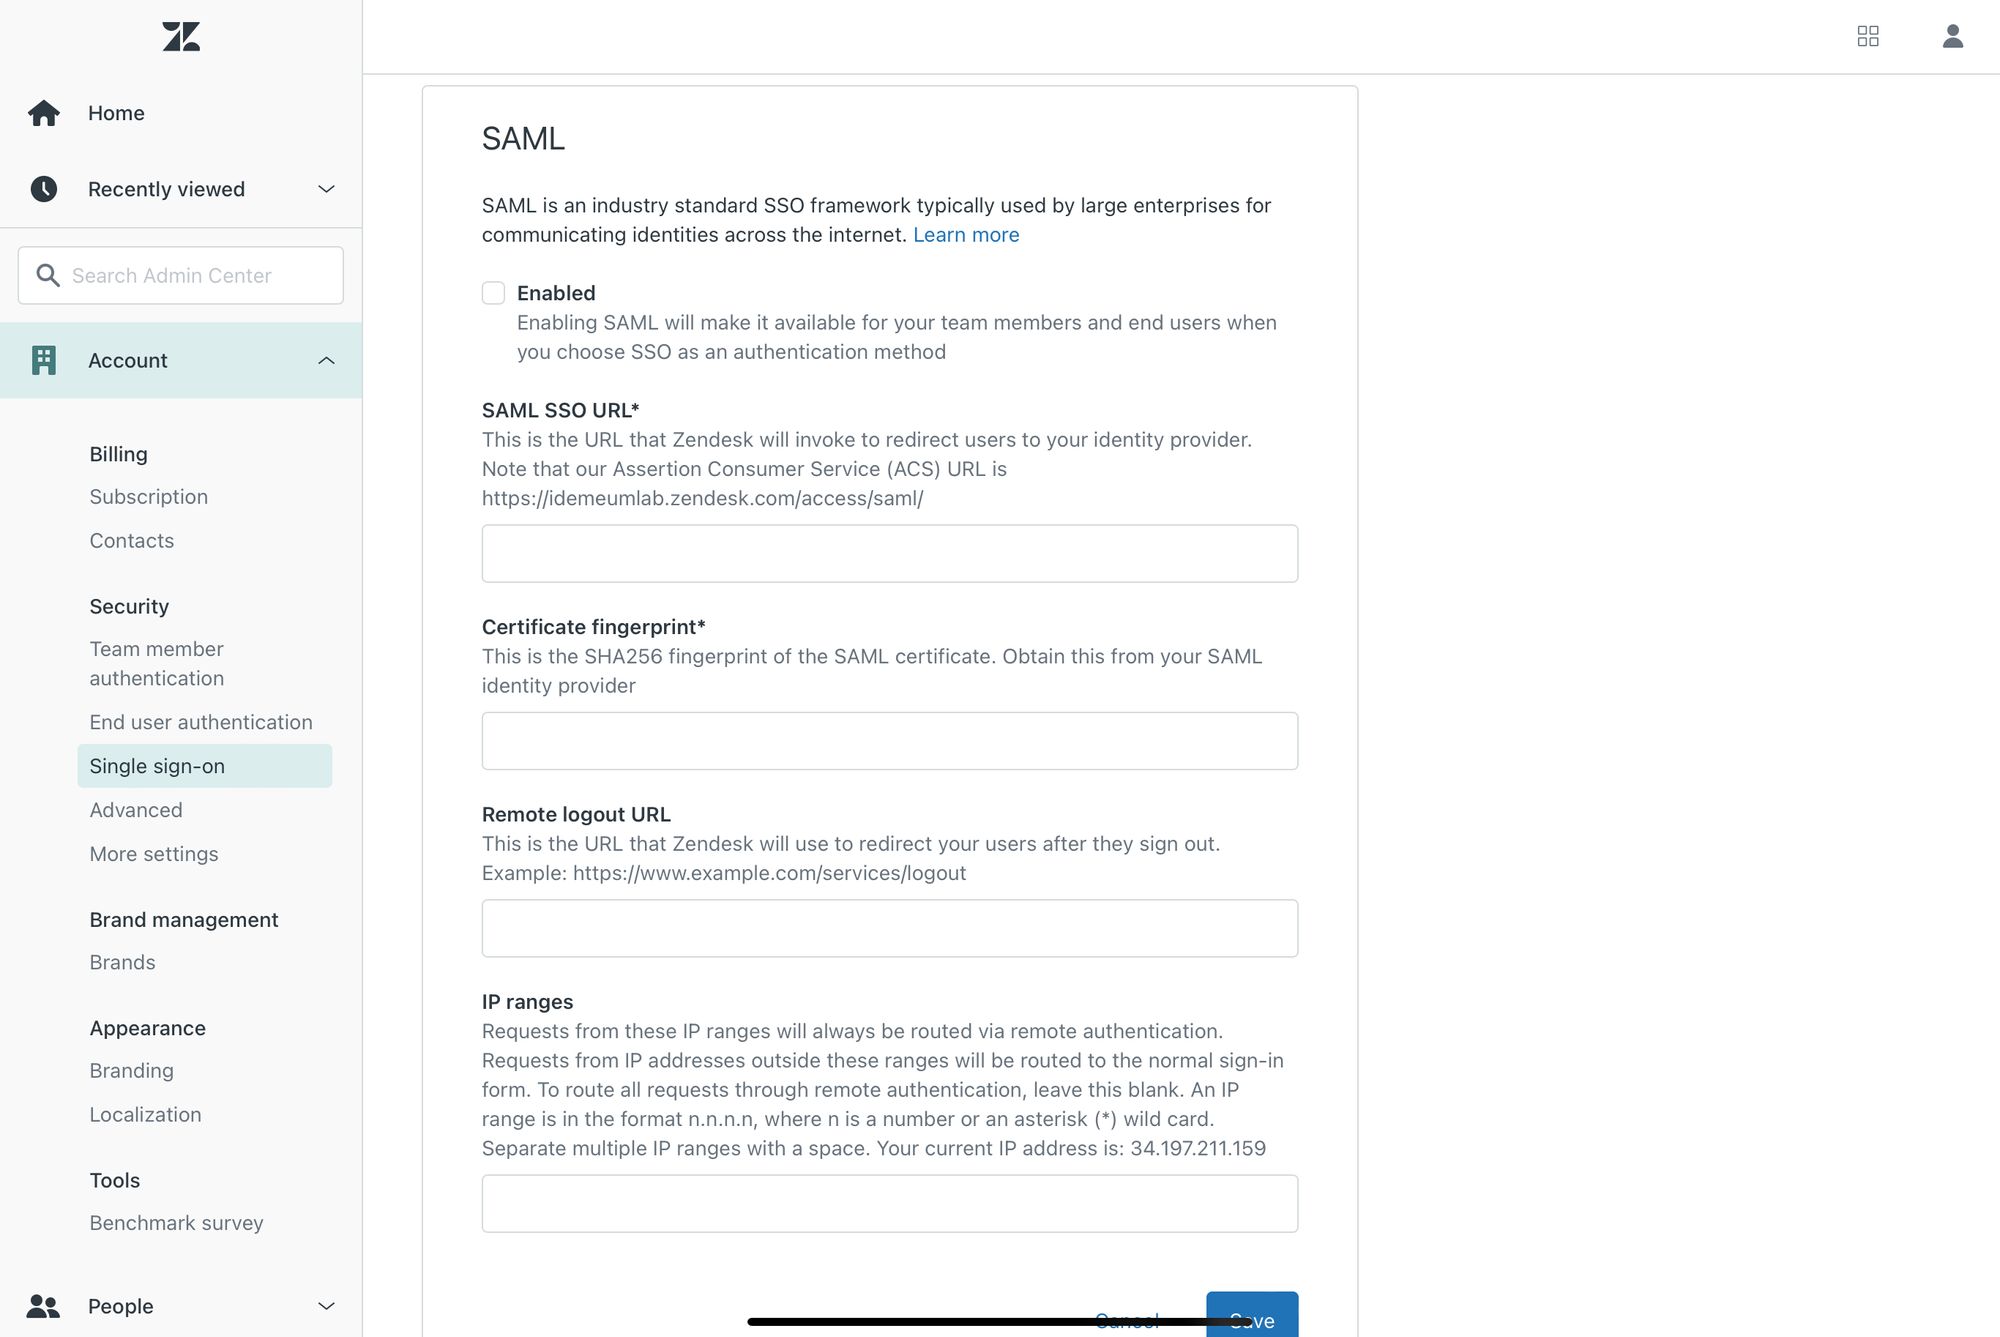
Now you will be using idemeum SAML metadata values obtained in the prerequisites section
- Enable SAML SSO by checking the box
- Paste Identity Provider SSO URL into SAML SSO URL
- Paste formatted SHA256 fingerprint into Certificate fingerprint
- Optionally you can specify Remote logout URL and you can use your company home page
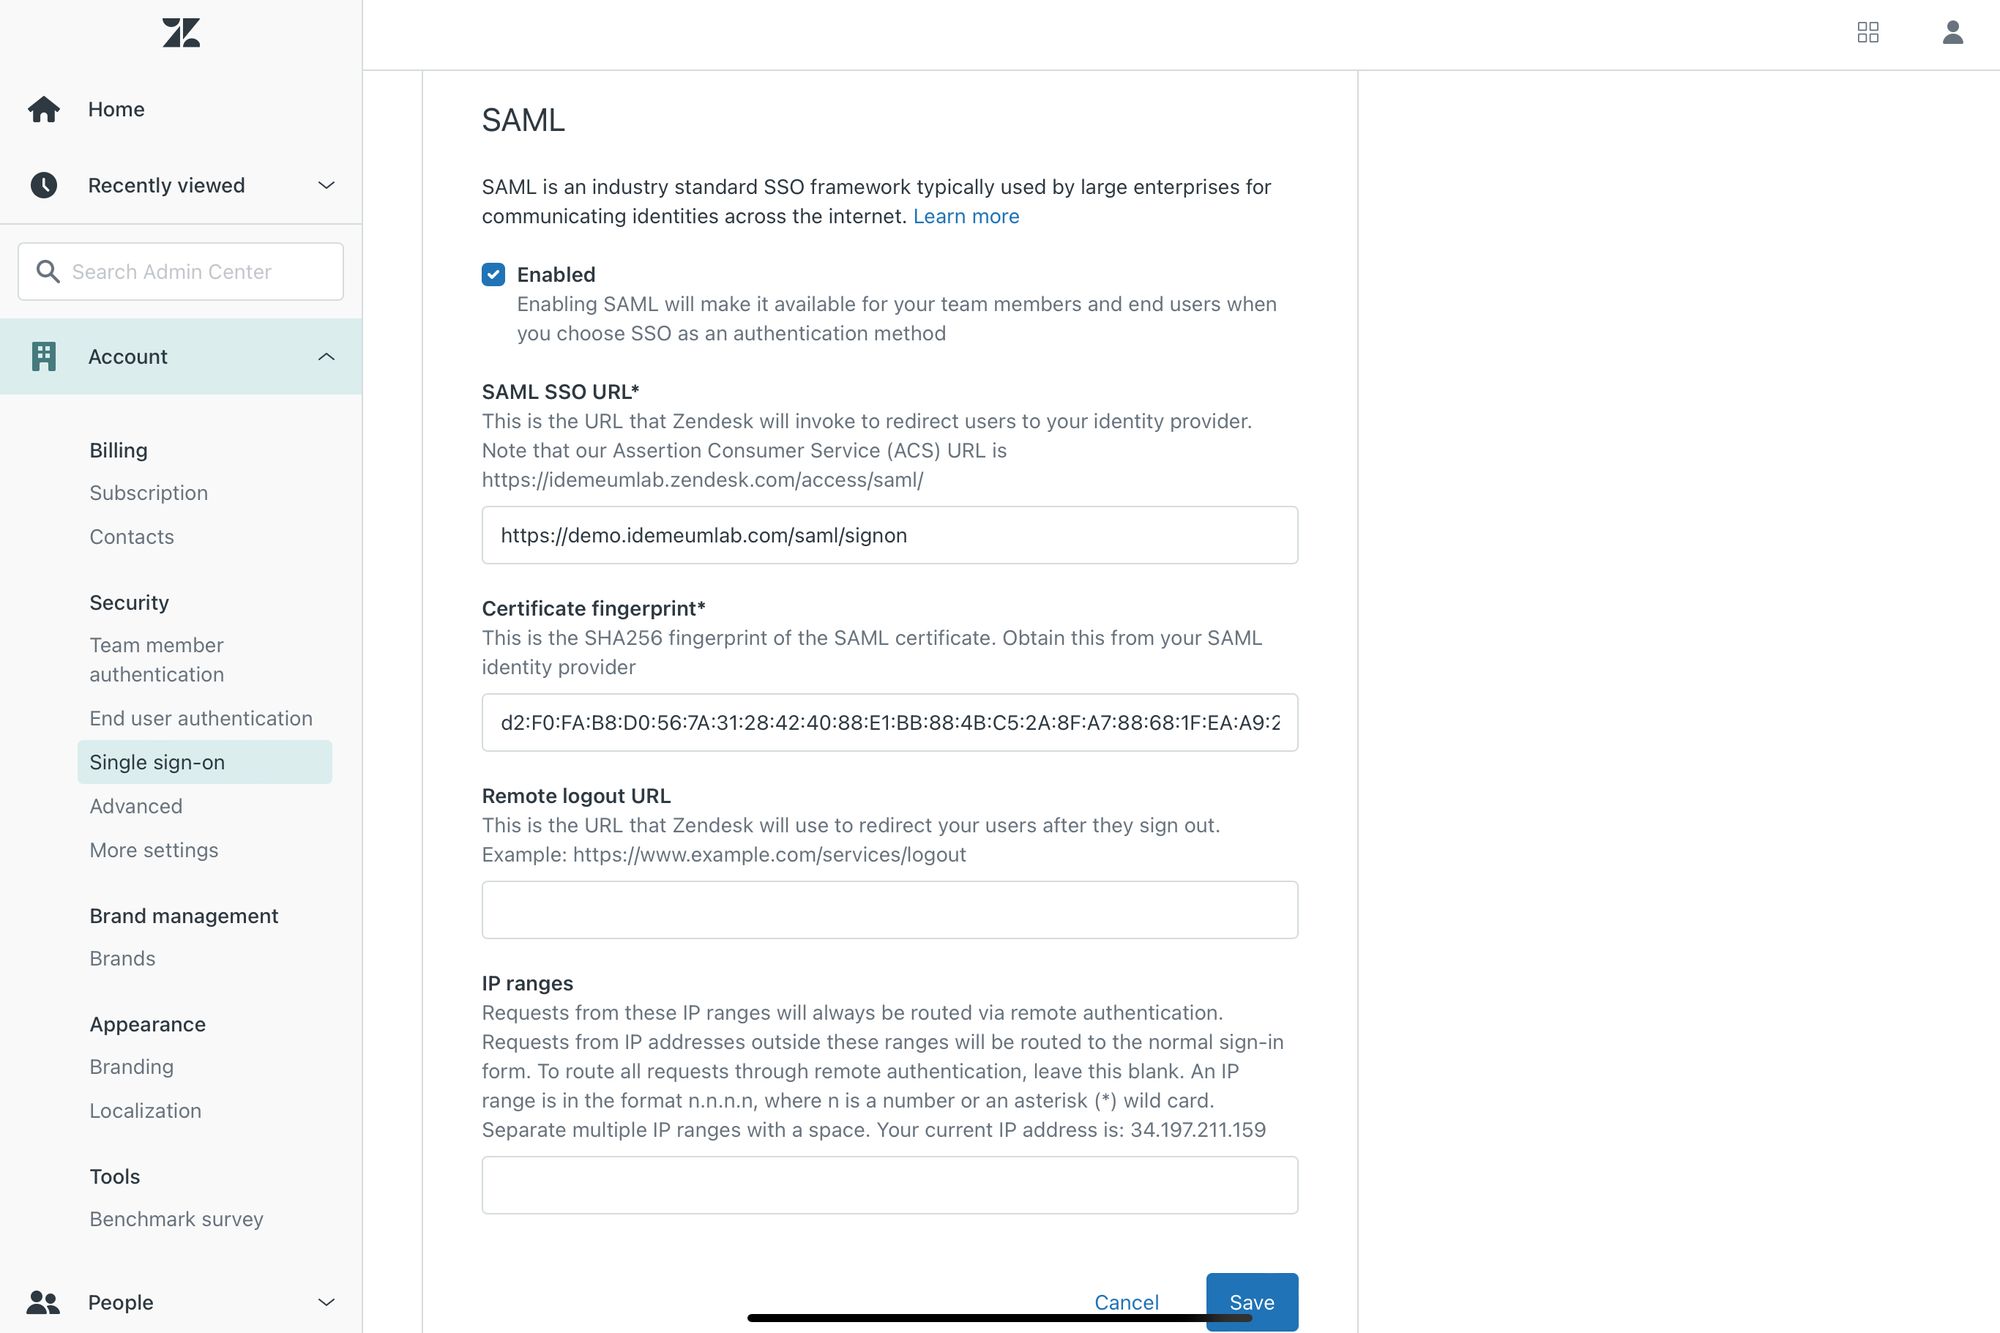
- Click Save
- Now you need to enable SSO for your team members. Navigate to Account -> Security -> Team member authentication
- Enable External authentication and choose Single Sign On
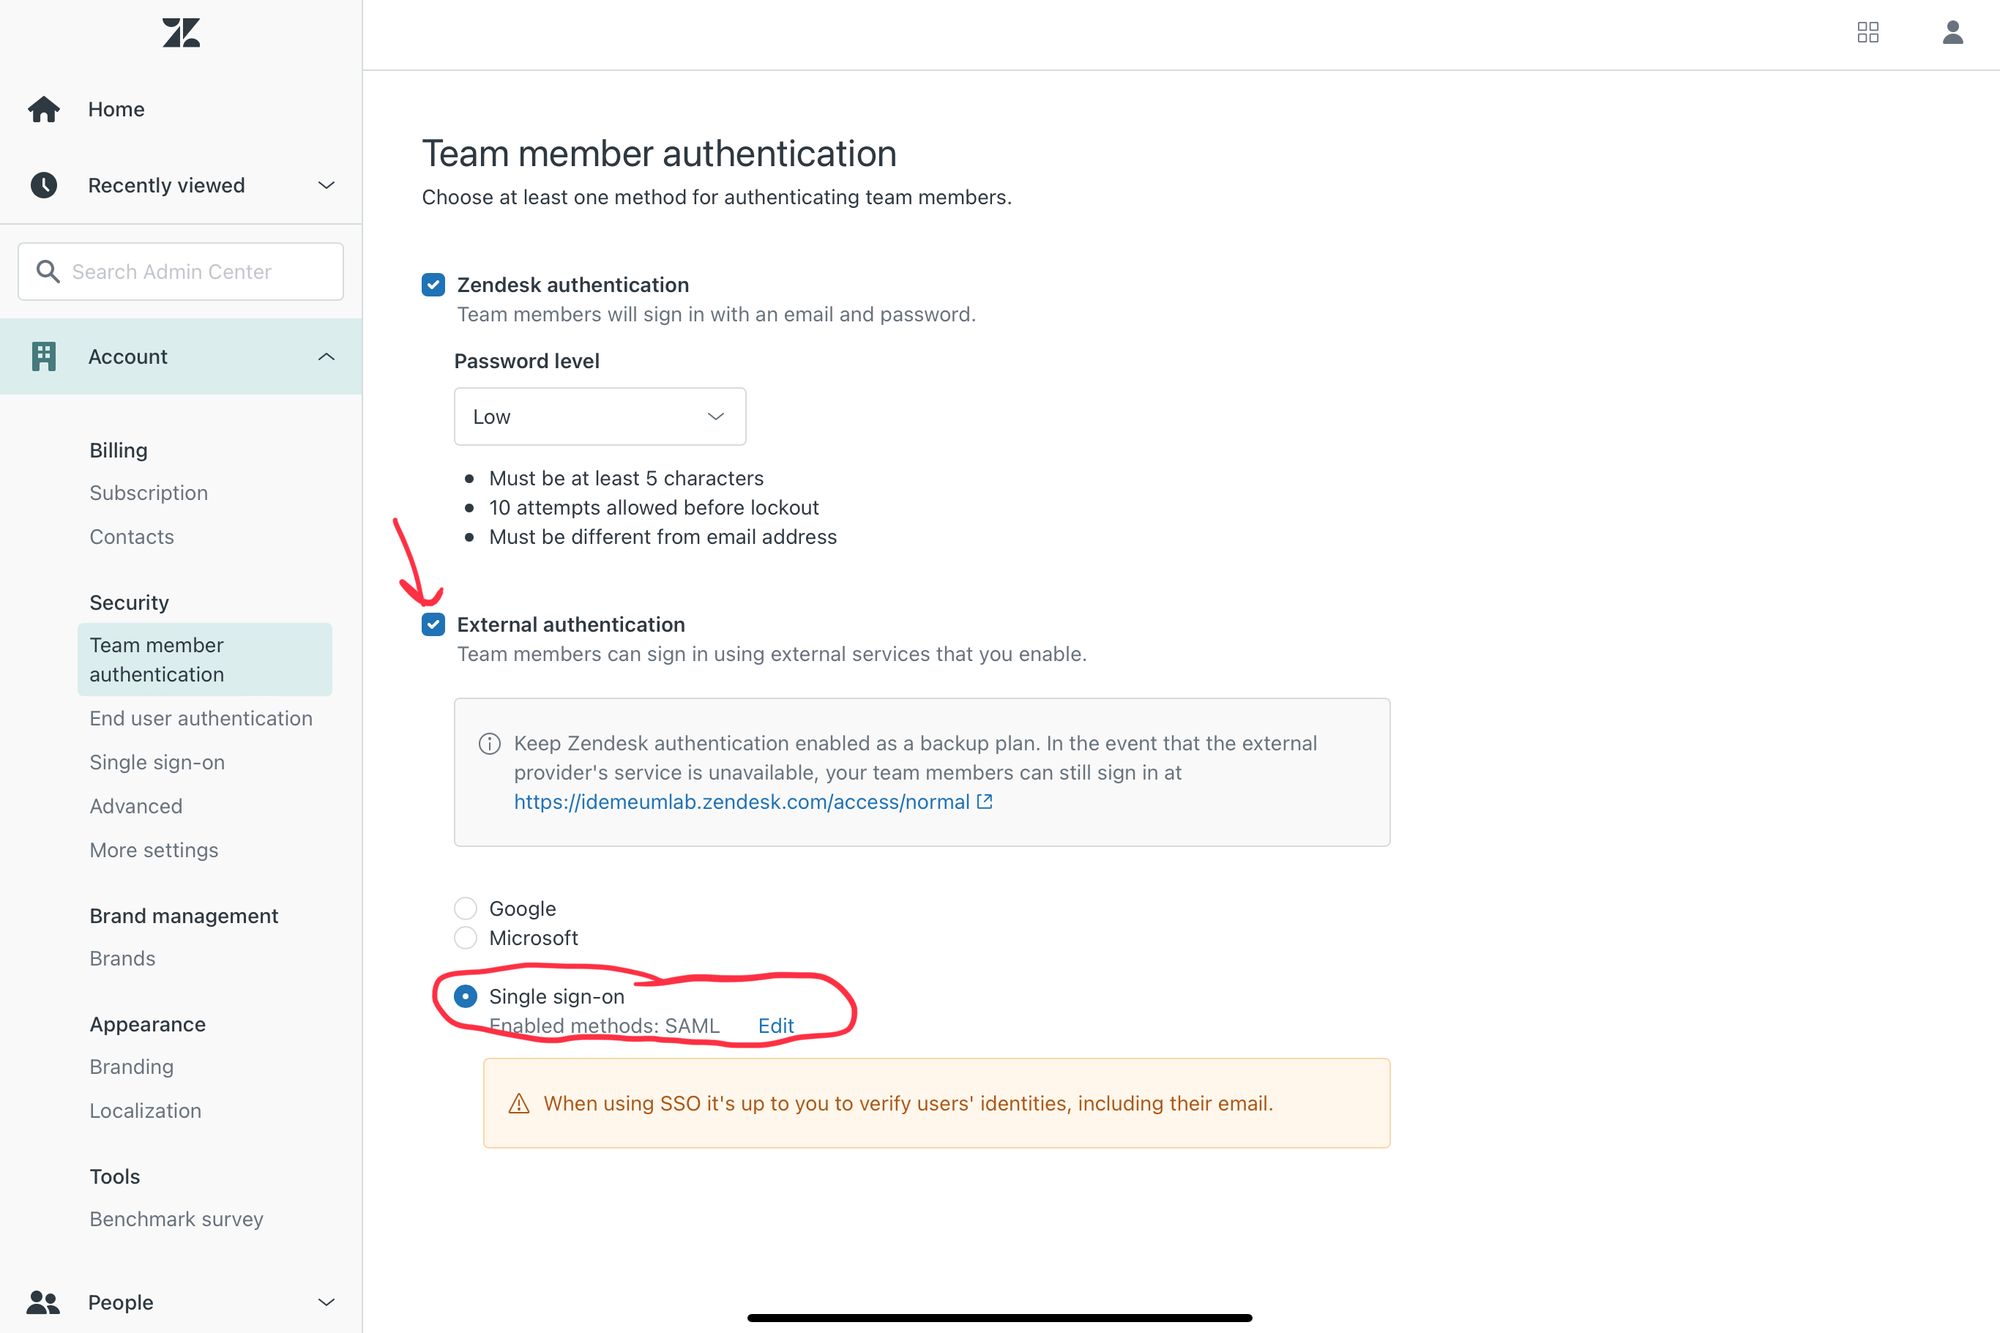
- Click Save
Configure SSO in idemeum
- Navigate to
https://[your domain].idemeum.com/adminportal - Click Applications in the left menu
- Search for Zendesk application and click Add App
- Click SAML at the top navigation menu
- All you need to do is to enter your Zendesk subdomain
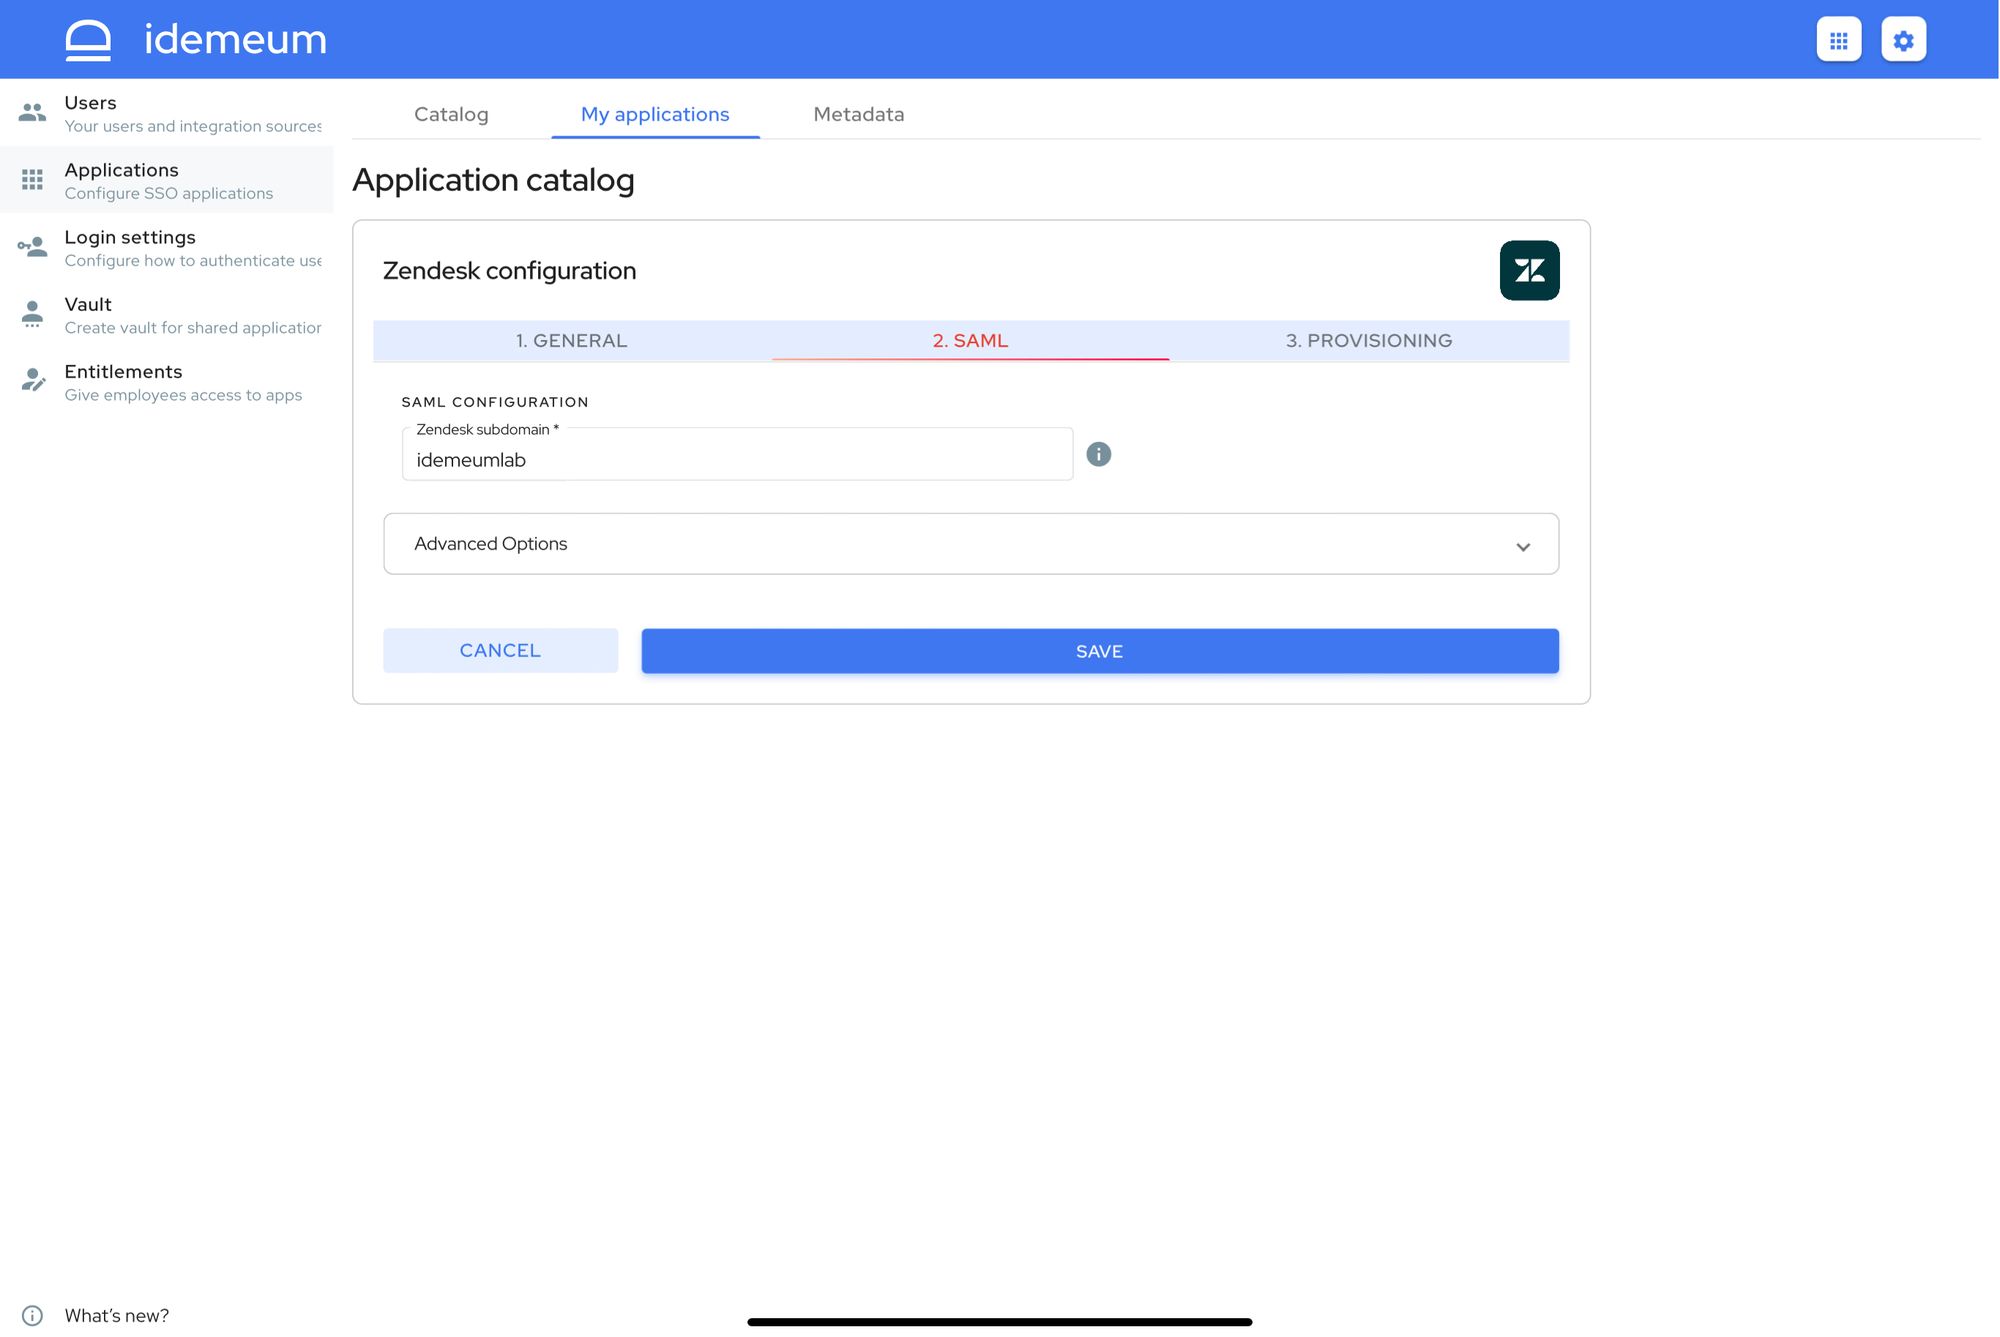
- Click Save
Automated provisioning
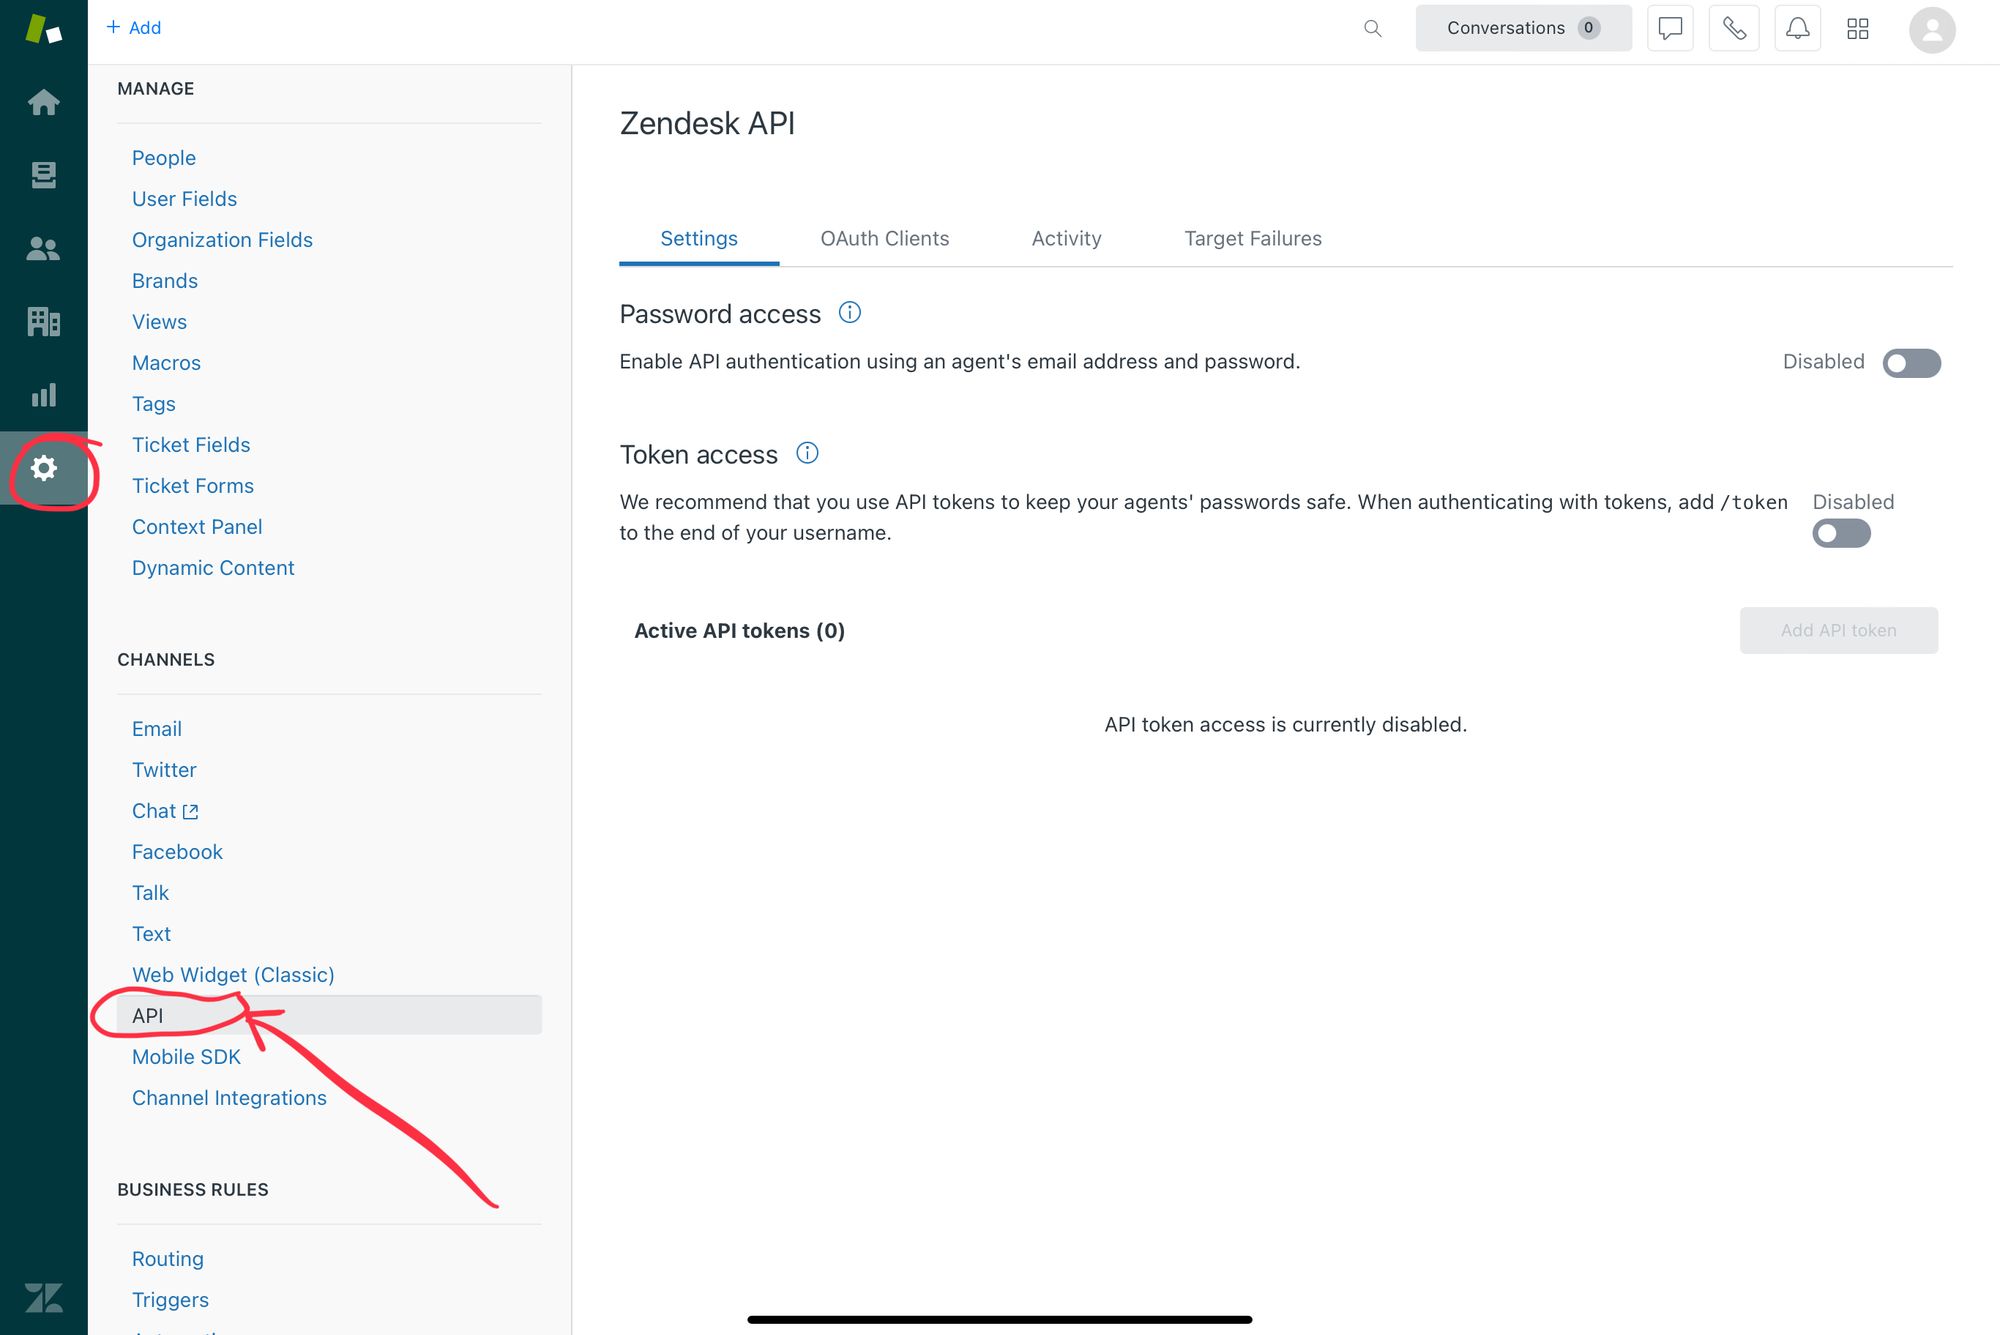
- Navigate to idemeum admin portal, find Zendesk application and access Provisioning section
- Enter your Zendesk subdomain. You can obtain it from Zendesk URL ->
https://your_domain.zendesk.com - Click Authorize
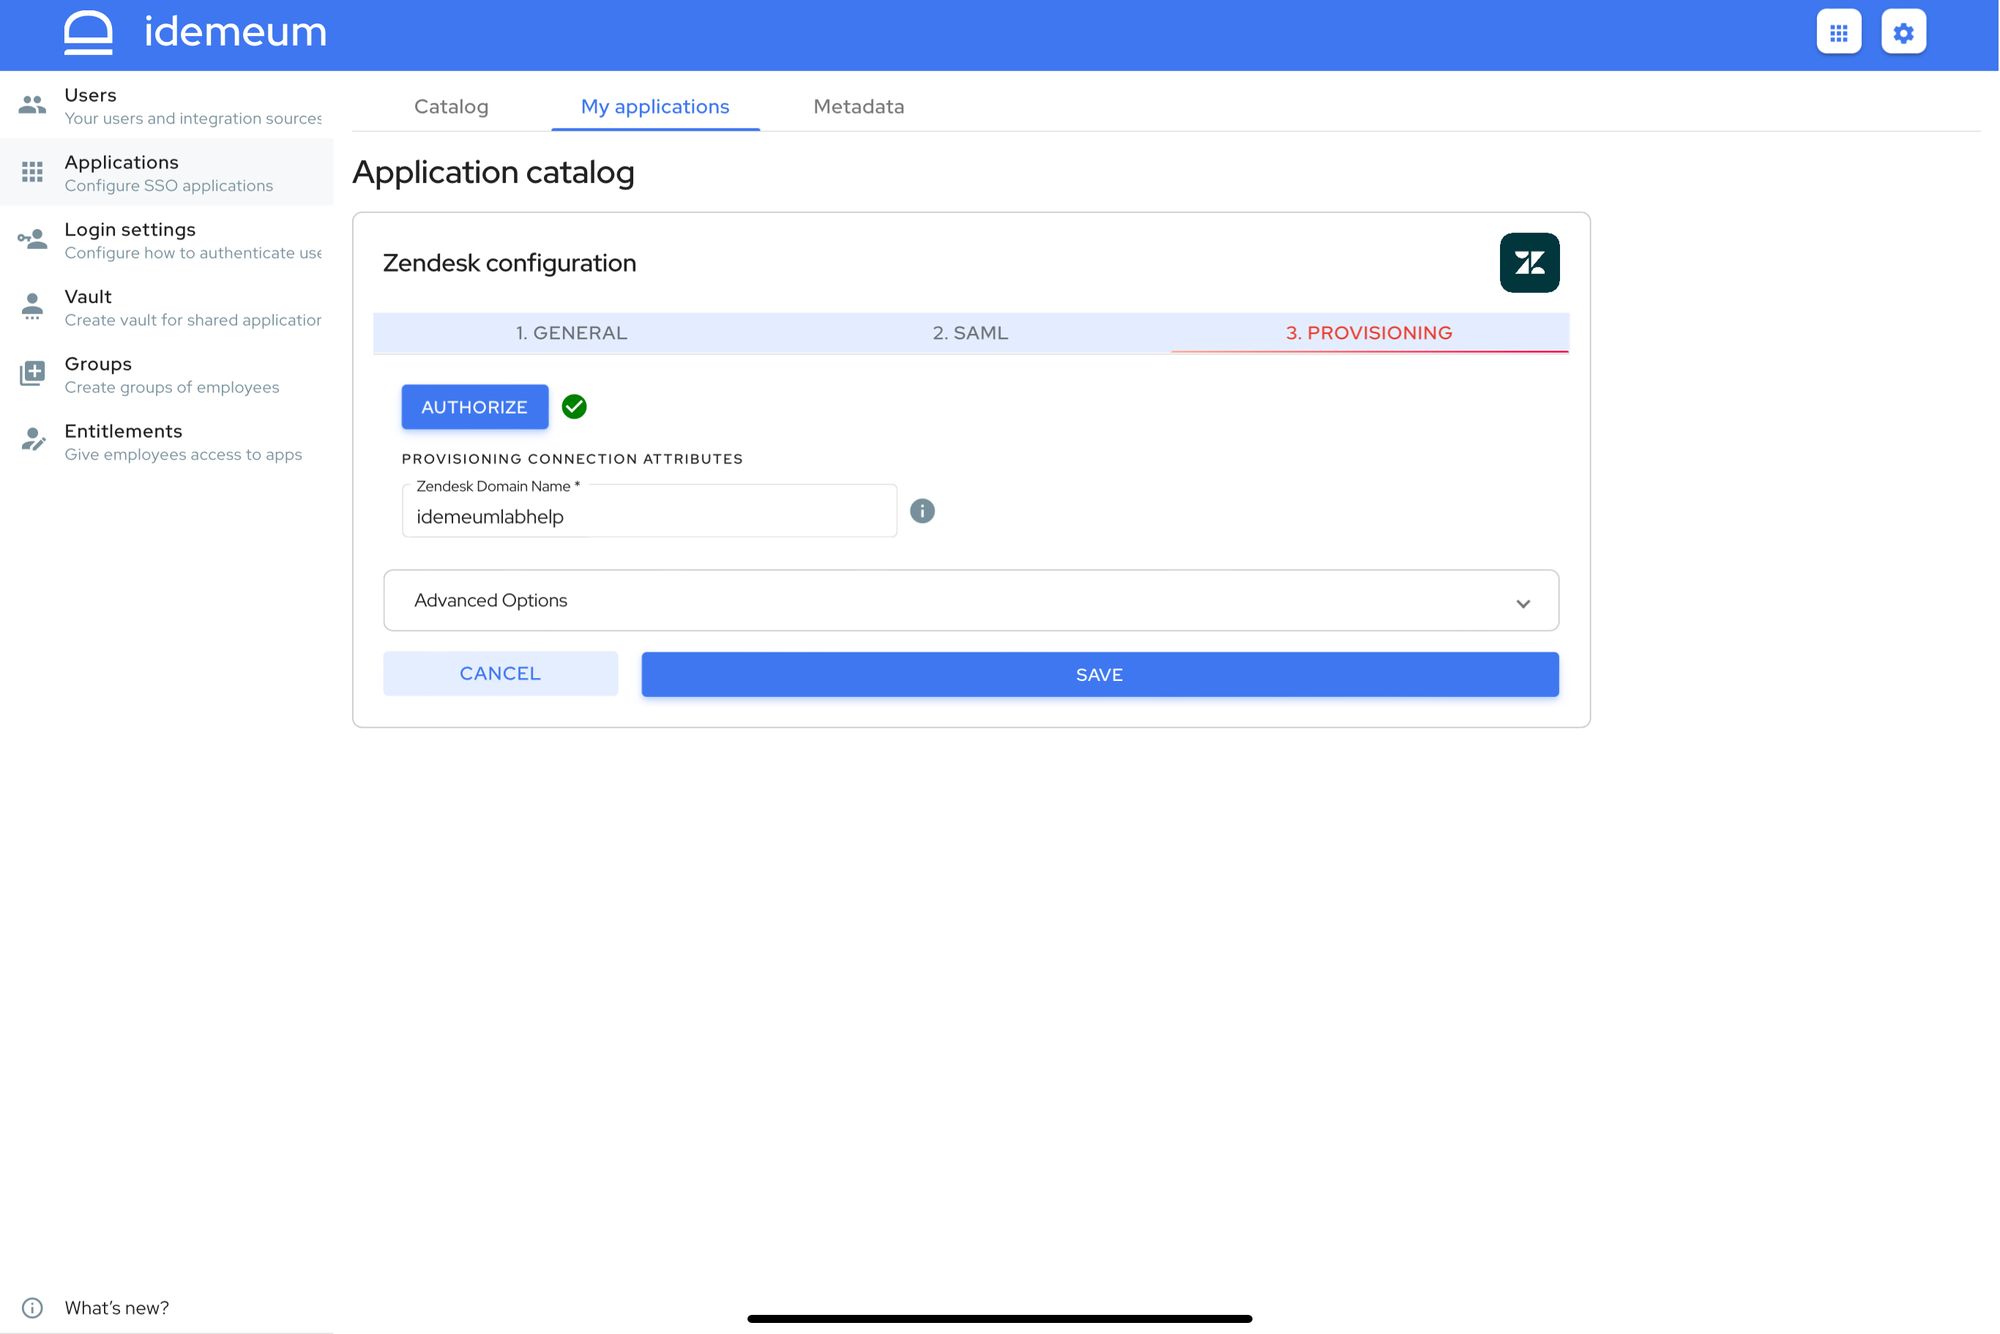
- Enter your credetnails to give idemeum access to Zendesk APIs
- Click Save
Application entitlements
Before users can access applications you need to make sure you entitle applications to them. In idemeum admin portal navigate to Entitlements section to assign applications to your employees.
SAML SSO login flows
Zendesk supports both:
- IDP Initiated Flow
- SP Initiated Flow
IDP Initiated flow
With this flow users first navigate to idemeum user catalog and then click on Zendesk dashboard icon to launch application.
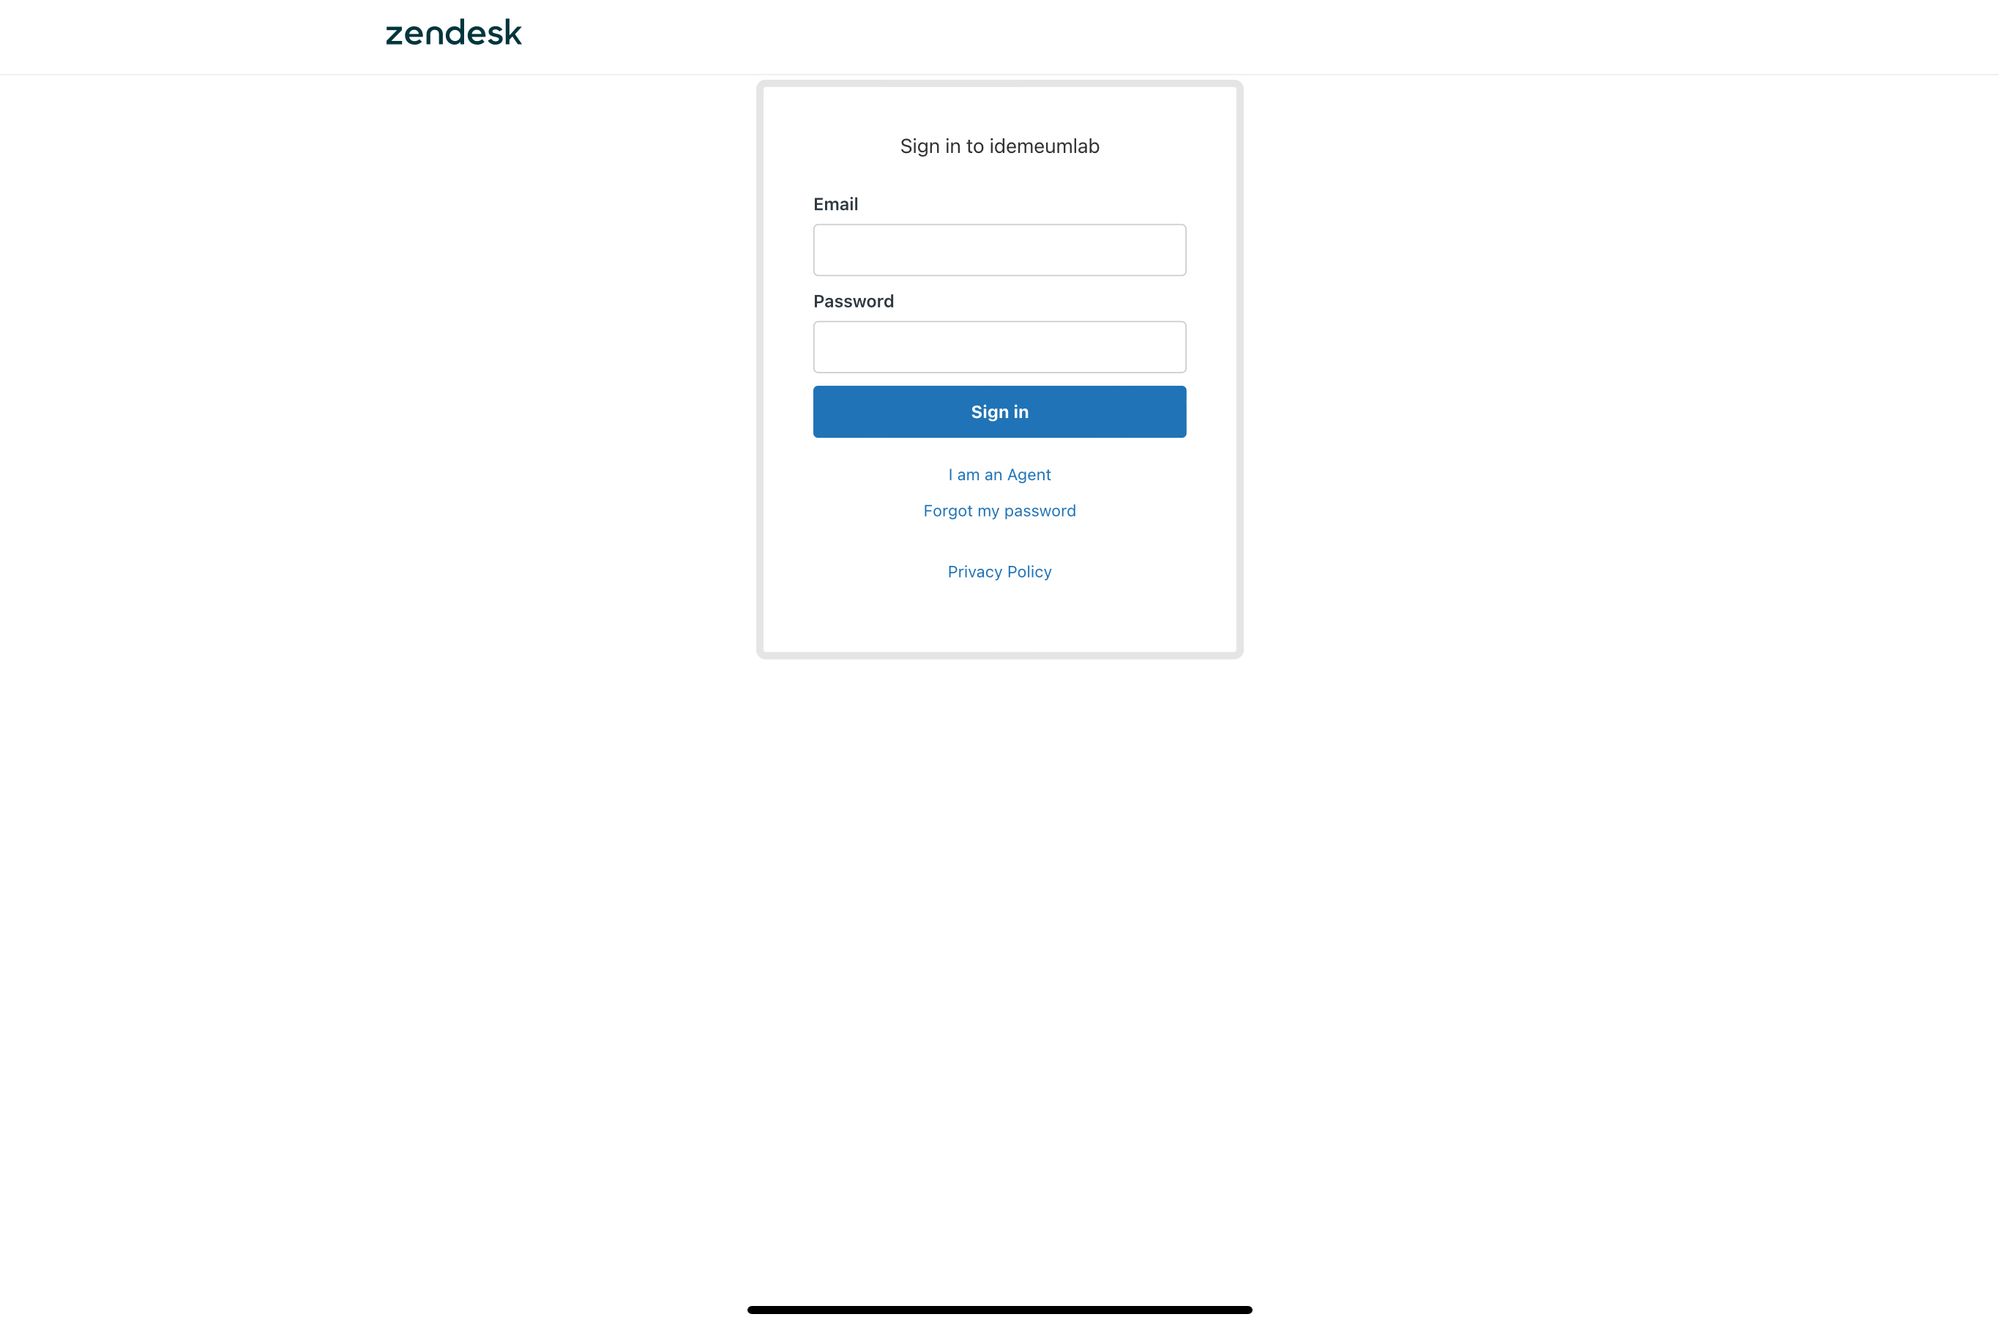
SP Initiated flow
- Access your Zendesk portal at
https://[your_domain].zendesk.com - Click I am agent and you will be redirected to login with SSO