
Prerequisites
- Navigate to idemeum admin portal
- Access
Devices->Installation - Copy PowerShell command
You will use the values in PowerShell command (master key, client ID, etc to create the configuration file in the next section).
Base version install
Please follow the following steps to deploy idemeum desktop client to new Windows workstations.
Download latest .exe client
- Navigate to idemeum documentation portal and download the latest idemeum desktop client for Windows
Create content package
The content package that you will be pushing to workstations consists of 3 files:
- idemeum desktop client, .exe file that you downloaded in the previous section
- Configuration file that will include all idemeum configuration parameters
- PowerShell installer script that will perform the deployment and installation on each workstation
Here is the configuration file template below. Please fill the information for your idemeum tenant from the PowerShell command that you obtained in the previous section.
For example, here is how configuration file looks for our testing idemeum tenant.
TENANTURL="https://test.idemeum.com"
CORP_EMAIL="admin@idemeum.com"
CLIENT_ID="DESKTOP_INSTALLER-desktop_installer_947-tn_CDlF3"
CLIENT_SECRET="vL3GUGlp3xoN!JBB8CMTxsf^4nuGGESB7~p-zFr~7BQ4tQEn"
AUTH_TYPE="RFID"
TENANT_DISPLAY_NAME="Healthcare Company"
MASTER_KEY="yYvRYHYwMUC/NYlp44rF4BCjw1Mvv8GV0Sgz4w/n858="- TENANTURL - URL for your idemeum tenant, i.e
https://test.idemeum.com - CORP_EMAIL - Enter the email of the admin for which the current app needs to be assigned at the time of installation.
- CLIENT_ID and CLIENT_SECRET- enter the copied
client idandsecretfrom the PowerShell command - AUTH_TYPE - it's either
RFIDorQRCODEbased on the login mode that you want to enable - TENANT_DISPLAY_NAME - tenant display name (i.e. Healthcare Company)
- MASTER_KEY - secret key used for sensitive information encryption
Here is the latest PowerShell script installer below.
Create application in SCCM
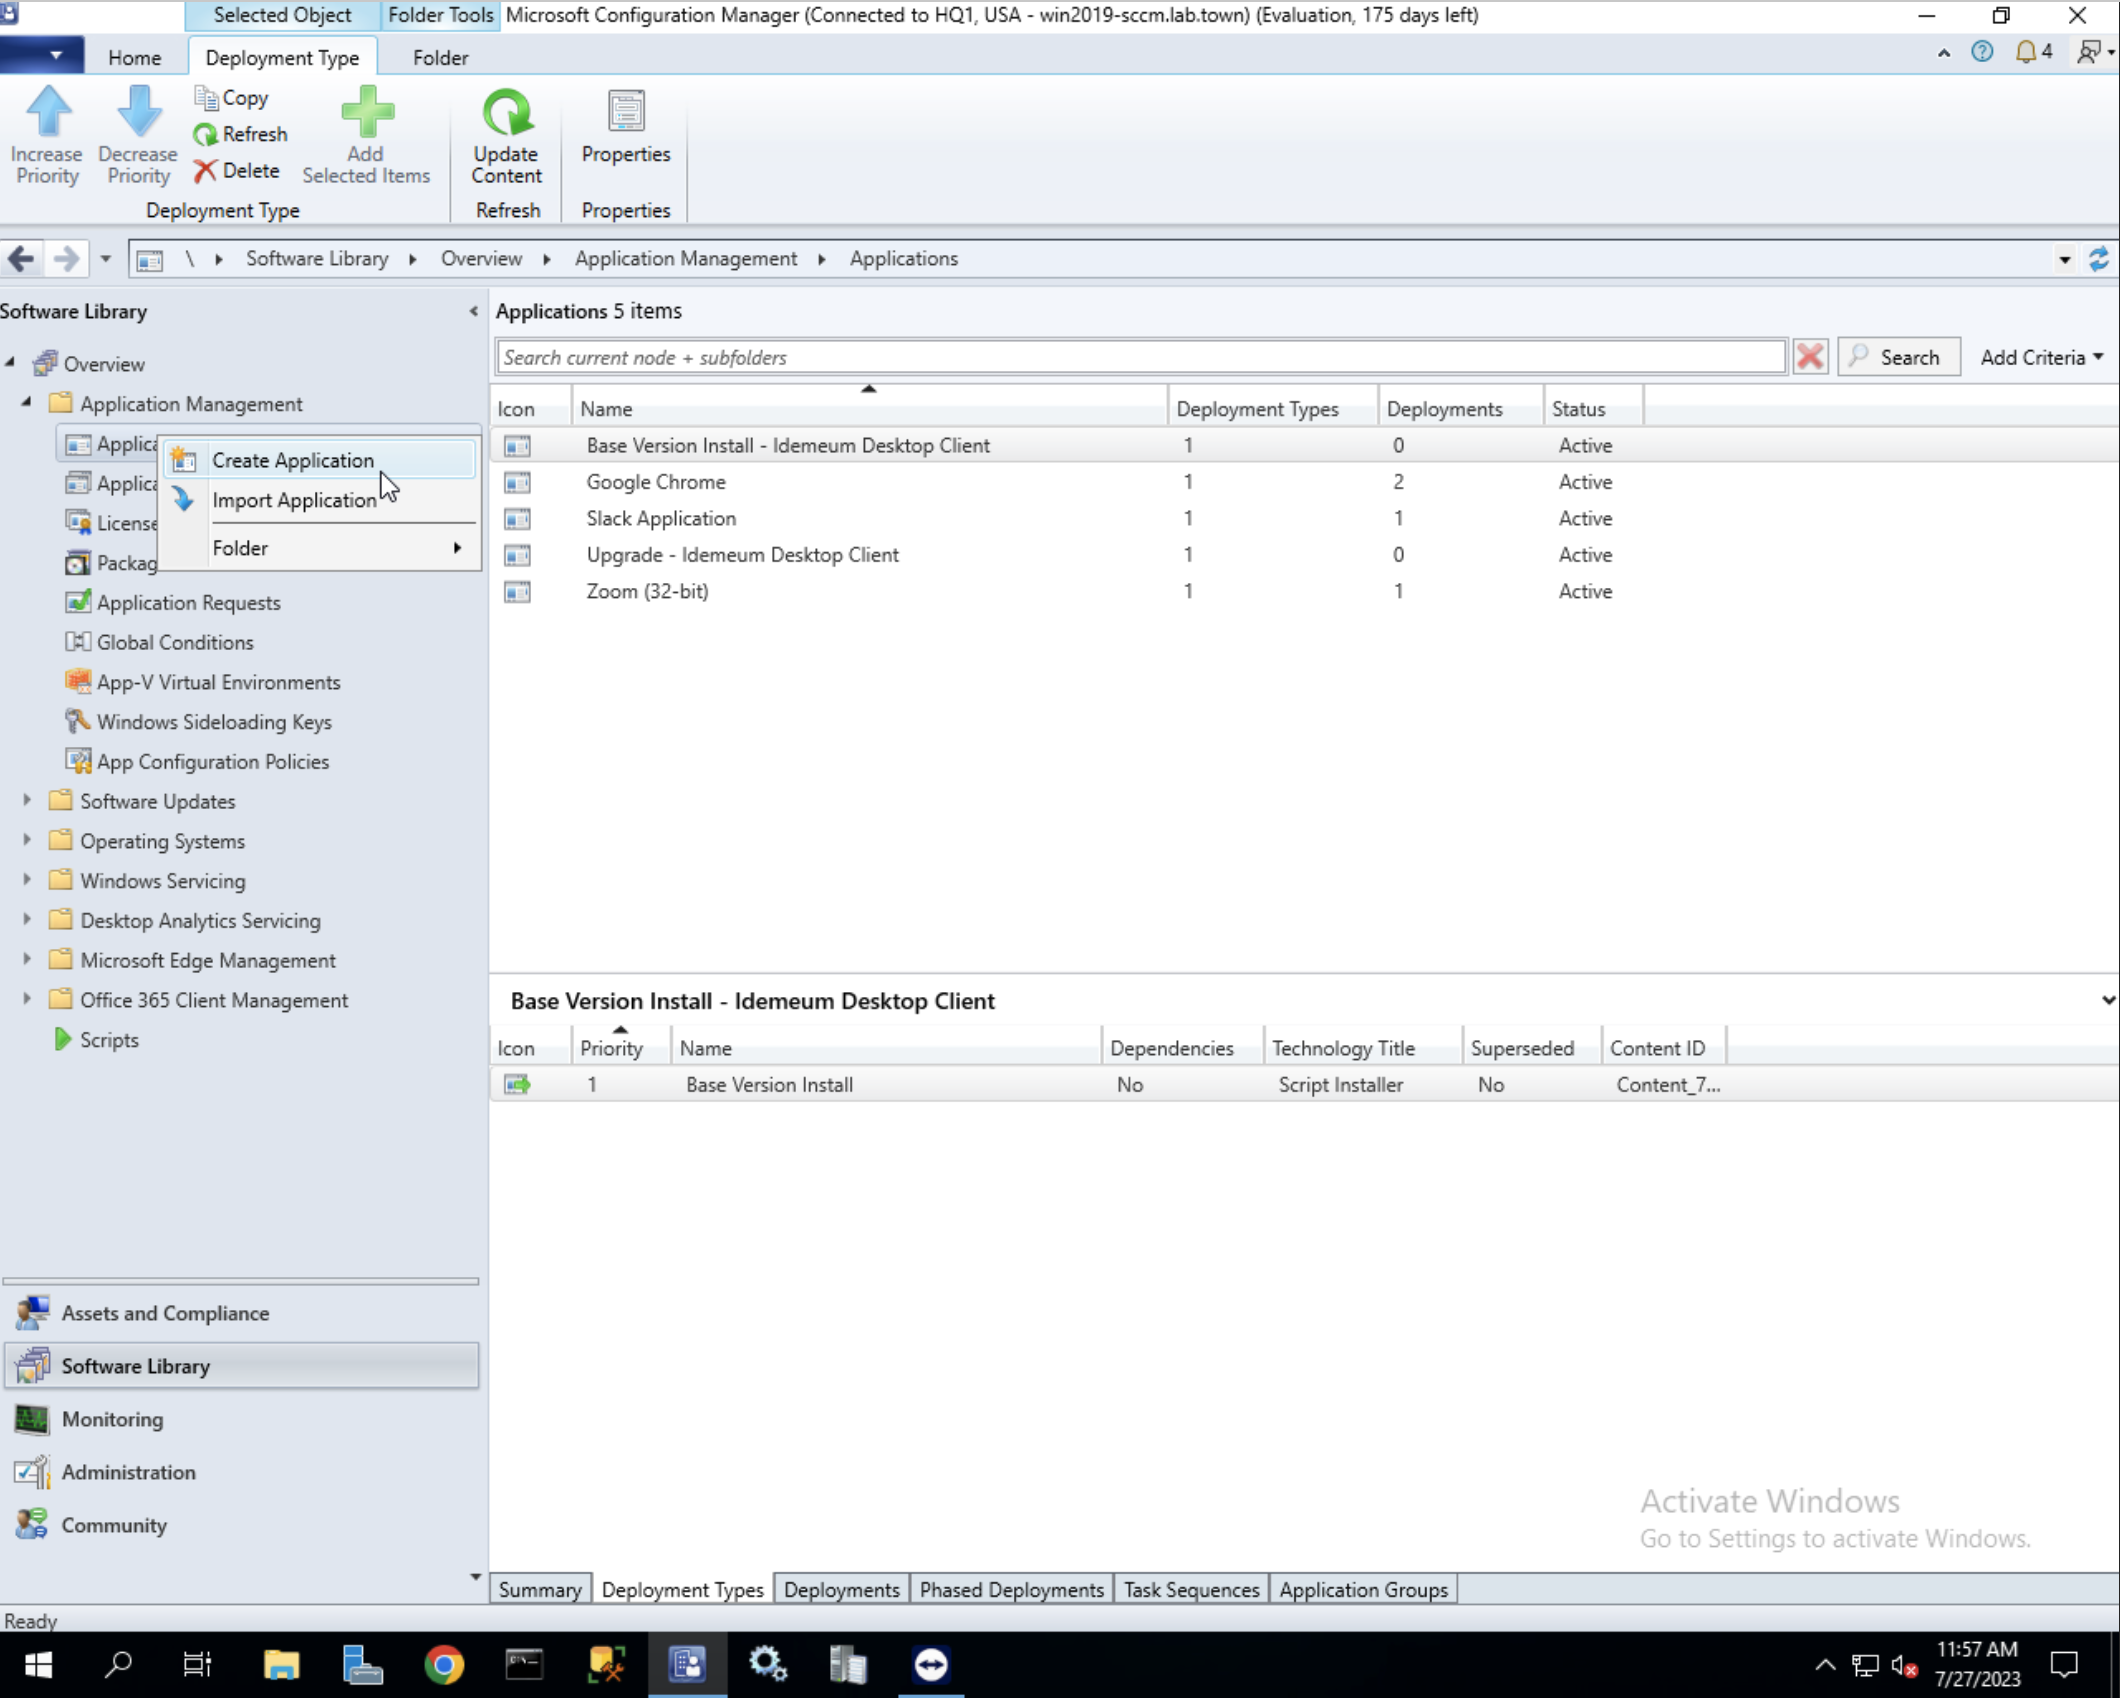
- Navigate to Microsoft Configuration Manager console ->
Software library->Application Management->Applications - Right click on
Applicationsand chooseCreate Application
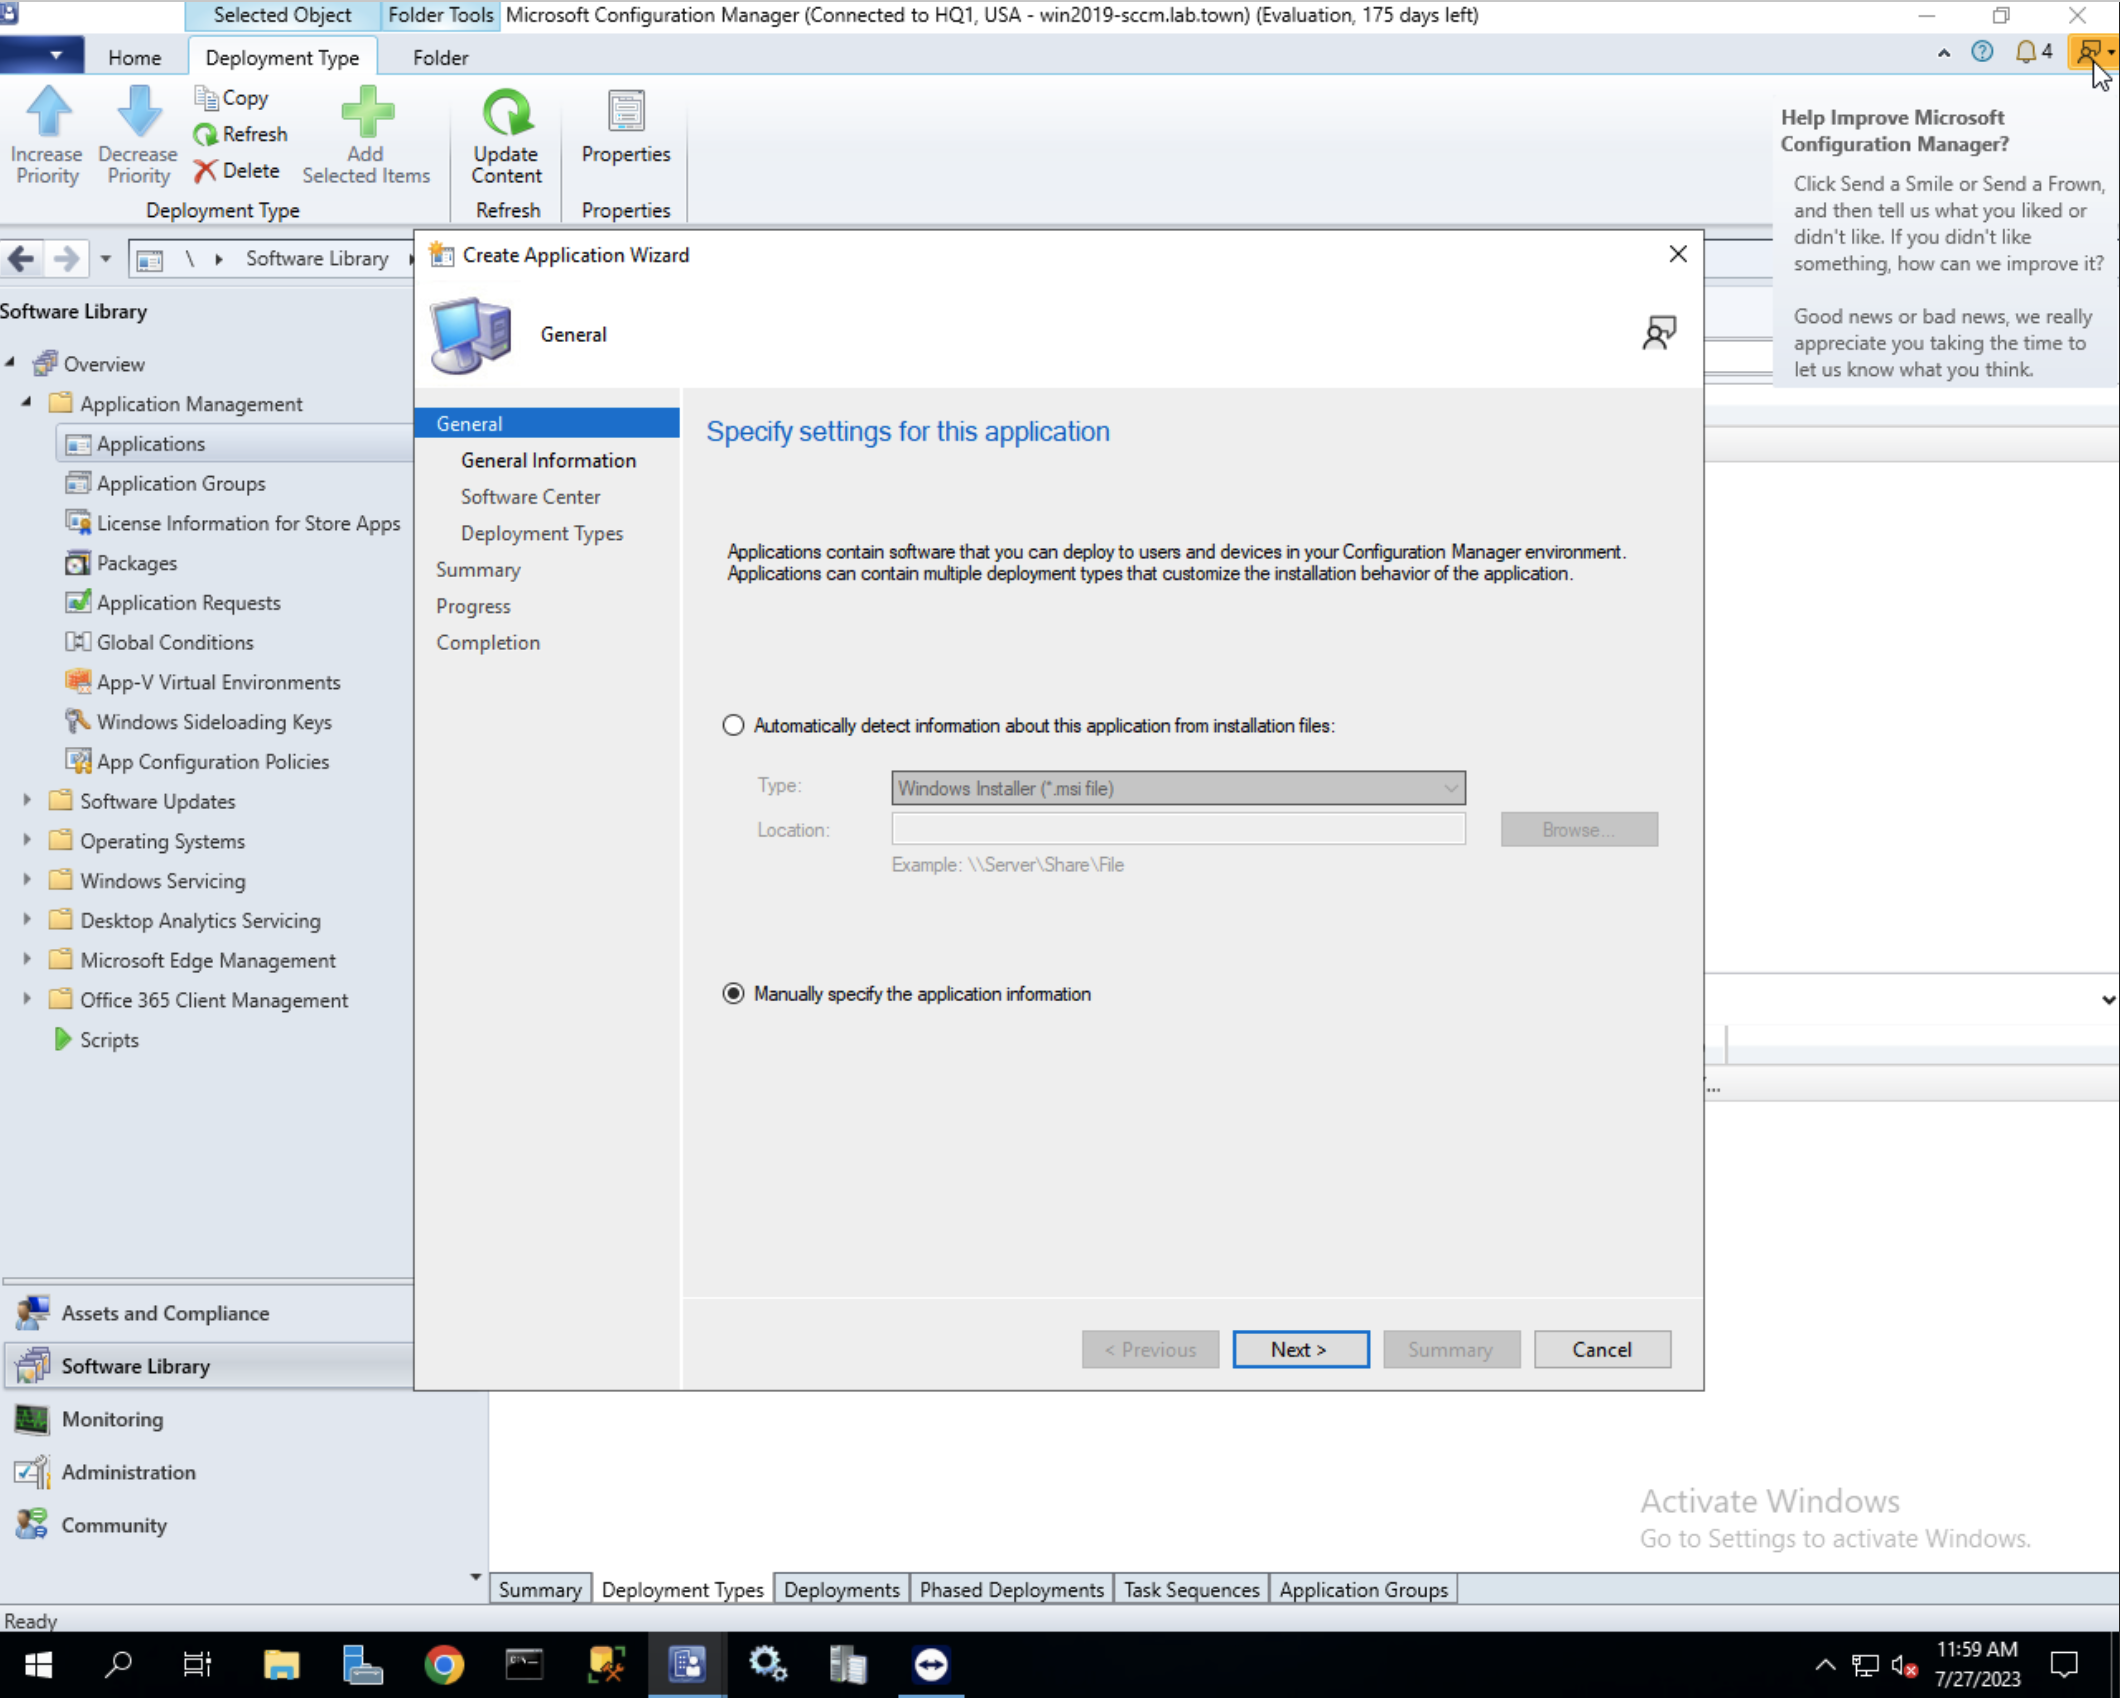
- Choose
Manually specify the application information
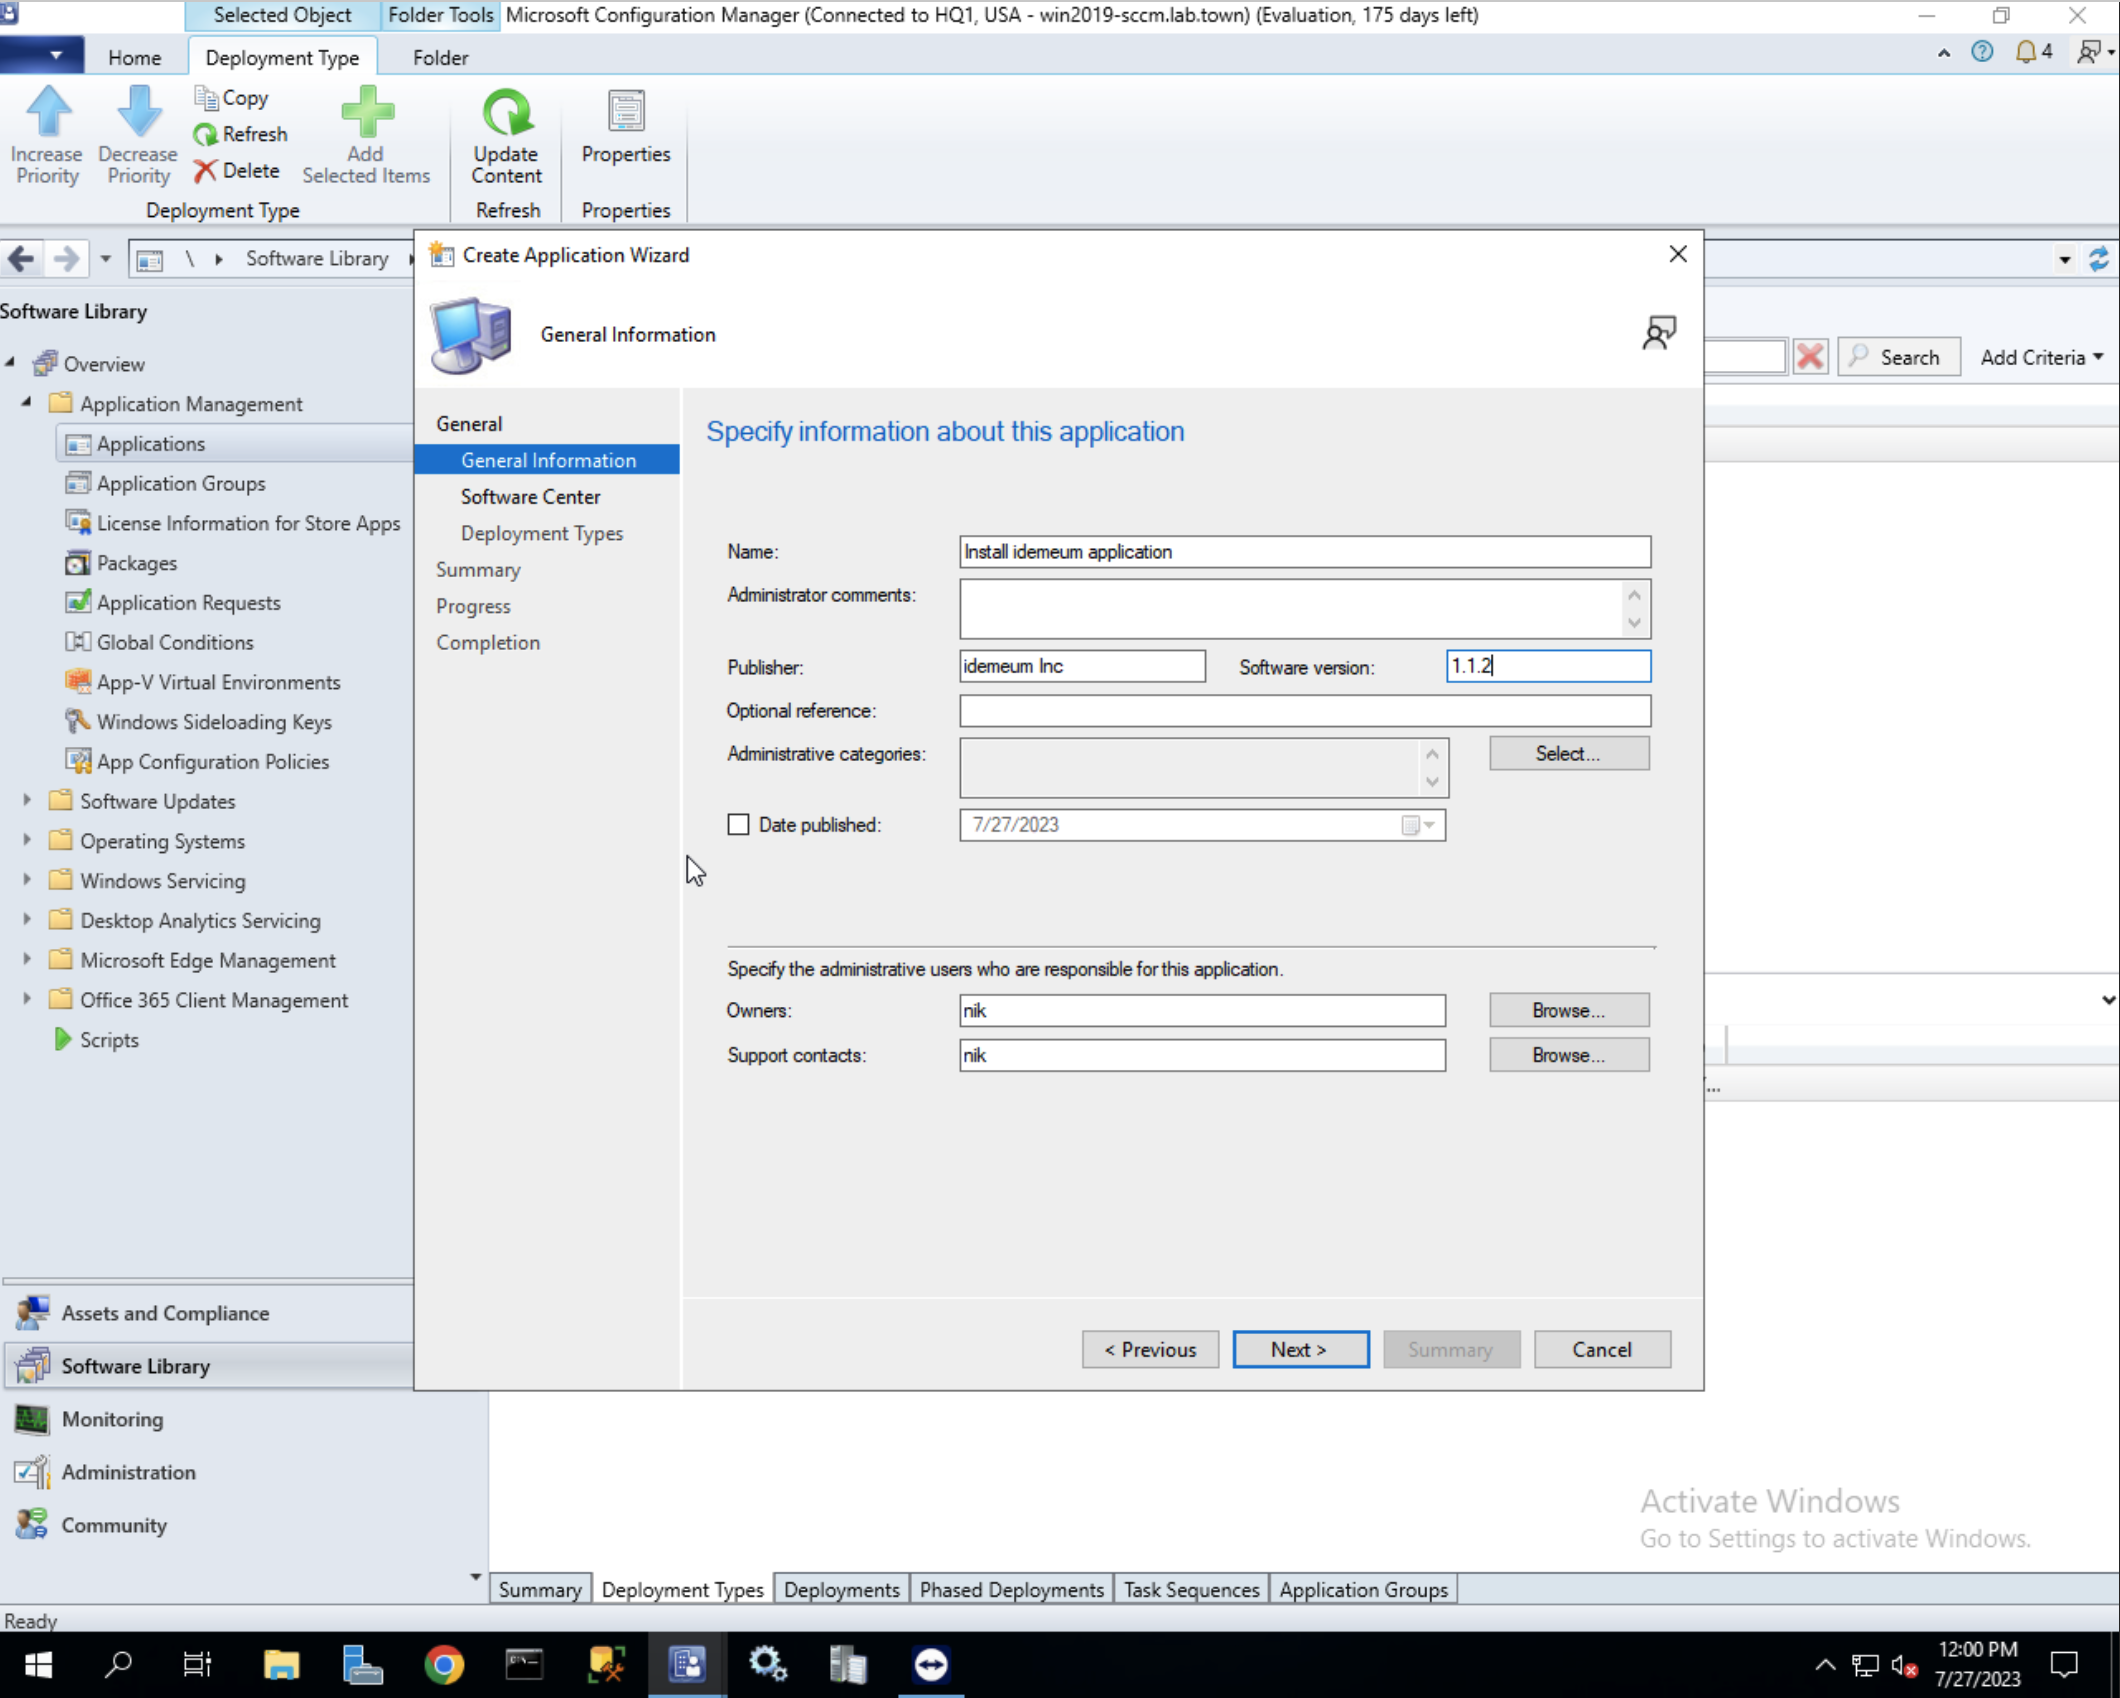
- Specify application name as well as additional metadata information
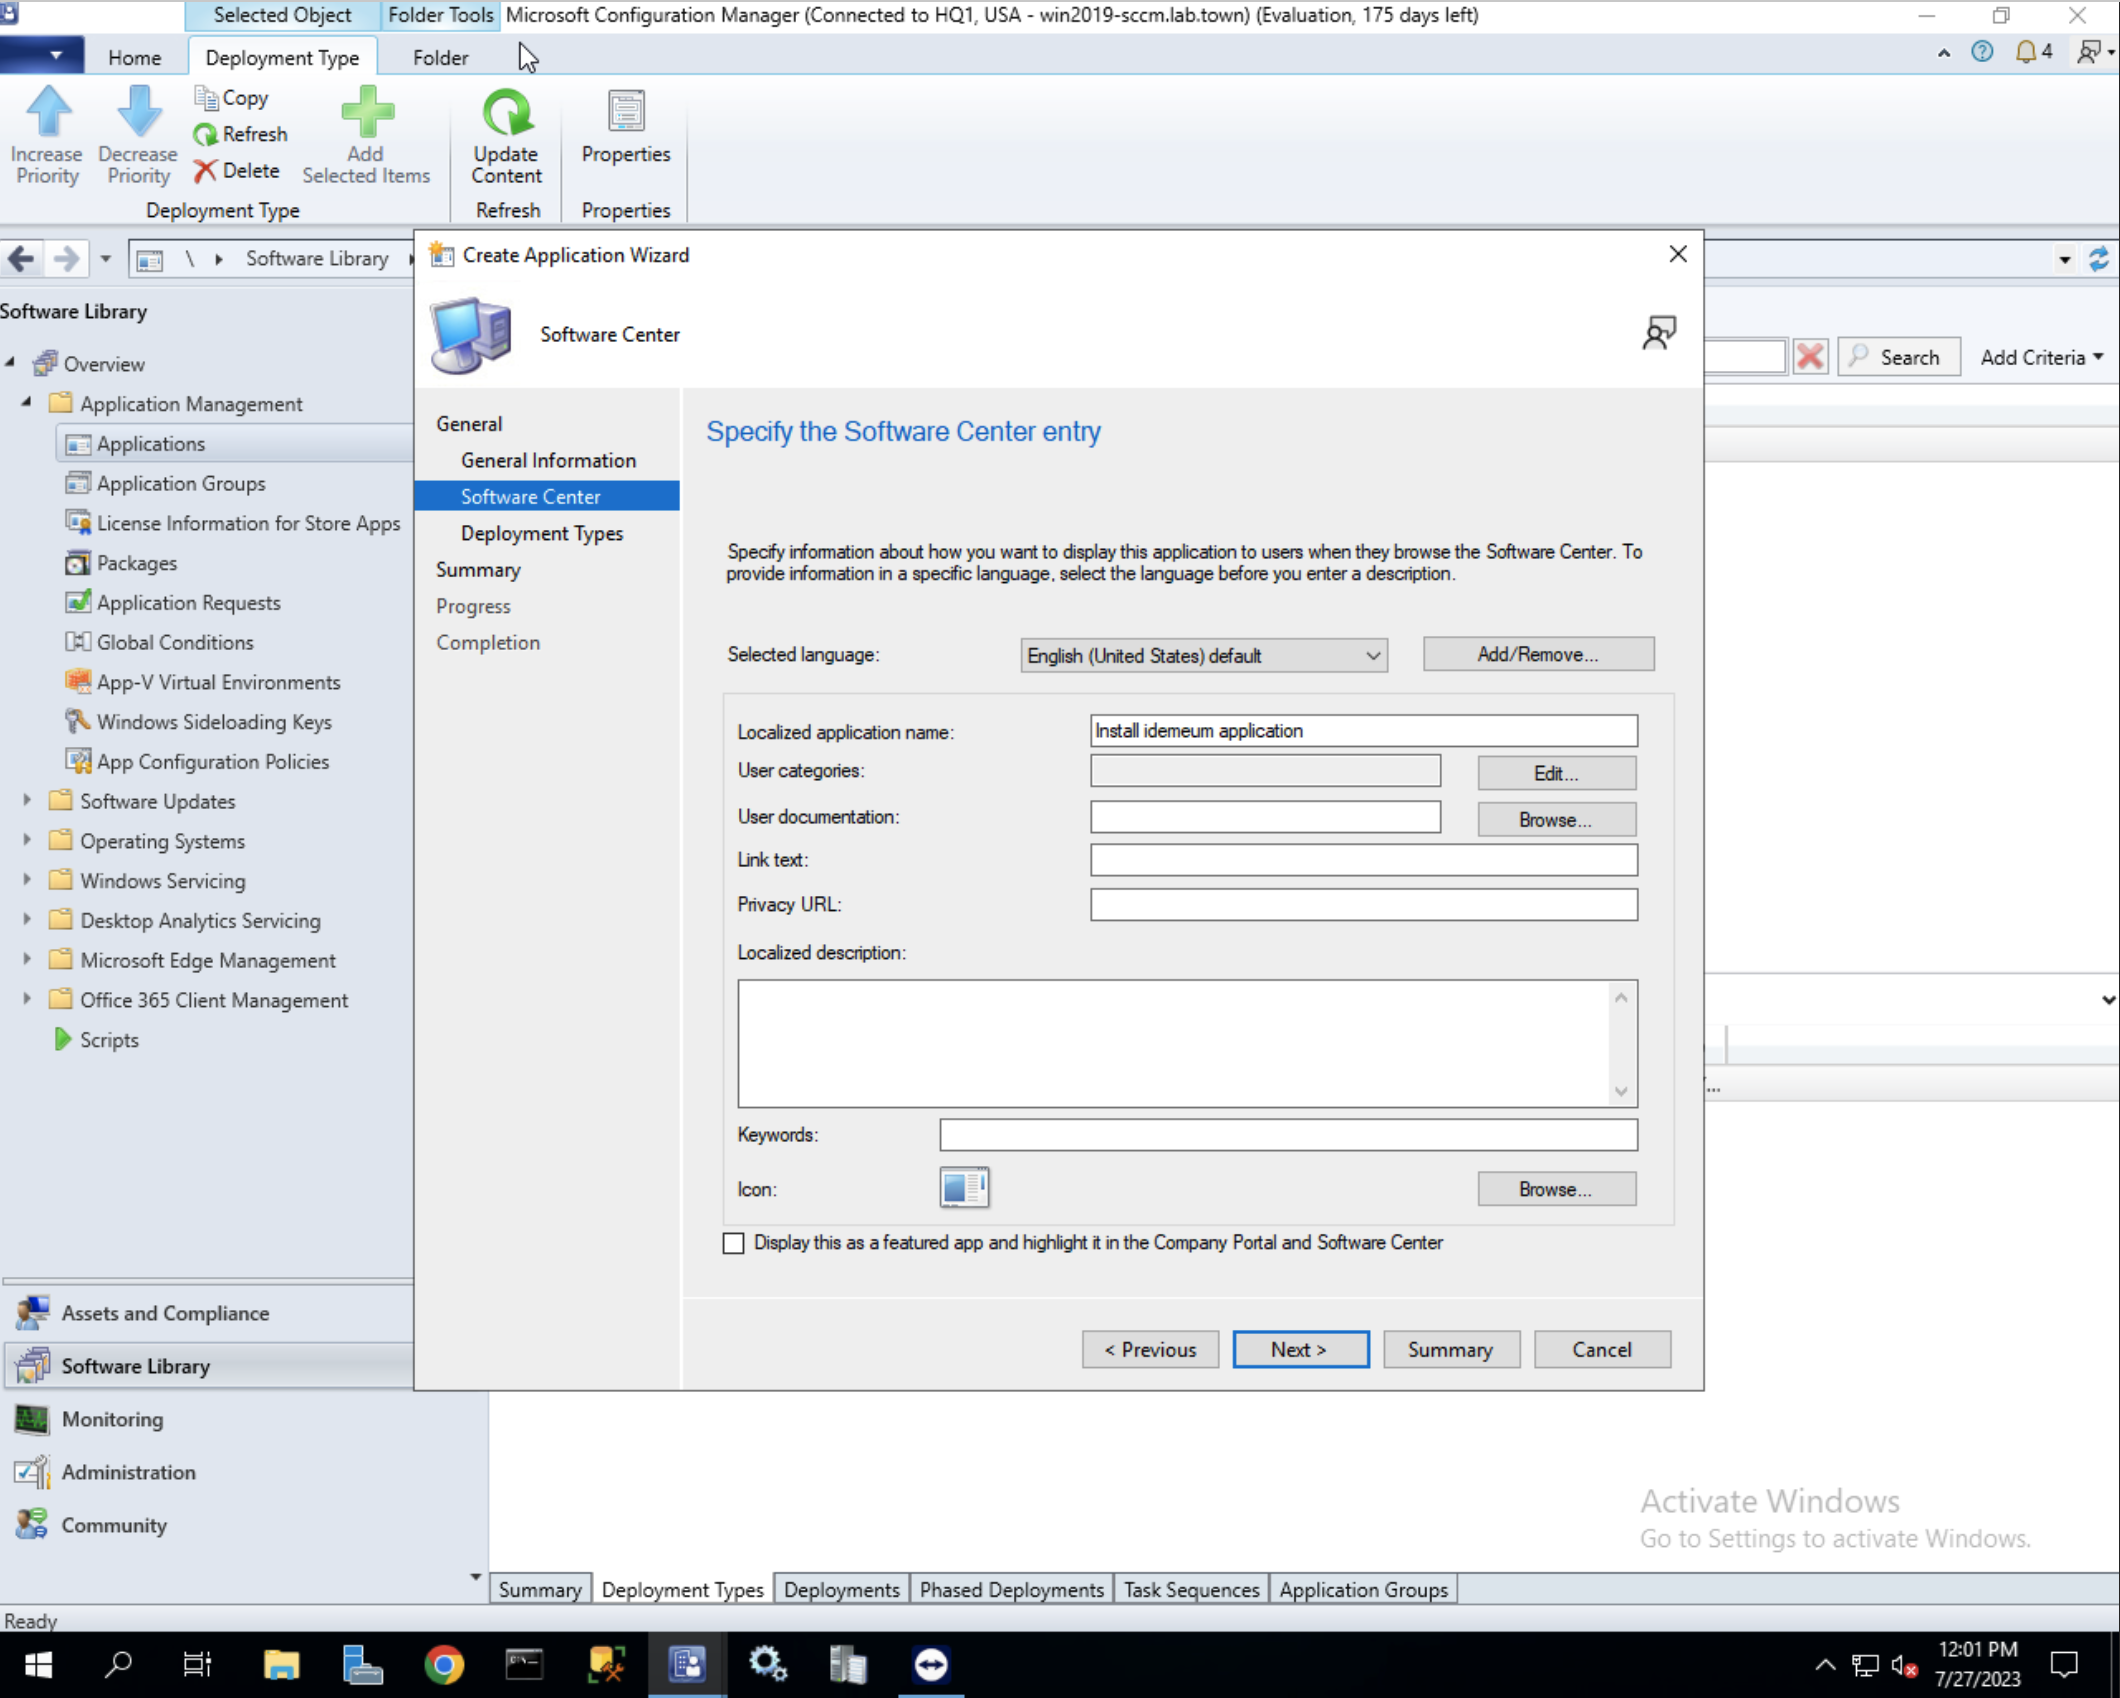
- Since we are deploying silently we can skip the information entry on the
Software Centersection
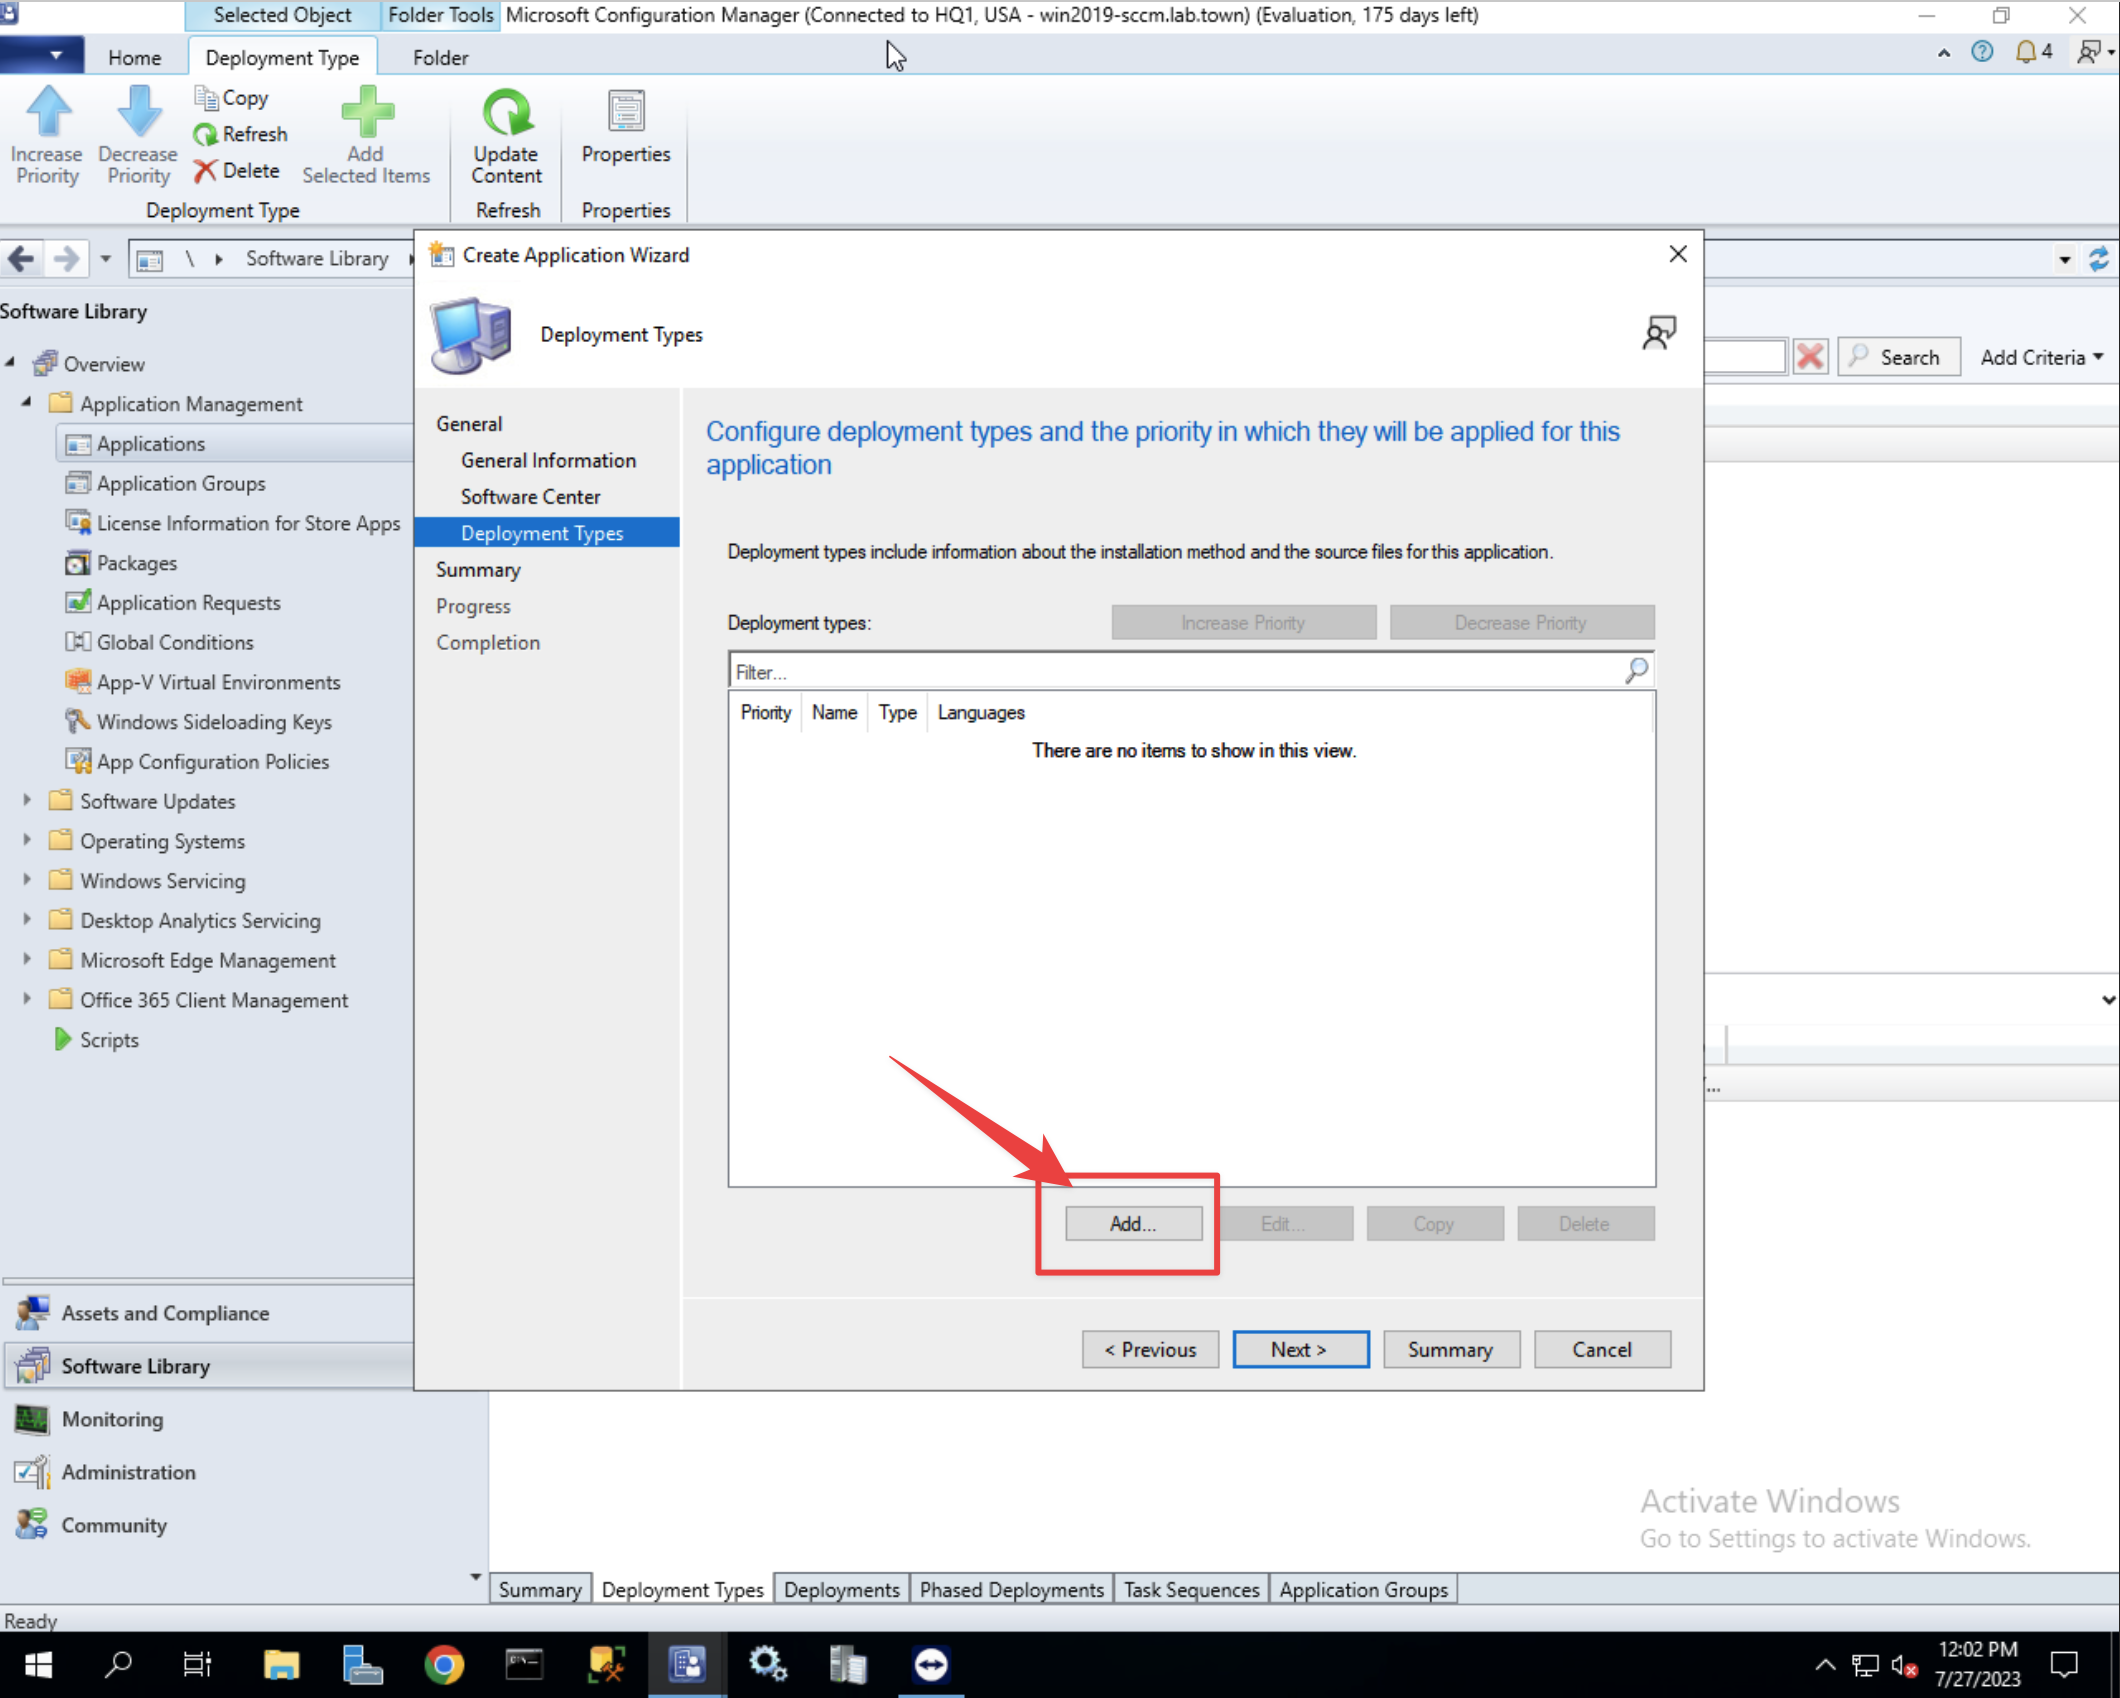
- Click
Addin the deployment type section
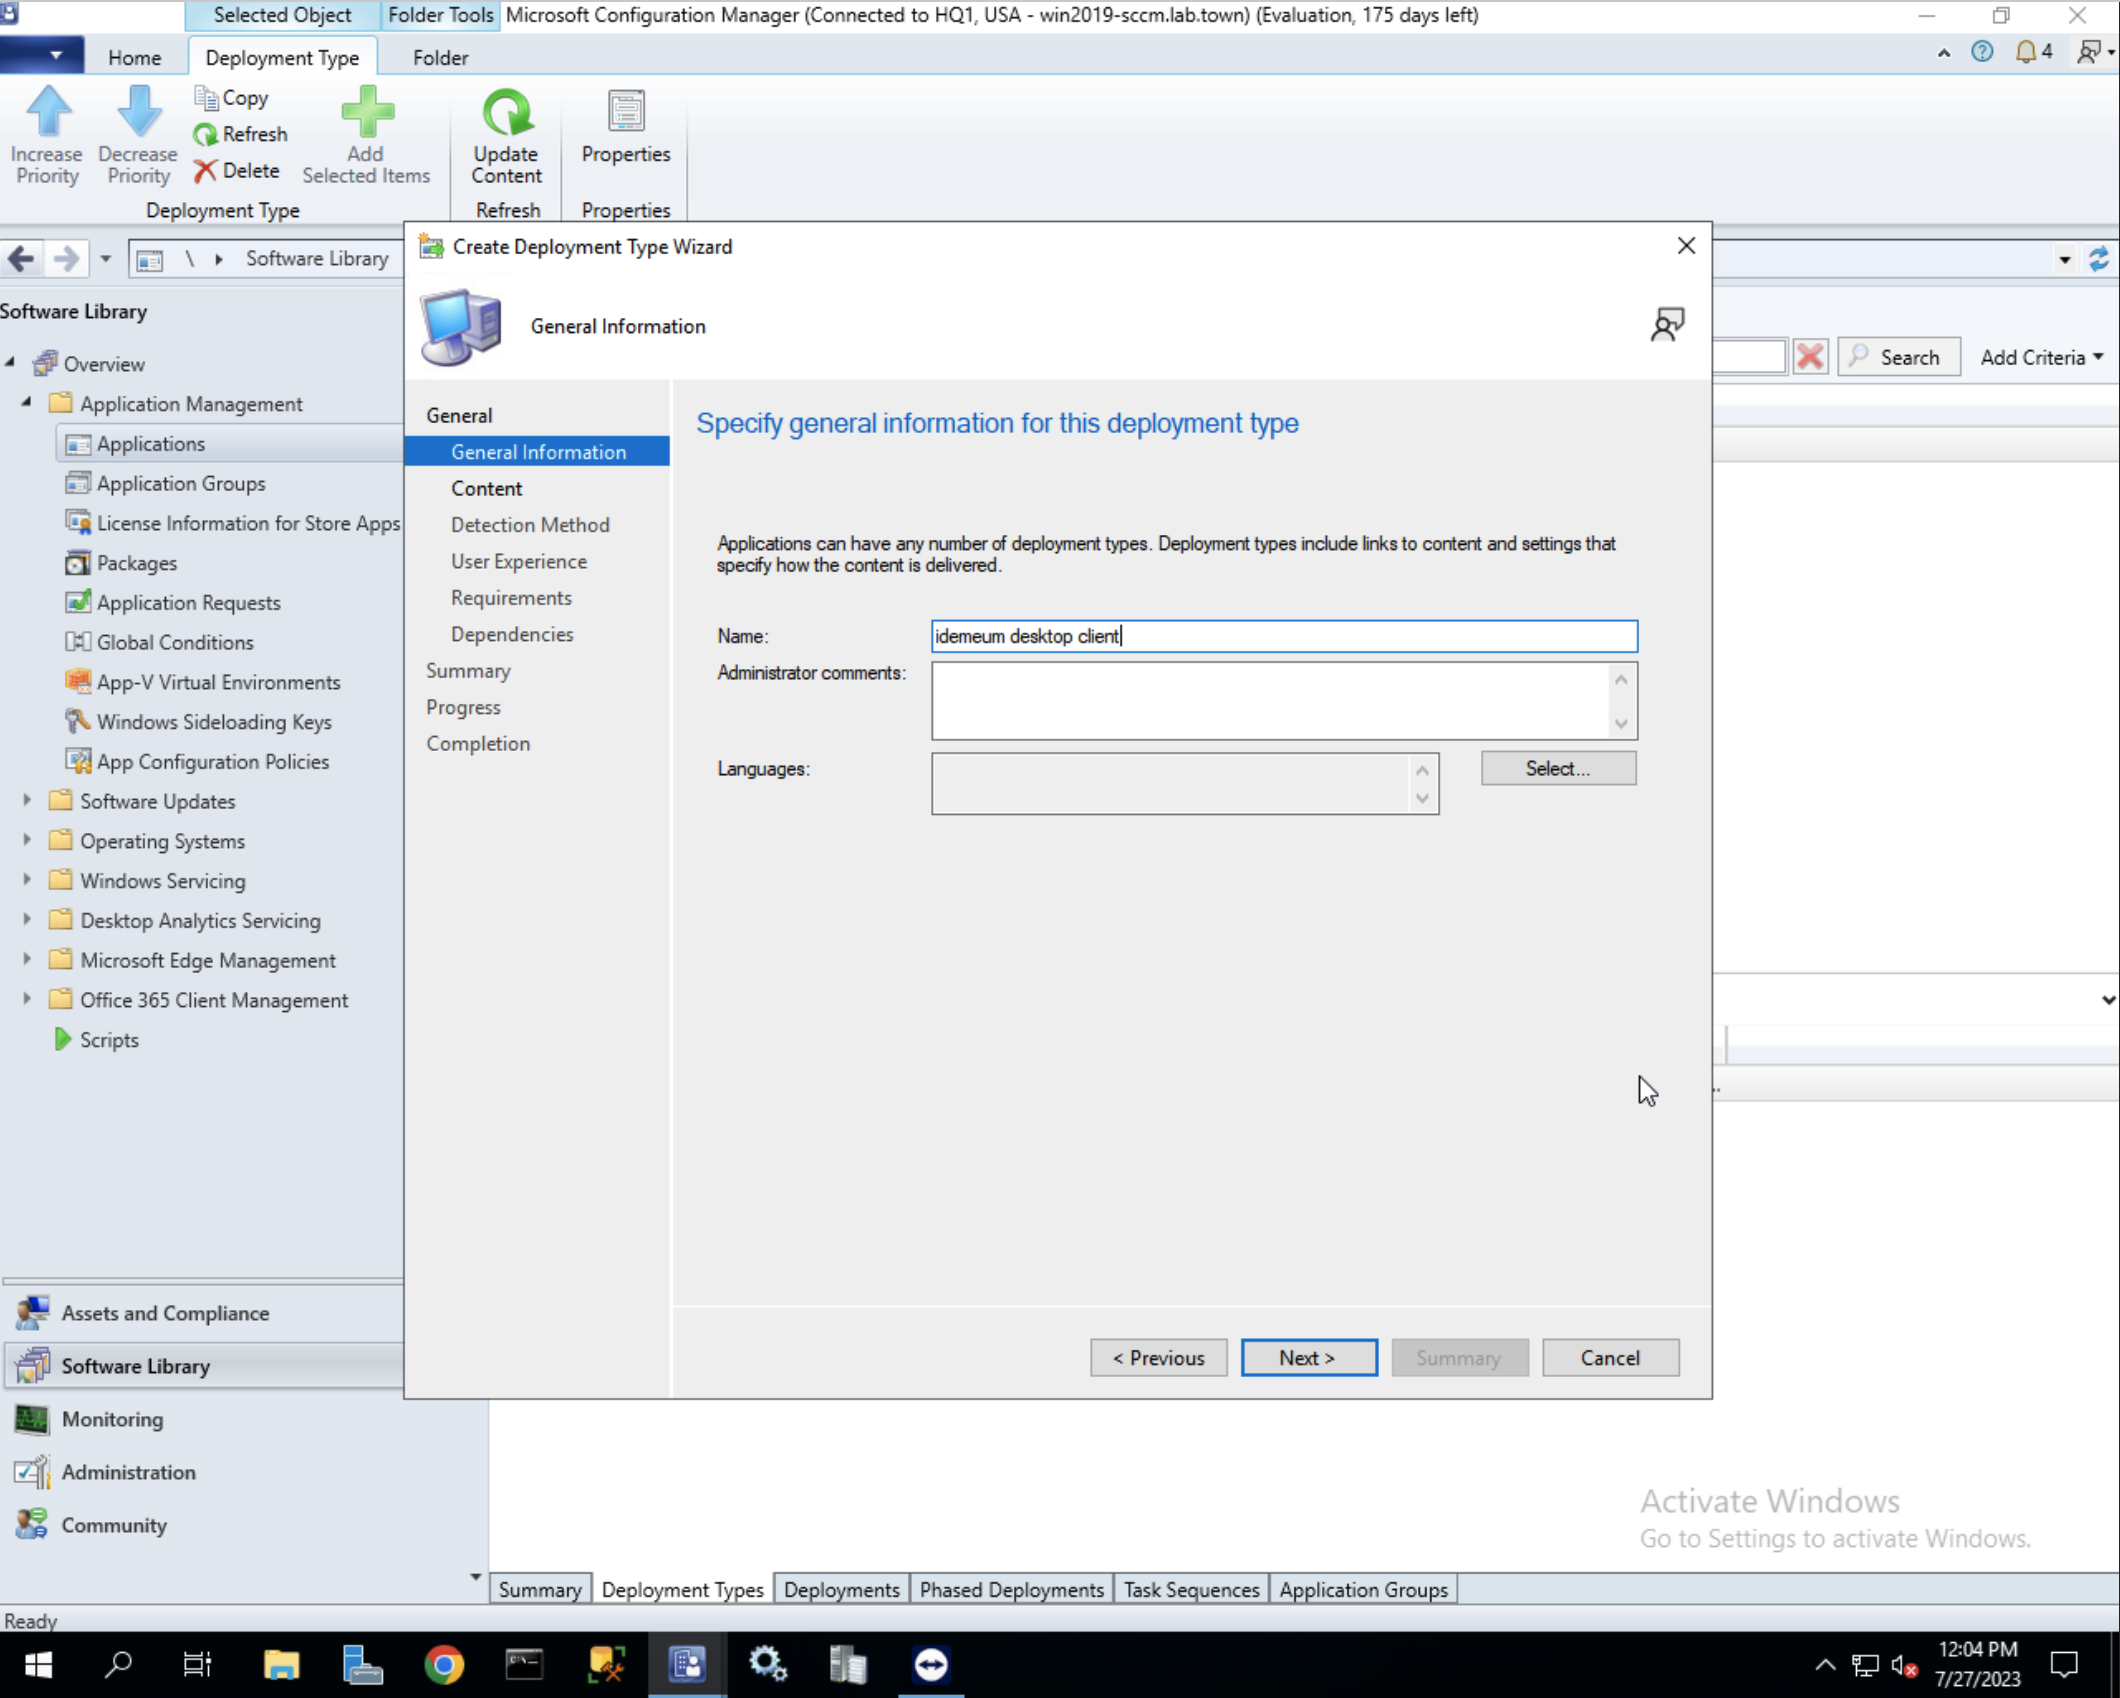
- Choose
Script installerin theGeneral informationfor deployment type

- Specify name and any additional comments
- For content location specify the folder location where you saved the content package (desktop client, config file, and installer script)
- For installation program specifypowershell.exe -ExecutionPolicy Bypass -File "installer.ps1"
- For Uninstall program specifyMsiExec.exe /x{71216D26-573B-402B-A3F5-A7CB9F950CFF} /qn

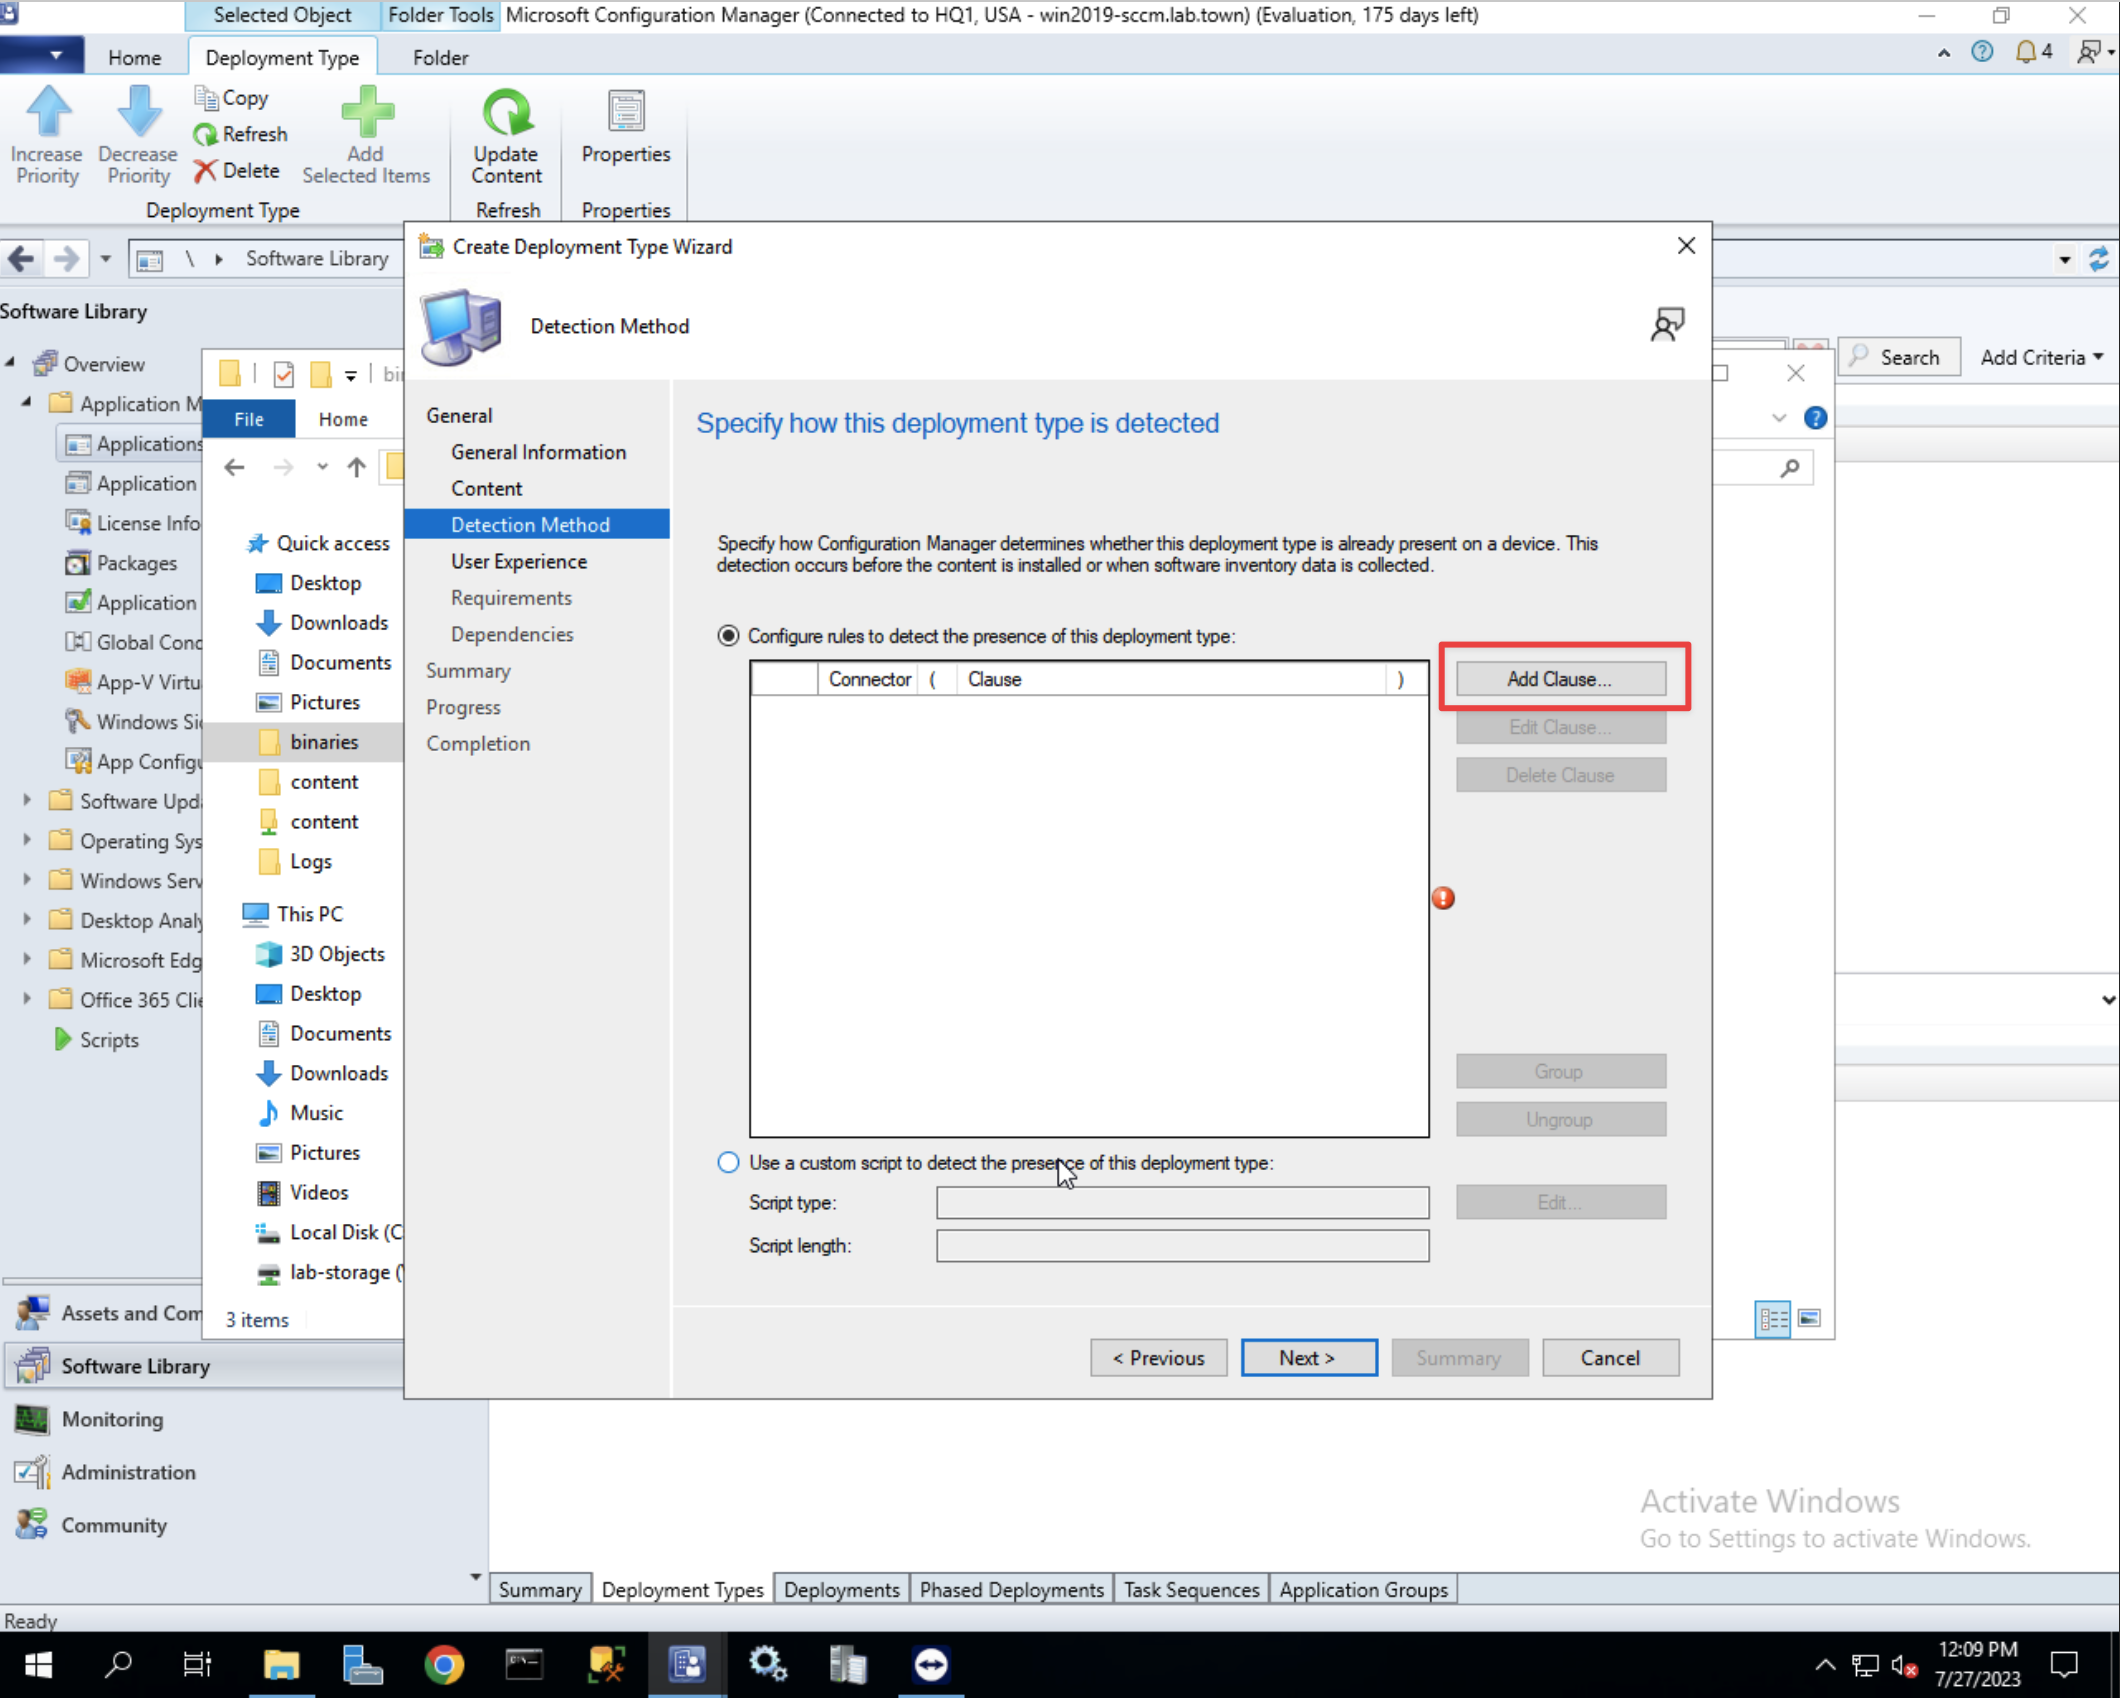
- On the next section click
Add Clauseto specify the detection method for client installation
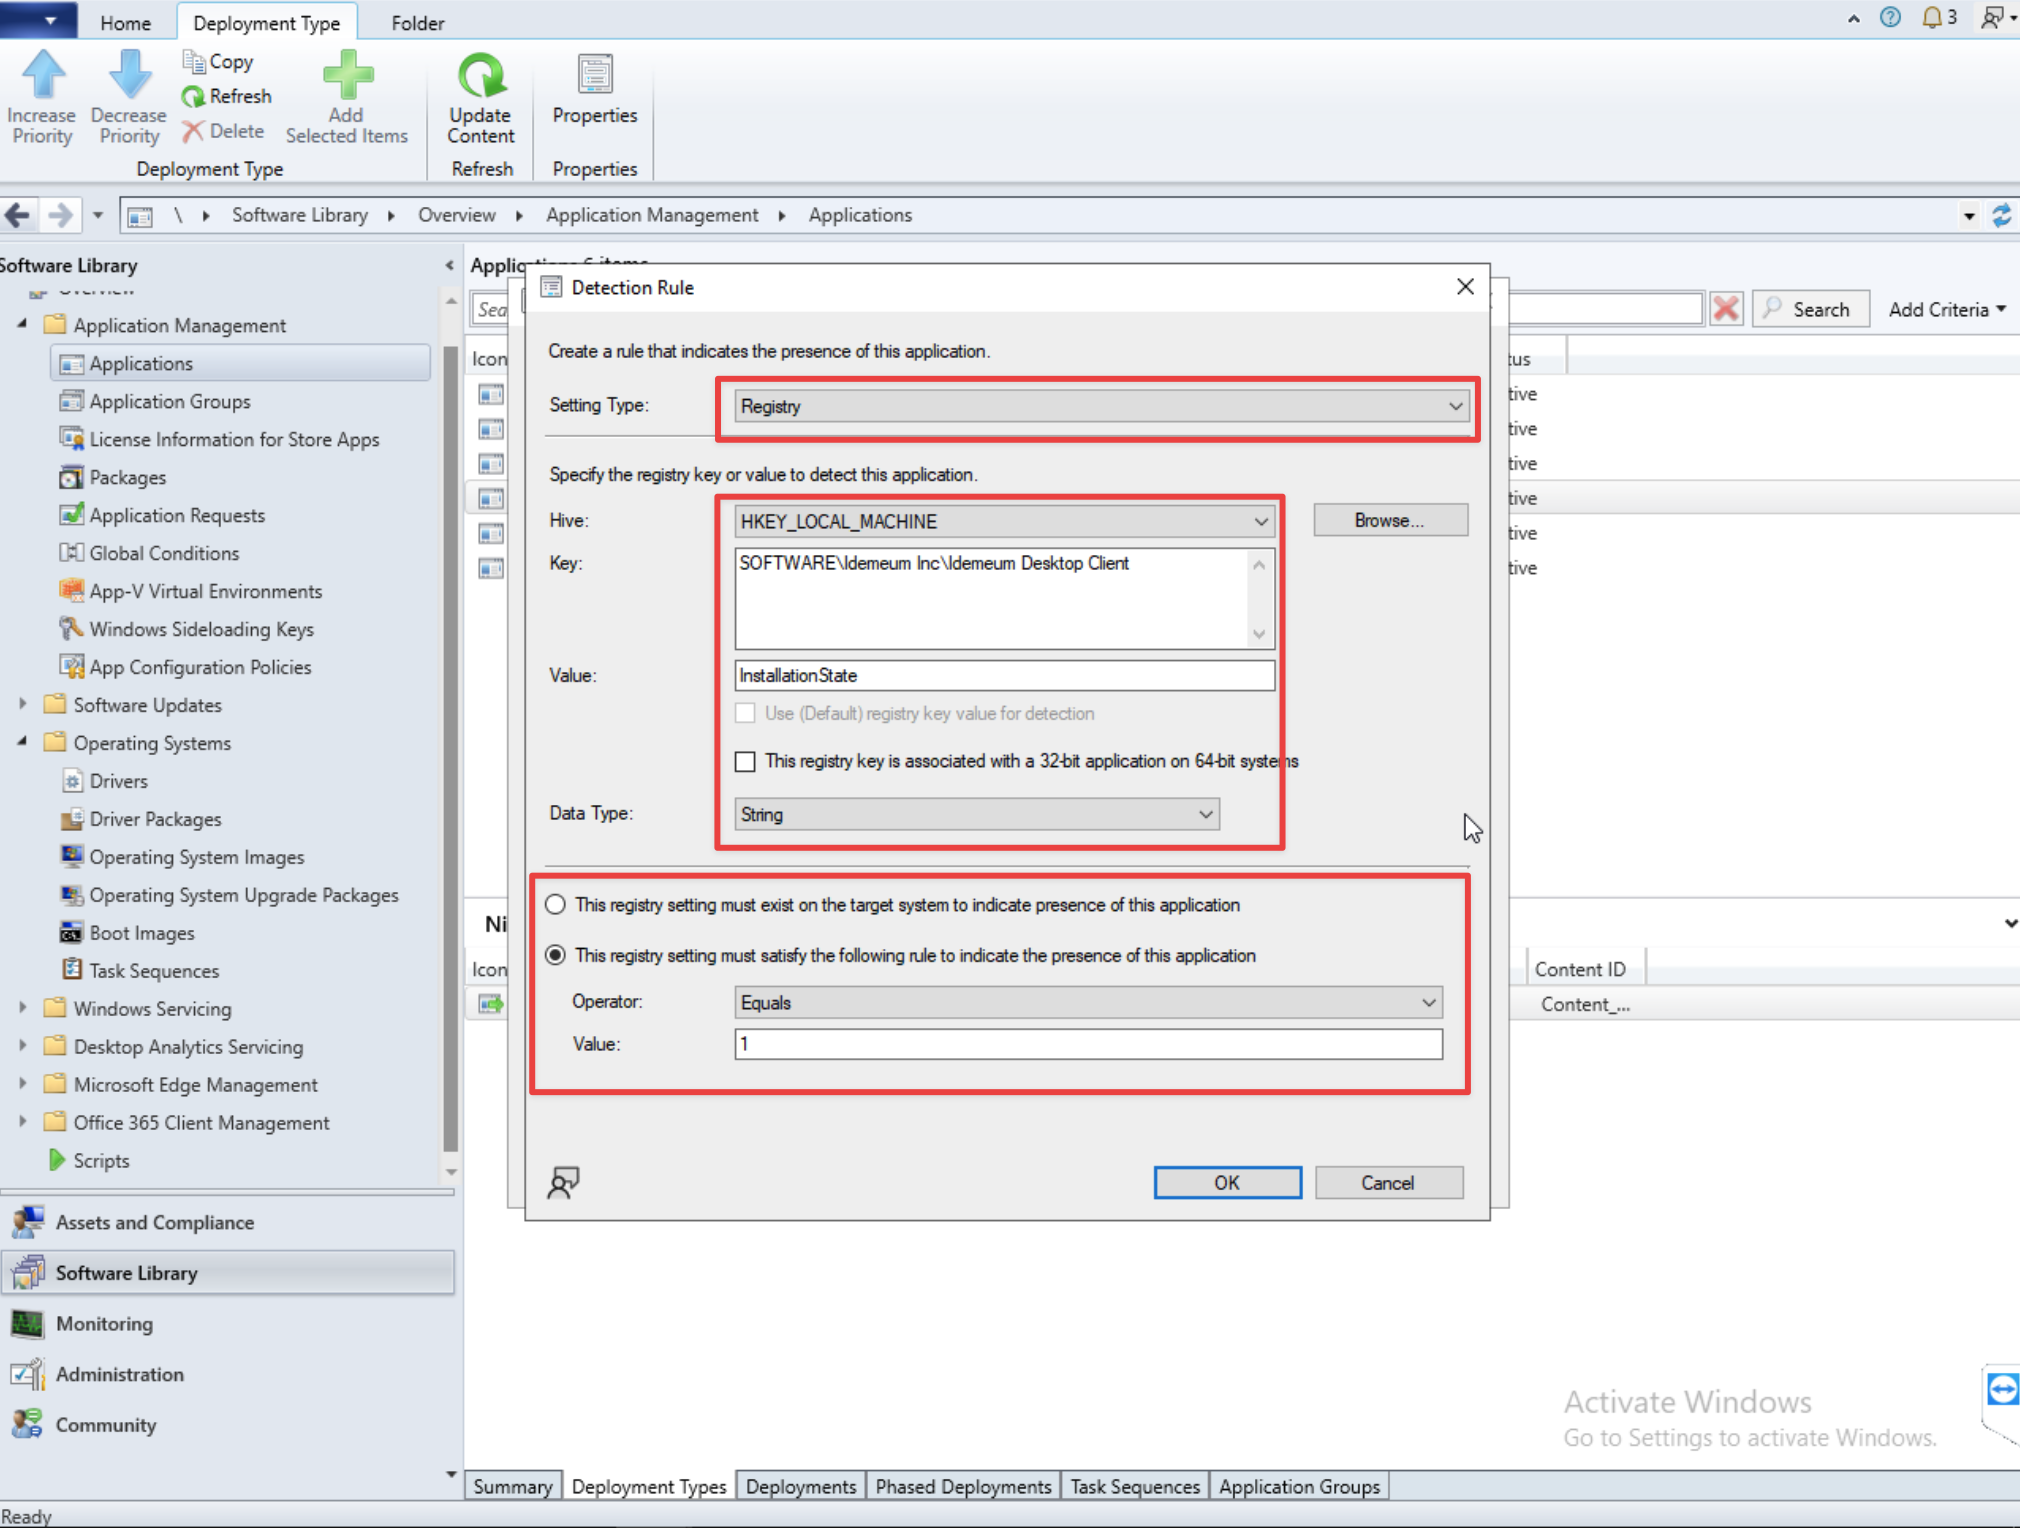
- Choose the following values:
-Registryfor Setting Type
-HKEY_LOCAL_MACHINEfor Hive
- Specify the following keySOFTWARE\Idemeum Inc\Idemeum Desktop Client
- Choose valueInstallationState, and Data TypeString
- Now you can choose the optionThis registry setting must satisfy the following rule to indicate presence of this applicationand choose operatorEqualsand value of1.
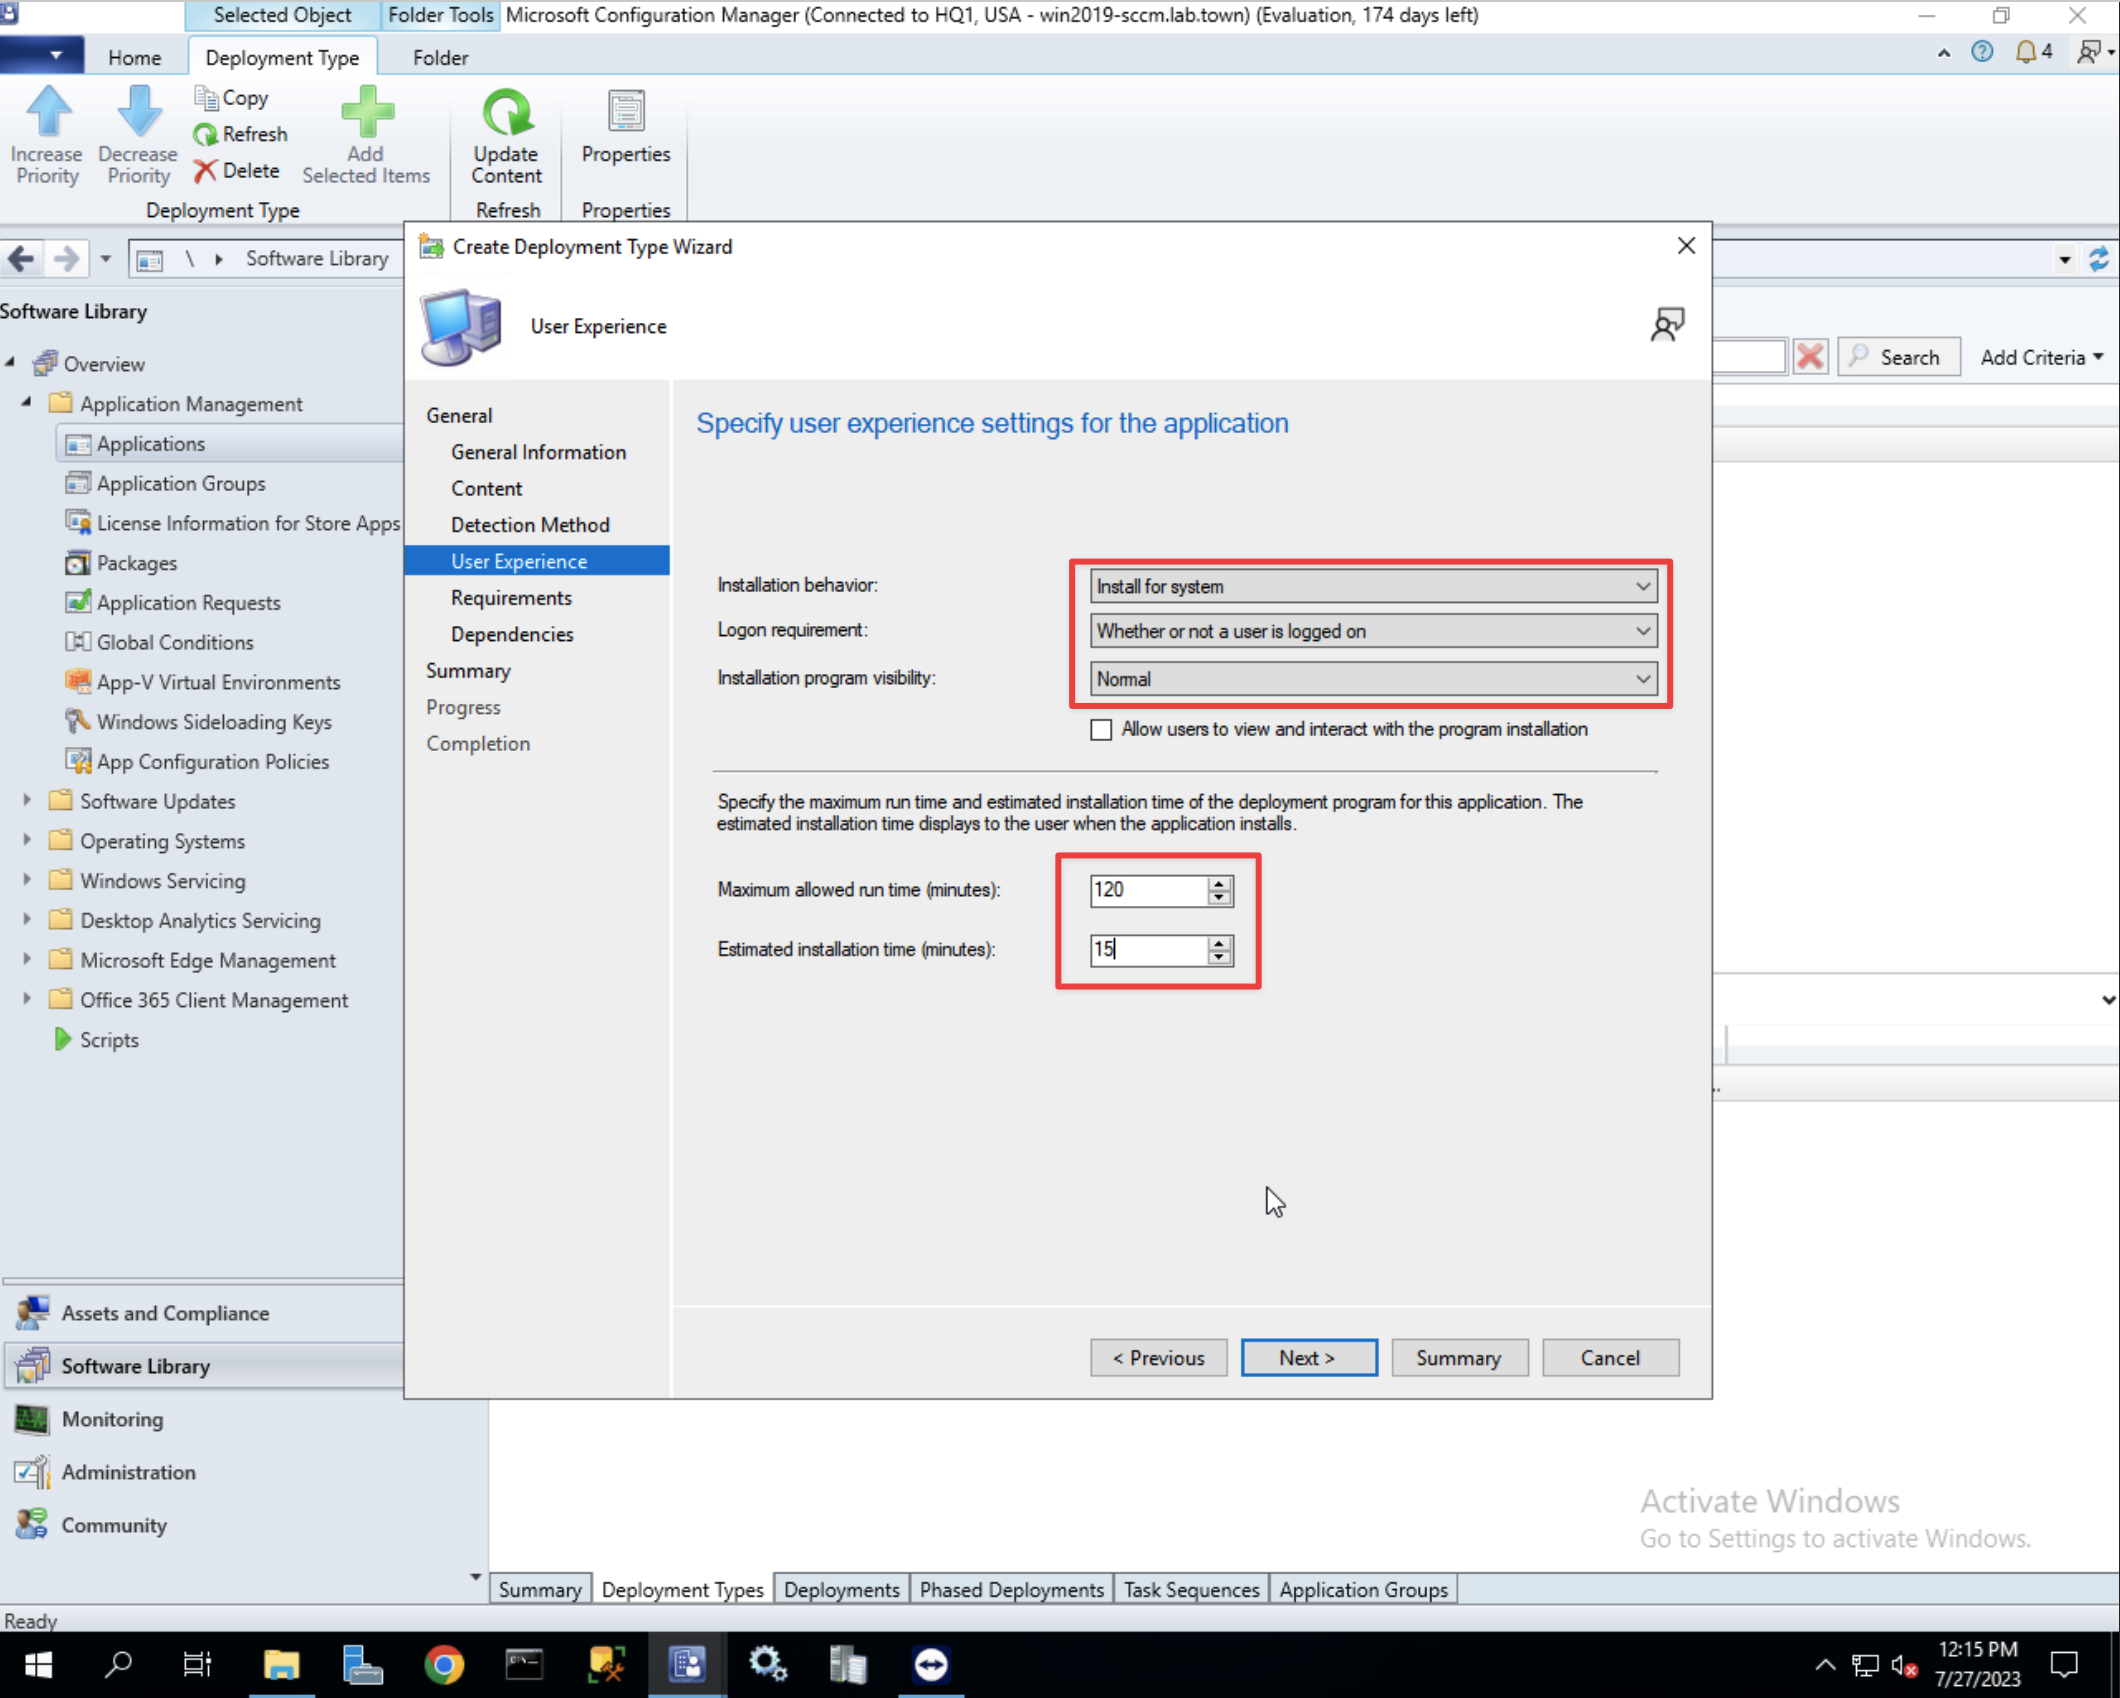
- For the user experience choose
Install for system,Whether or not a user is logged onand choose the installation time to15minutes
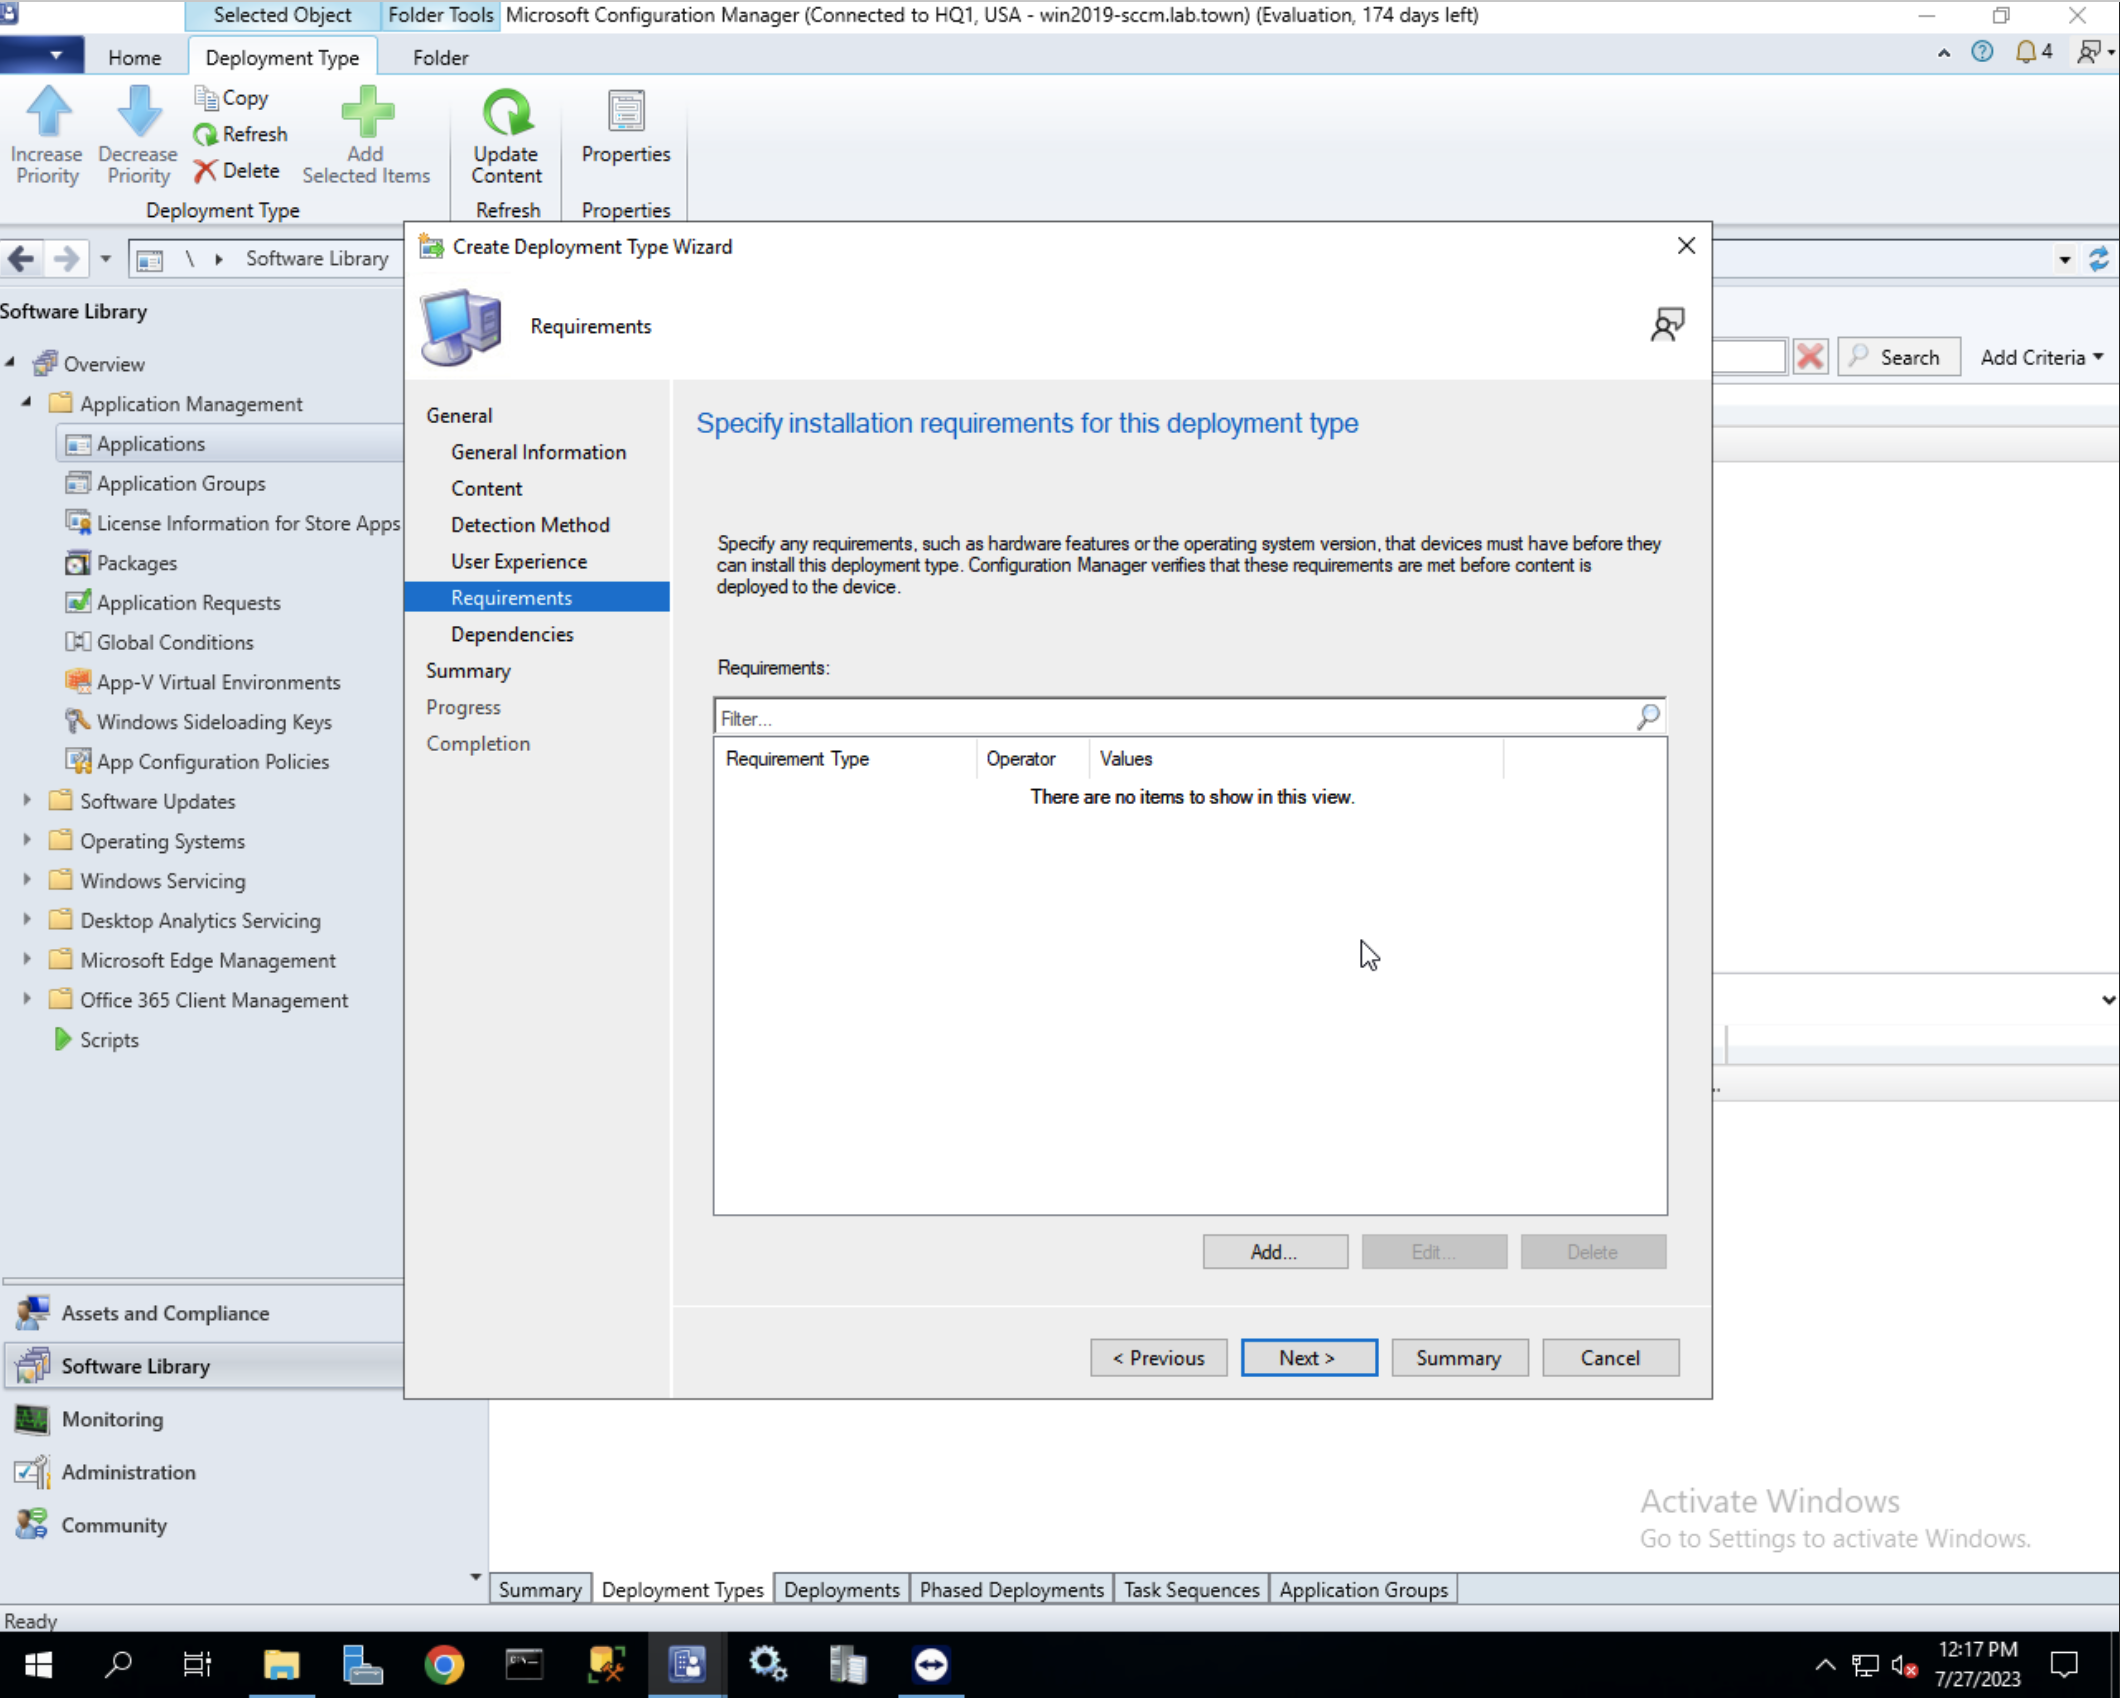
- When you click next you can leave Installation requirements as default
- Leave Dependencies as default
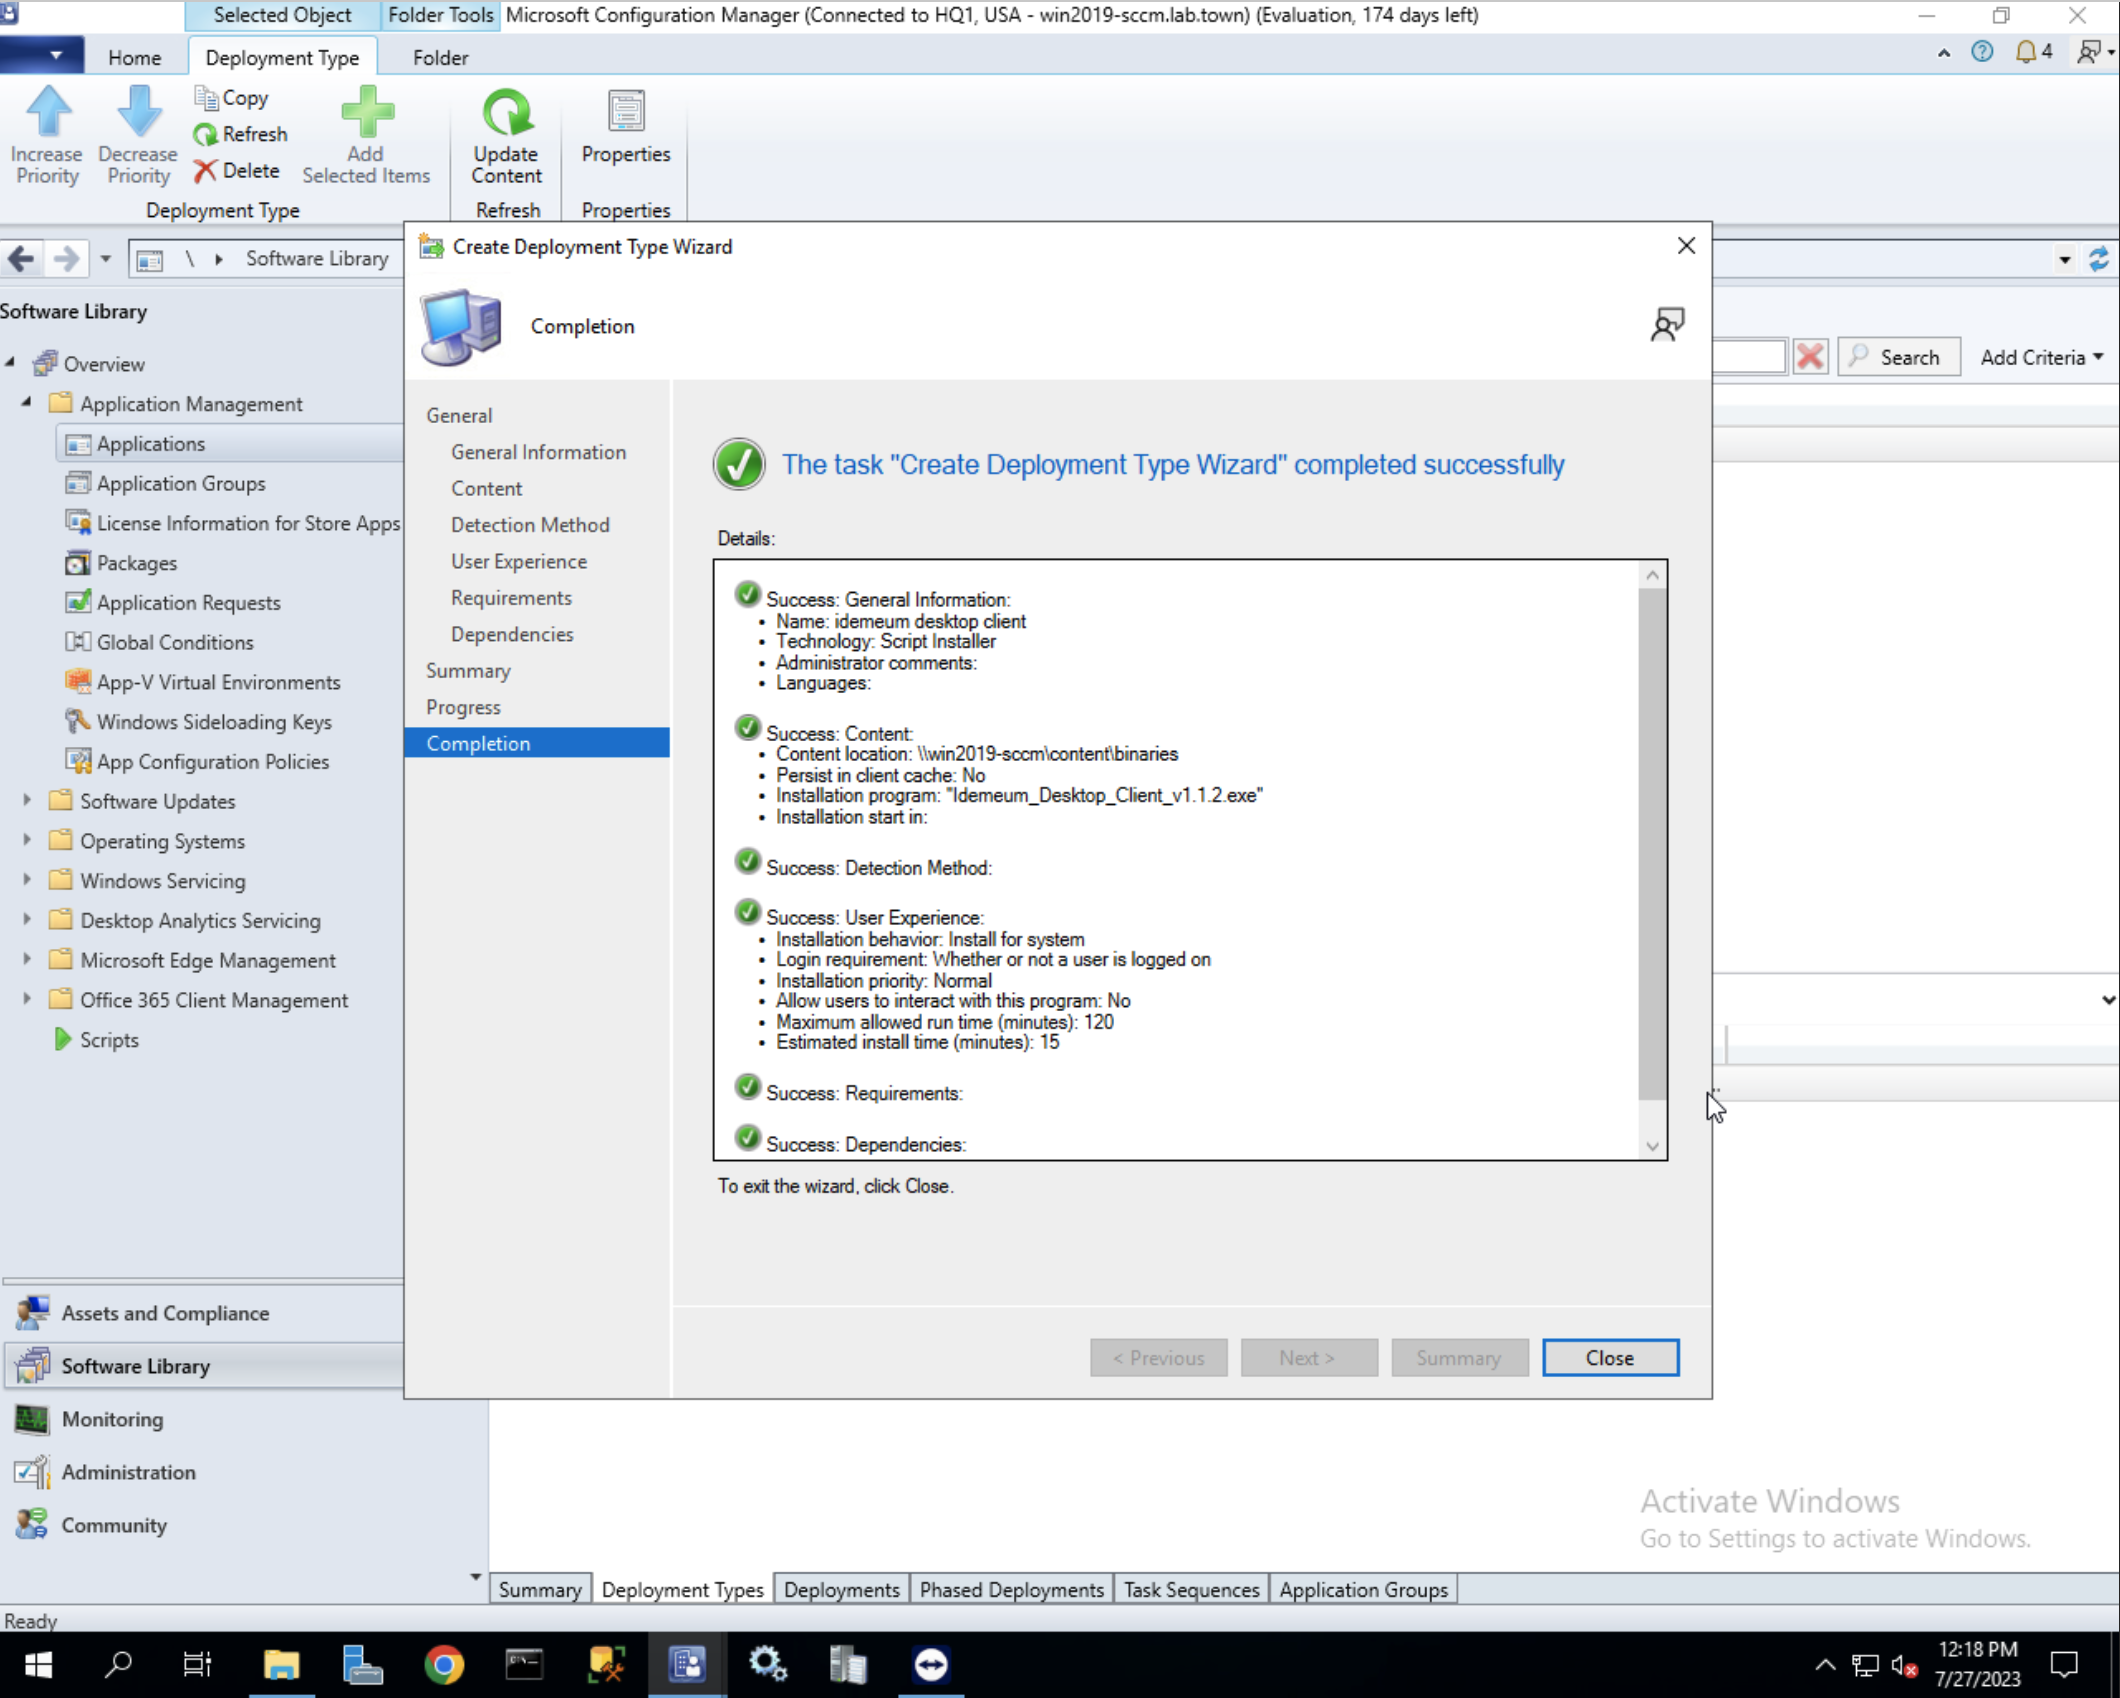
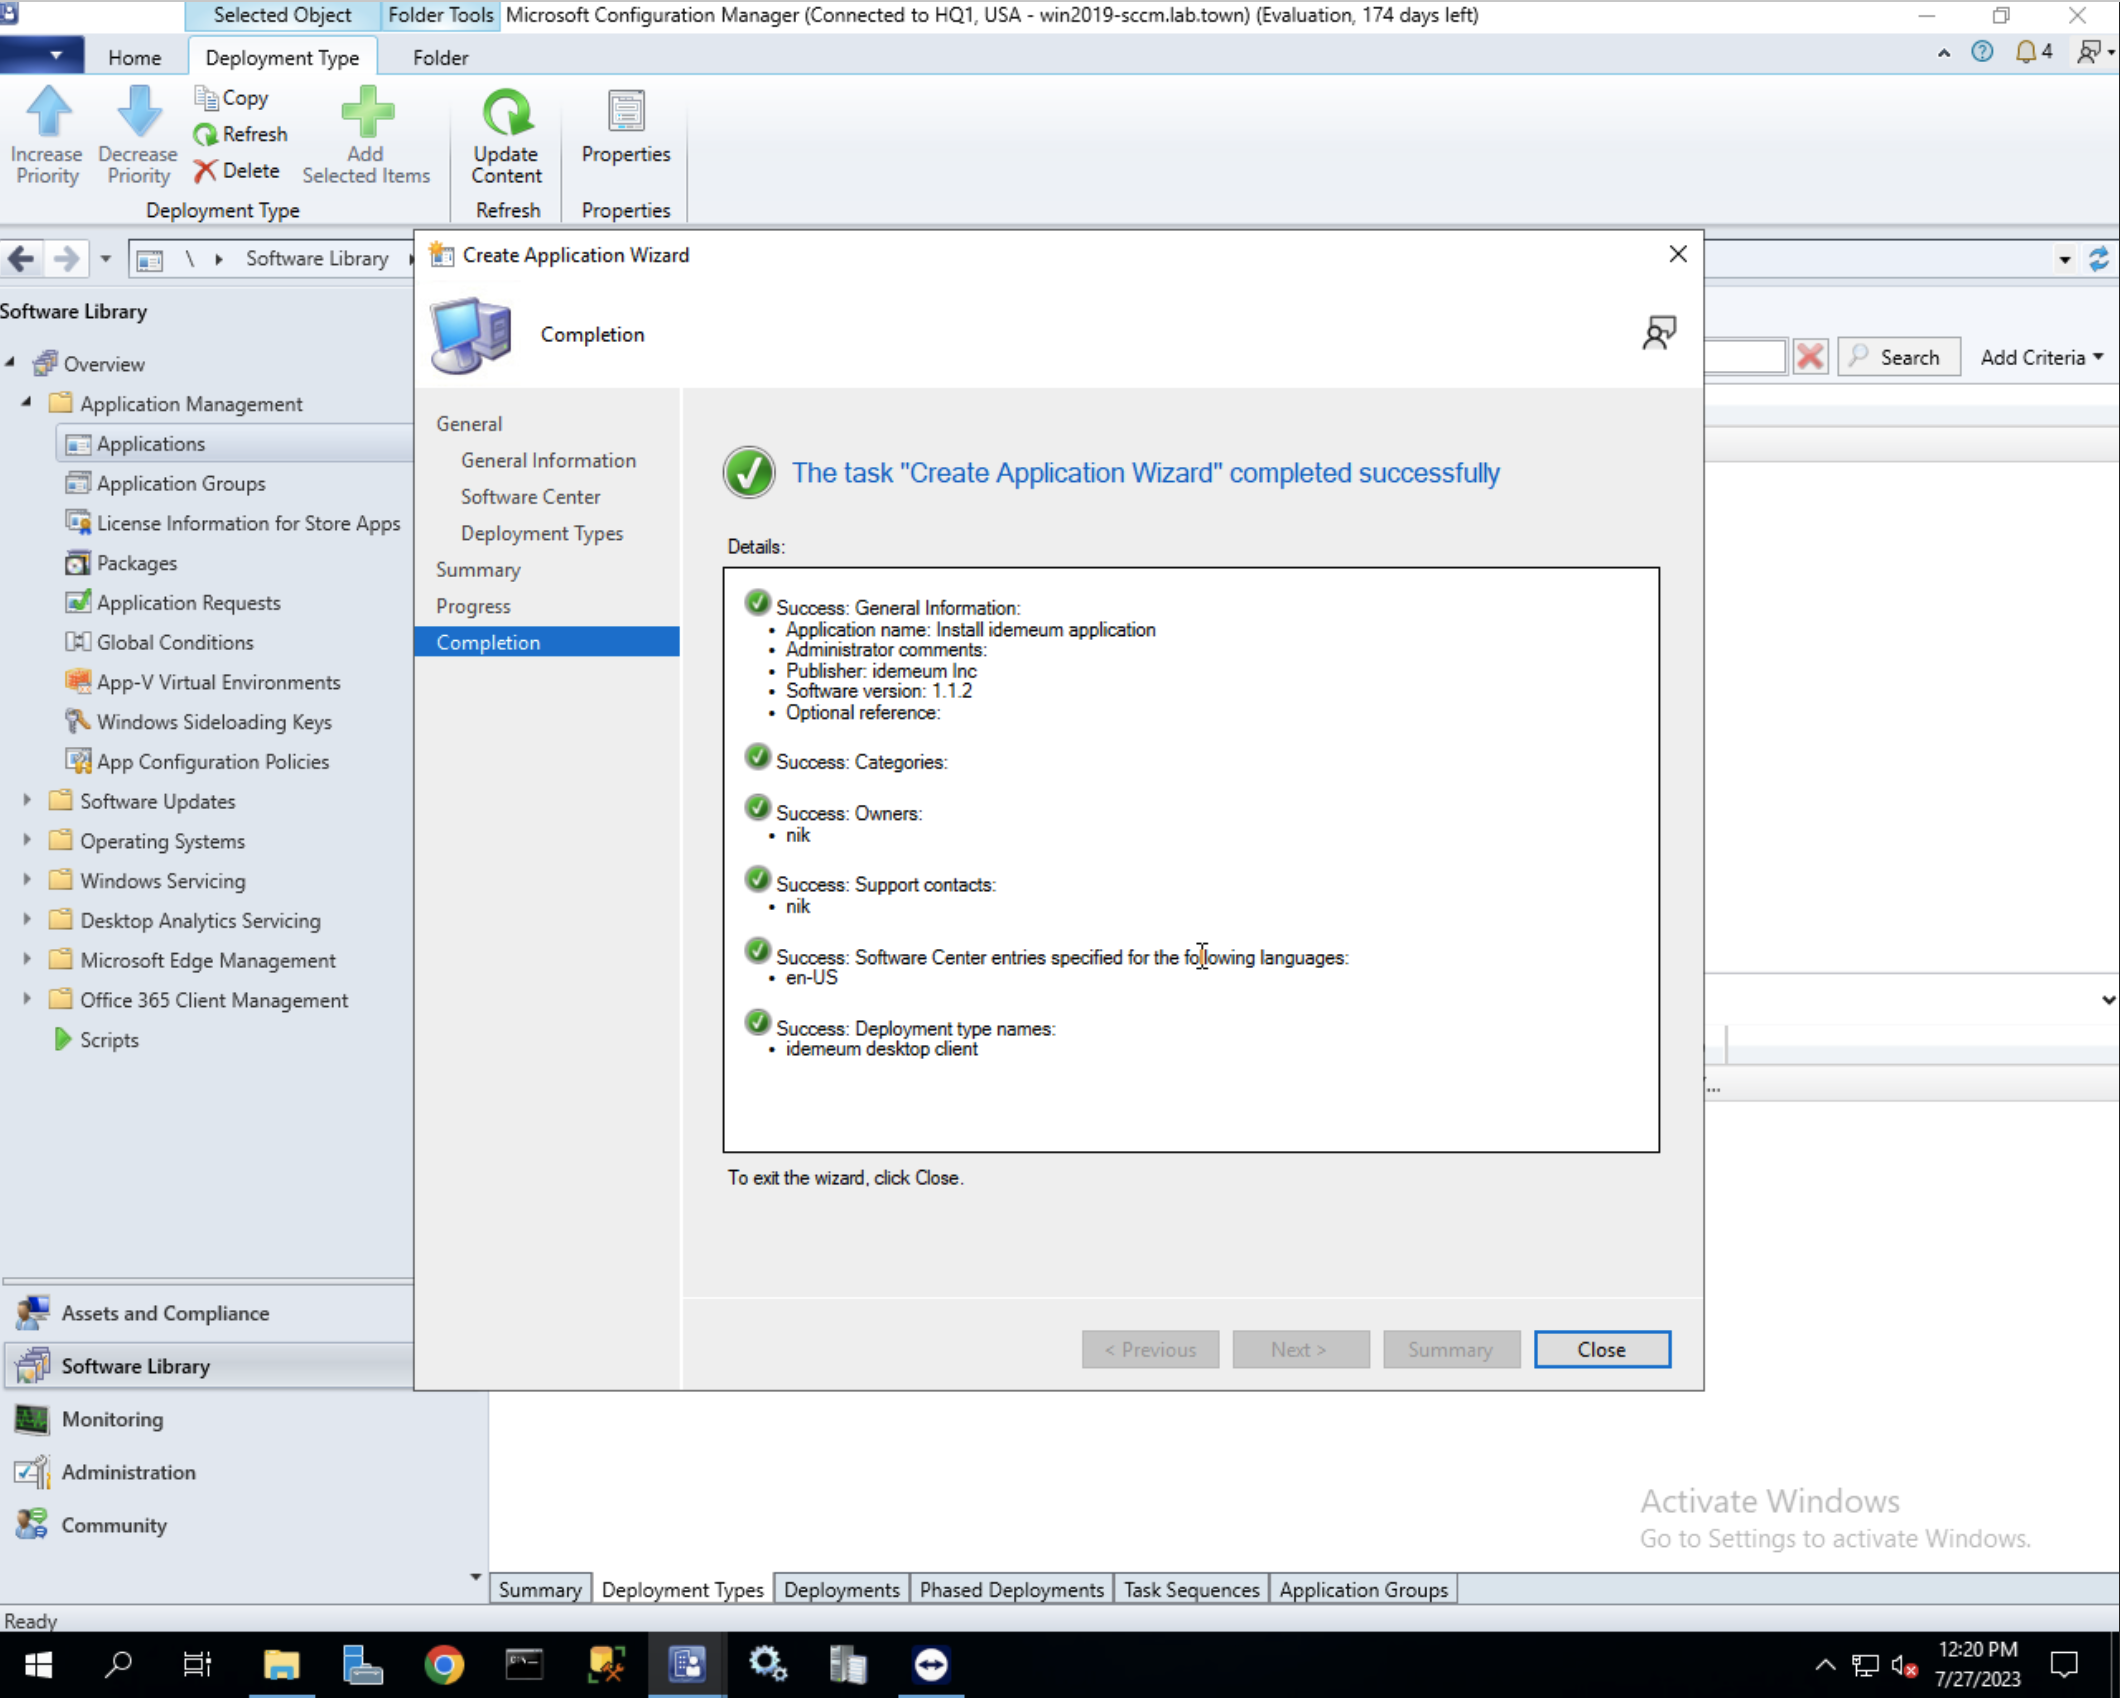
- And then you can close the Deployment Type Wizard once the configuration is successful
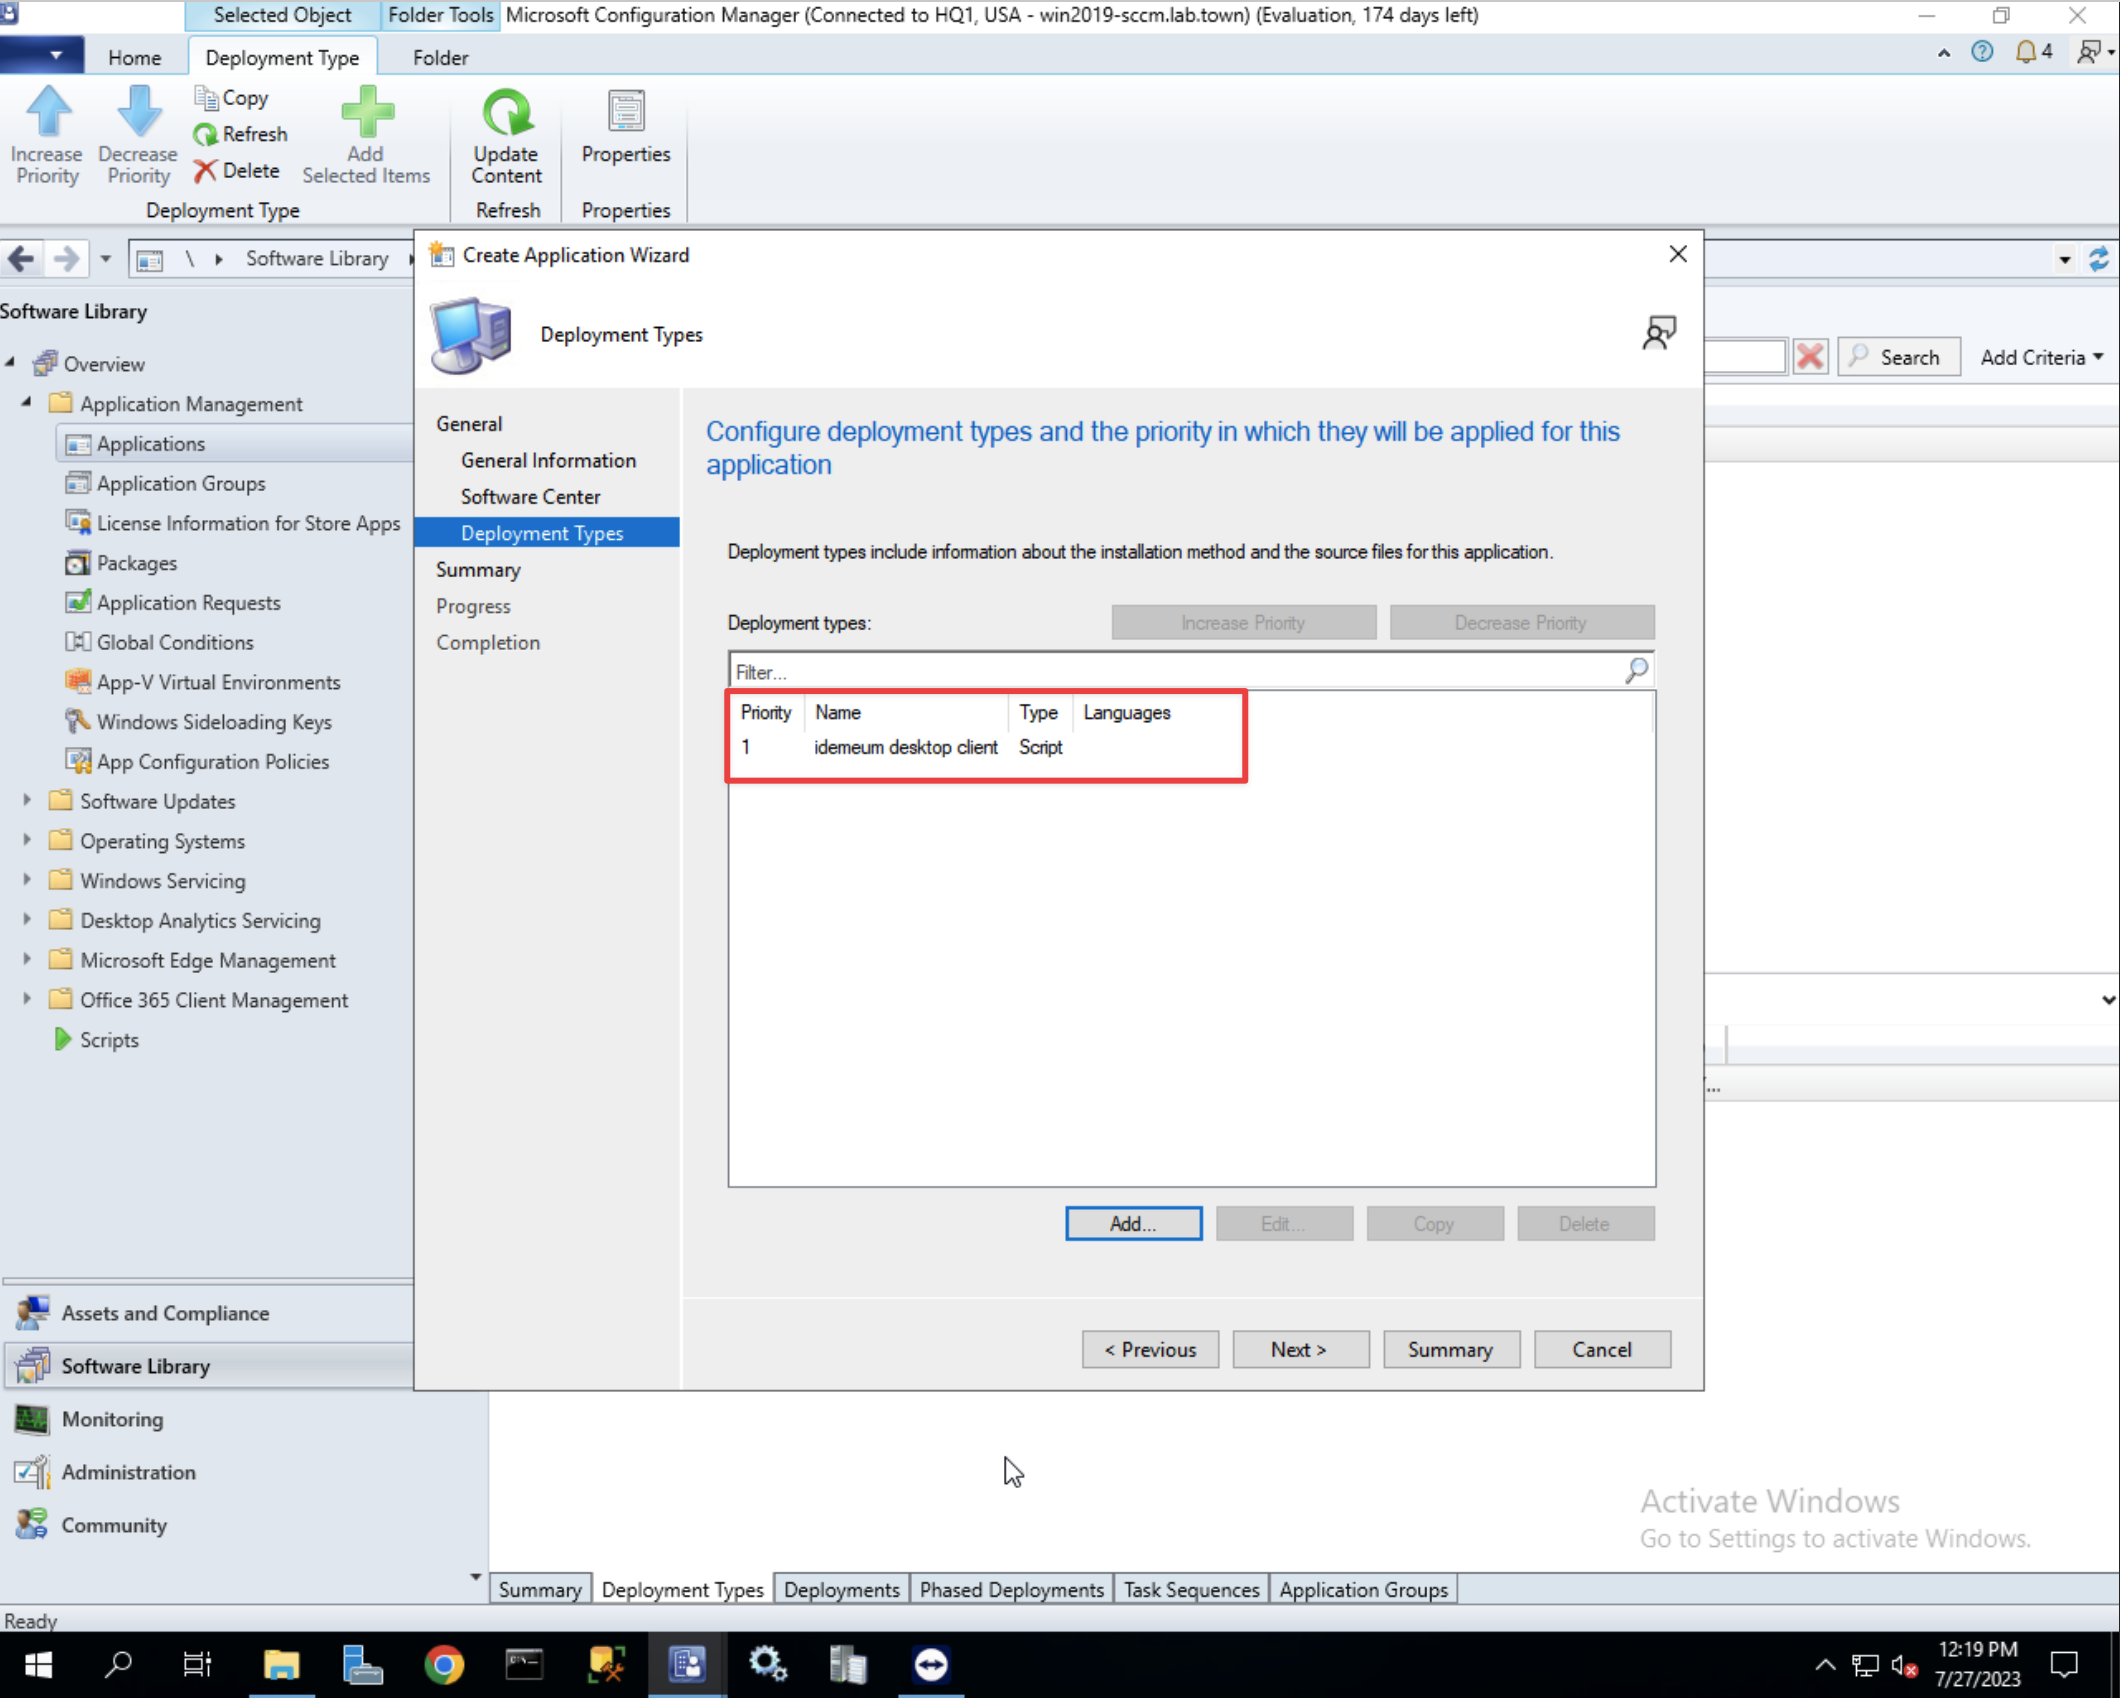
- Move to the next summary section, and click Next to complete application creation
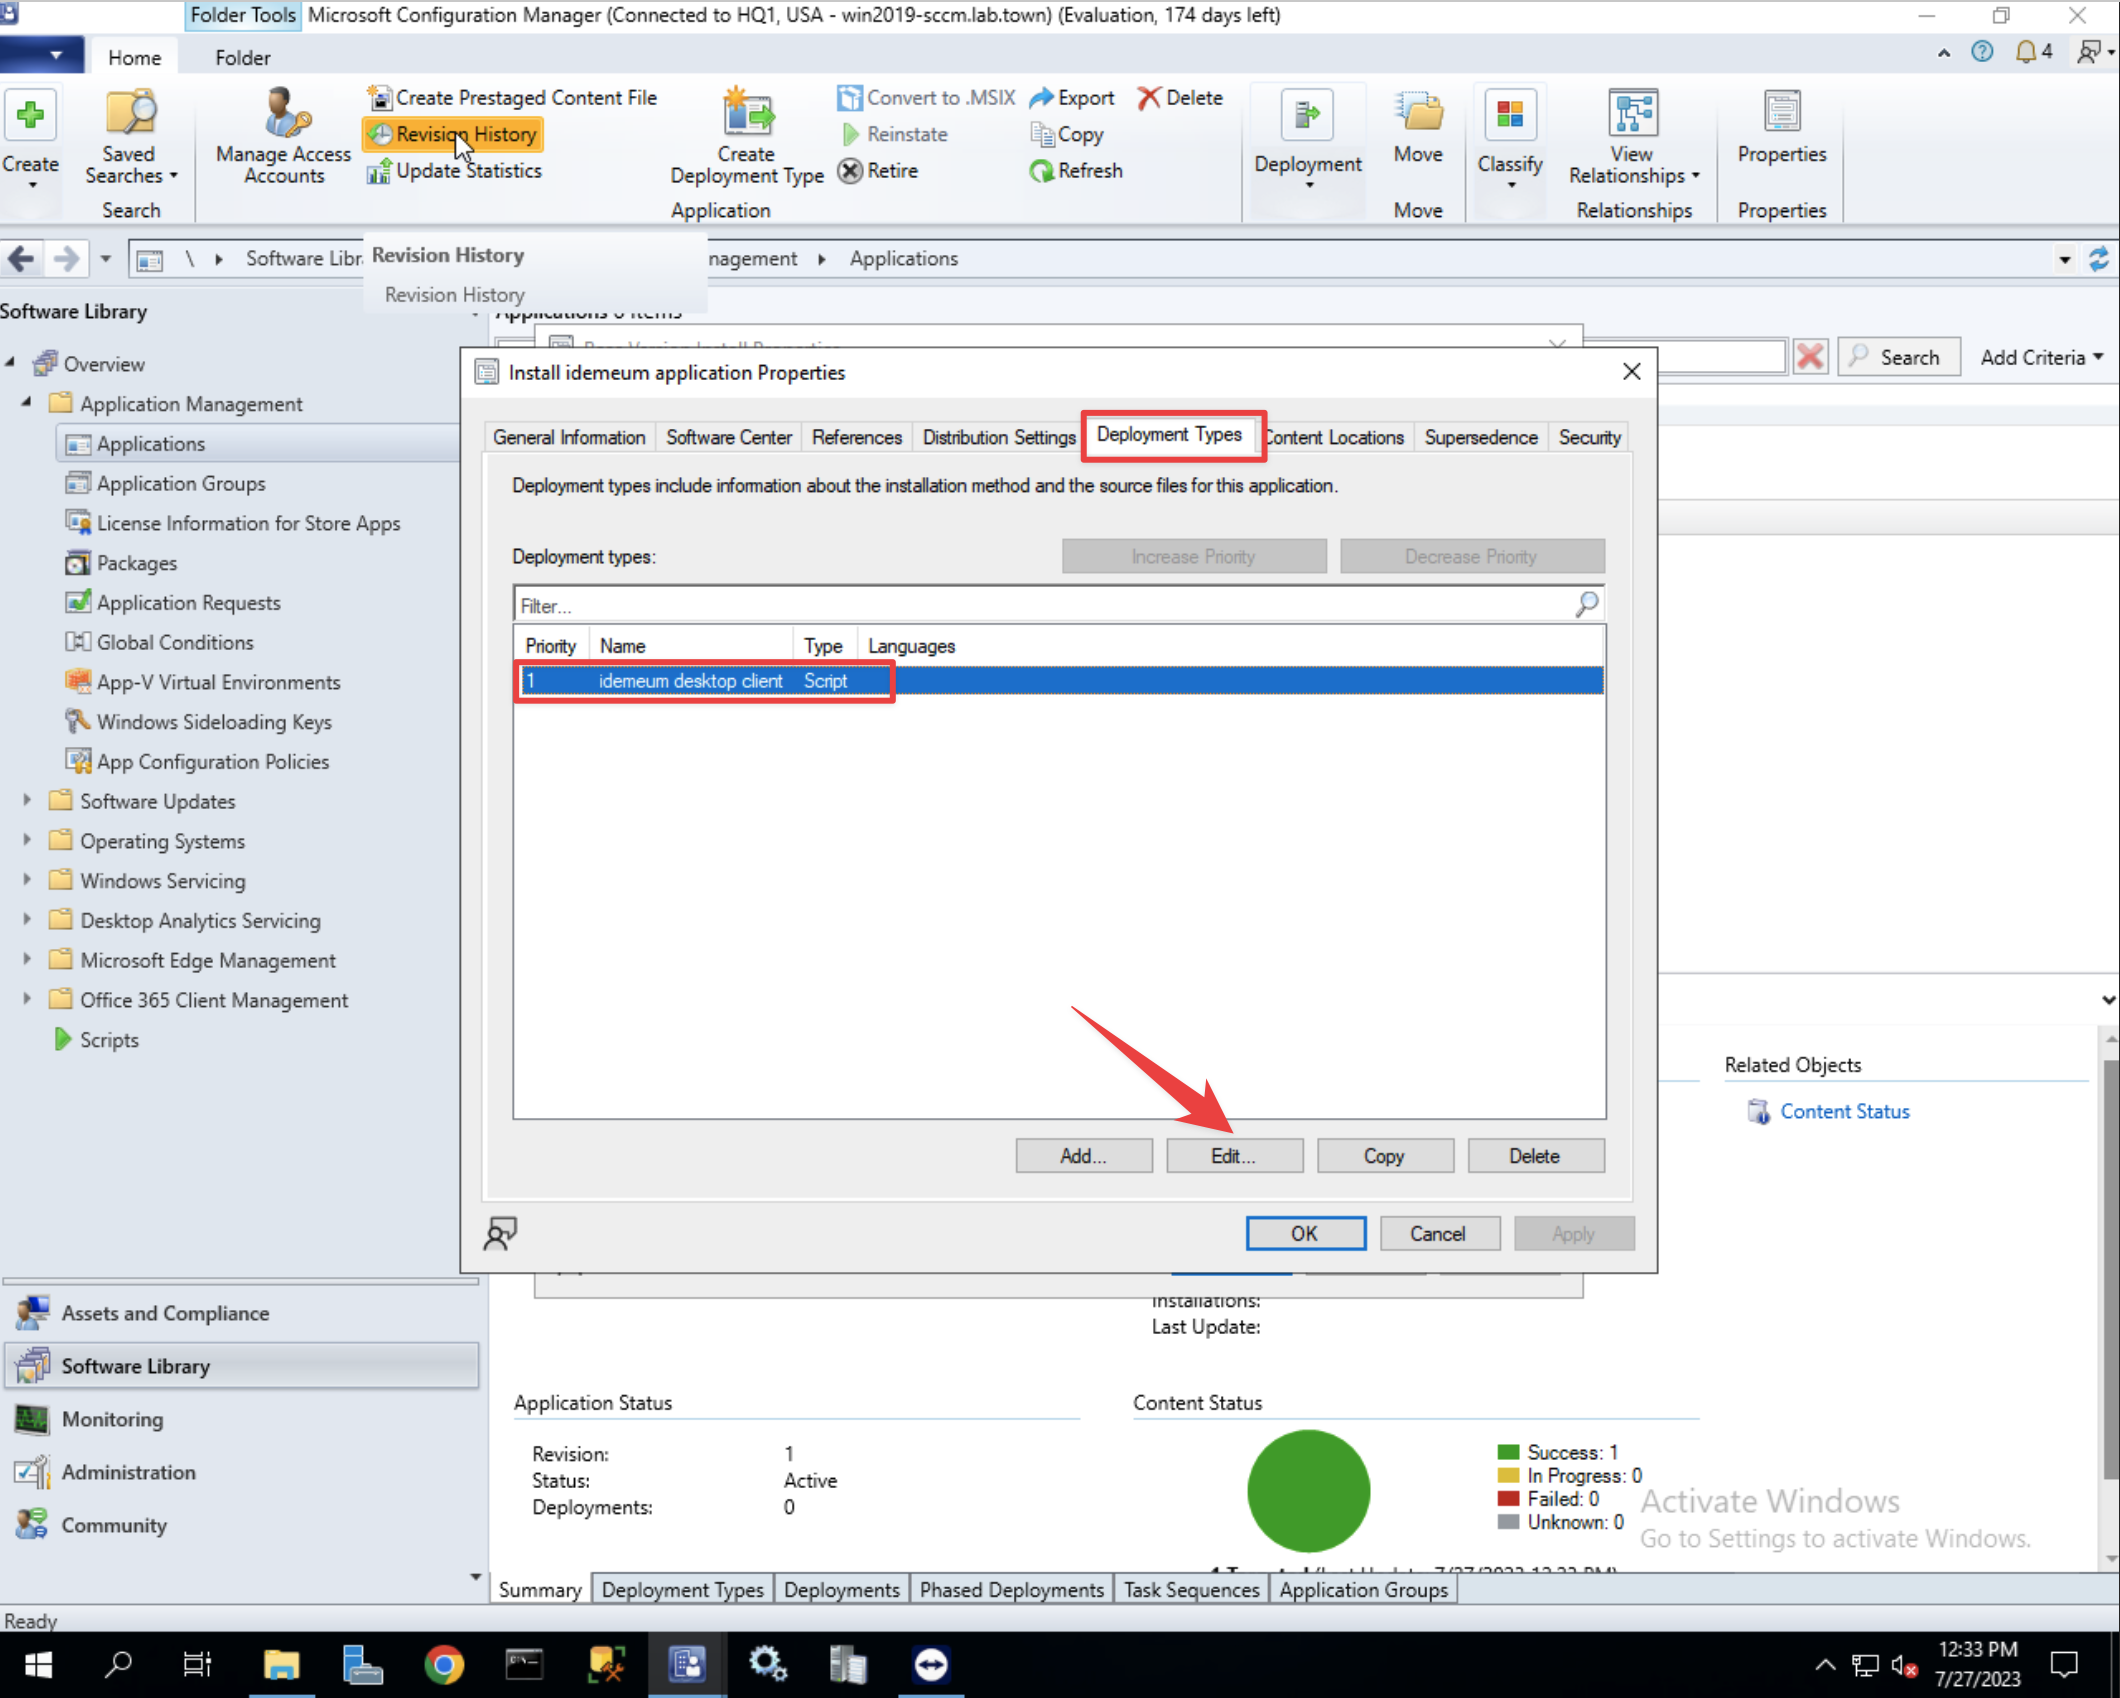
Now we will need to specify some additional settings for deployment
- Right click on your newly created application and choose
Properties - Navigate to
Deployment types, select your deployment type, and clickEdit
- In the Content section choose
Download content from distribution point and run locally
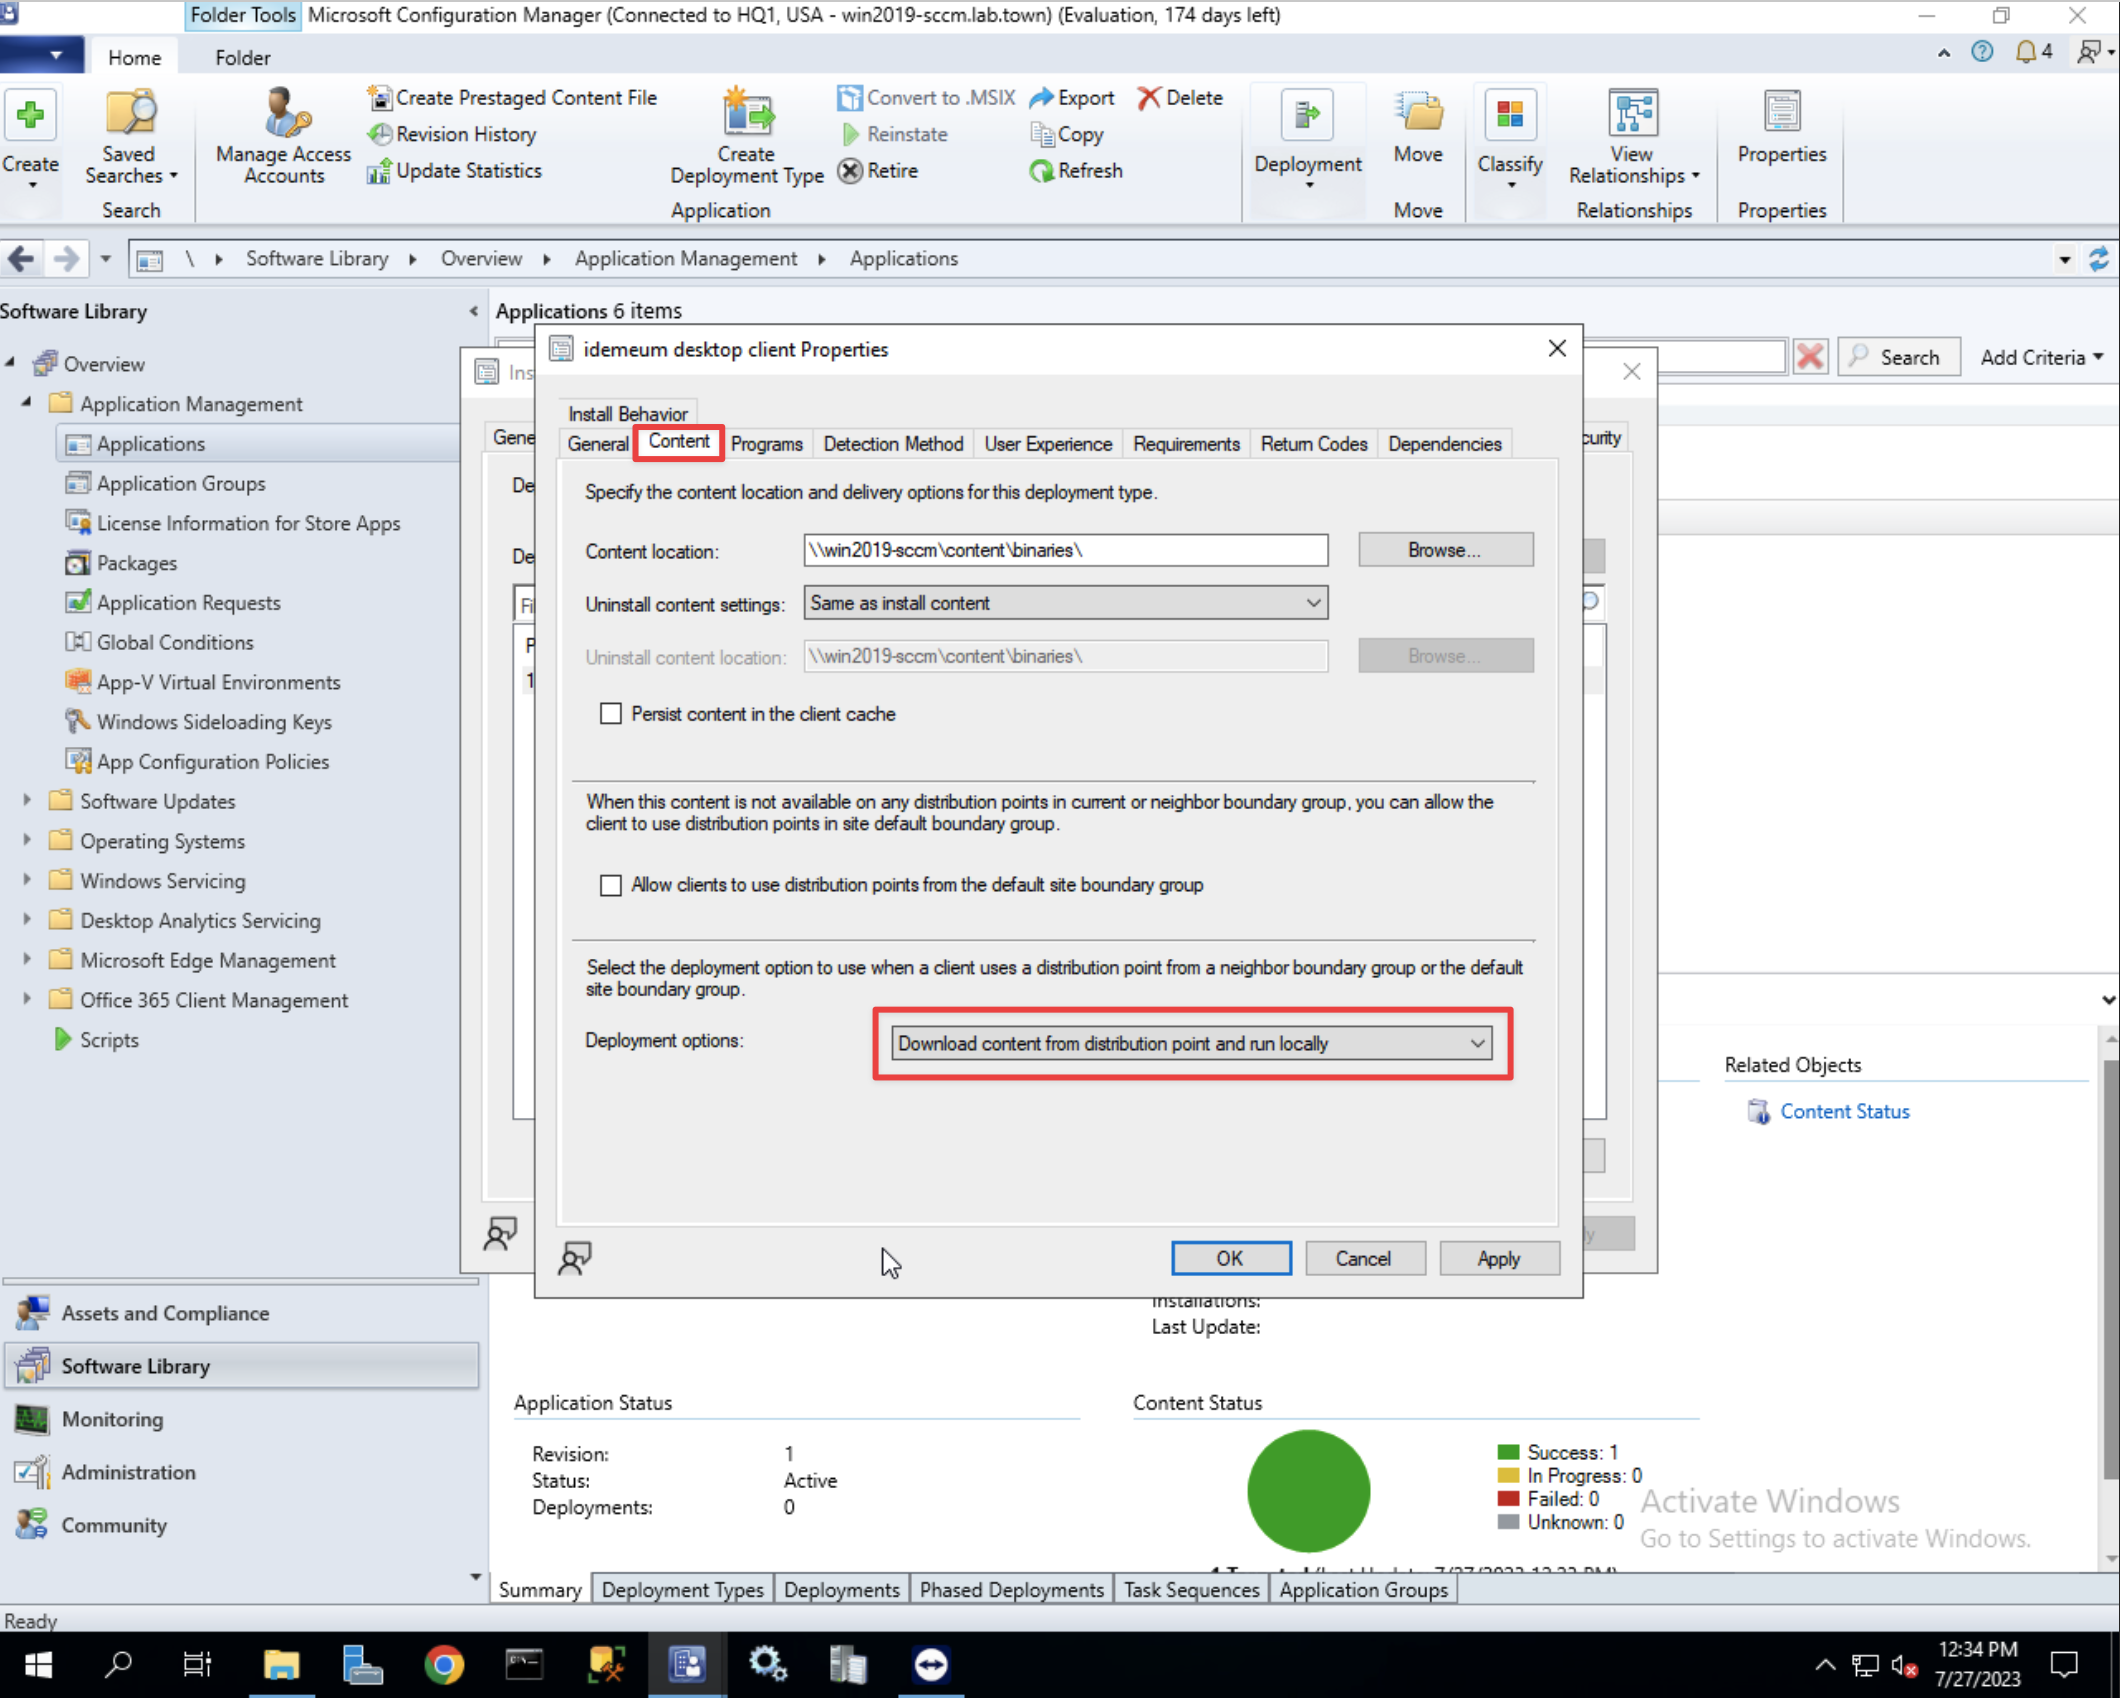
- Click Apply and Ok to save changes for deployment type
Distribute content in SCCM
Now you can distribute content in SCCM to make sure it is available in your distribution point.
- Right click on your newly created application and click
Distribute content
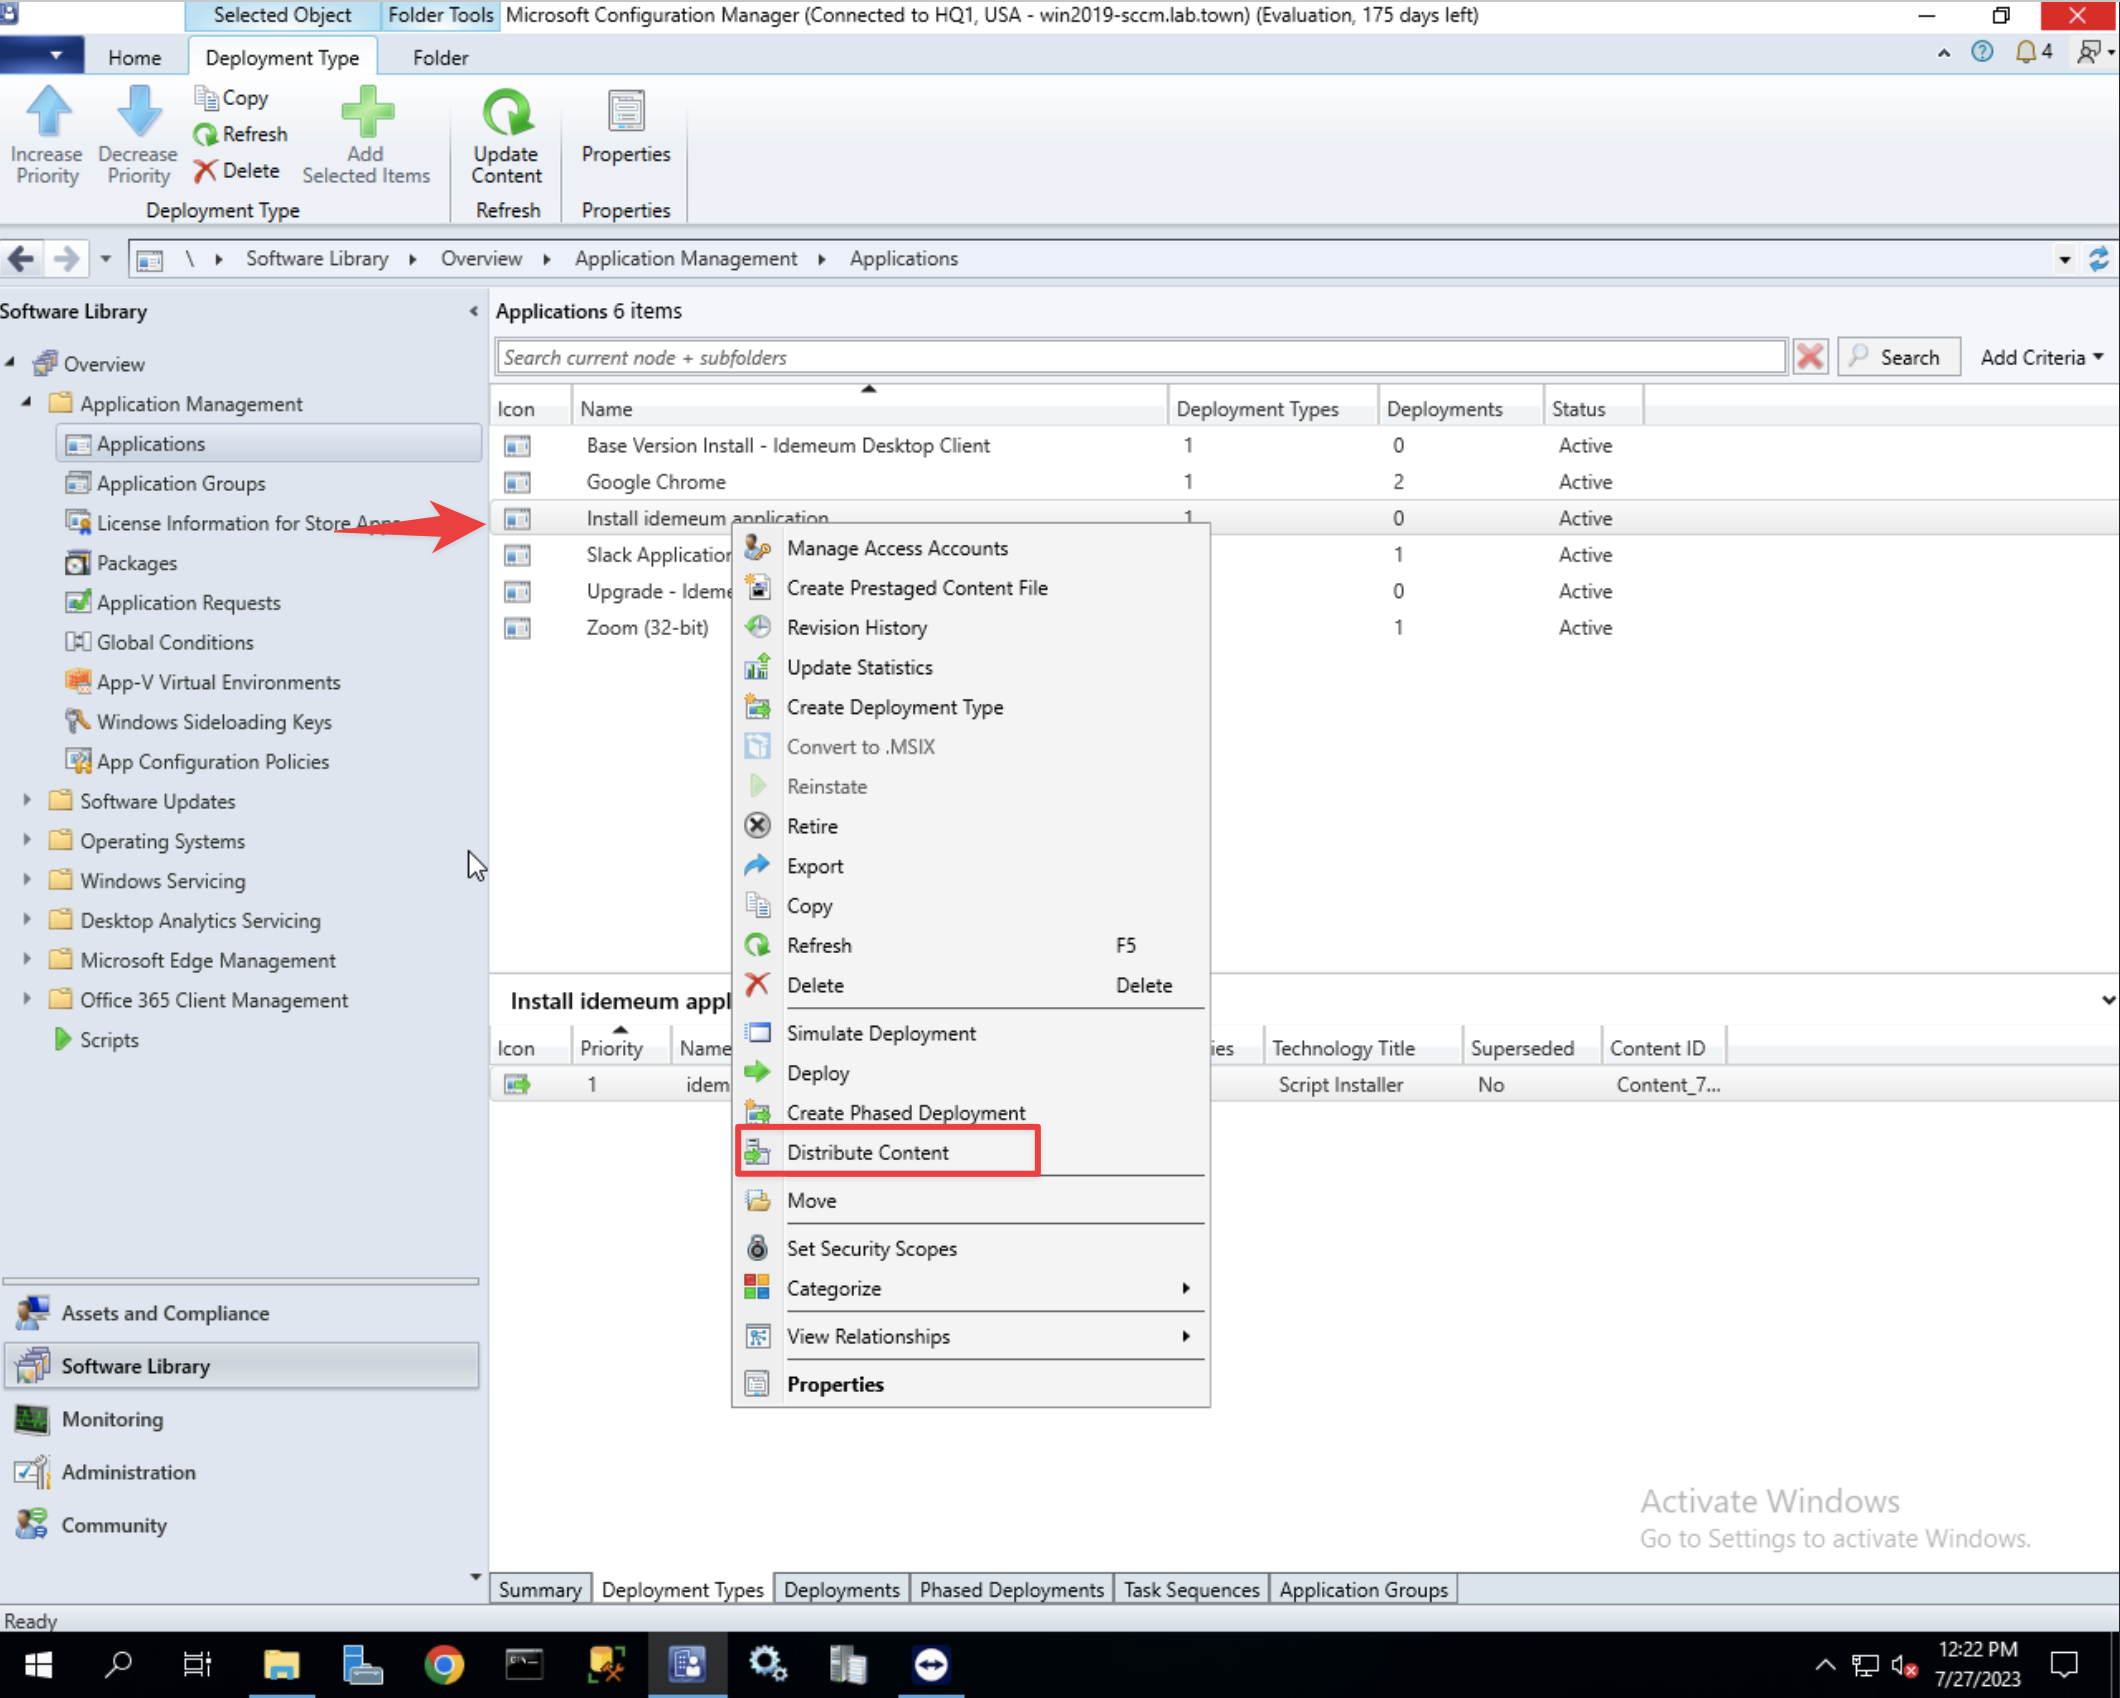
- Complete the wizard by choosing your boundary group or distribution point

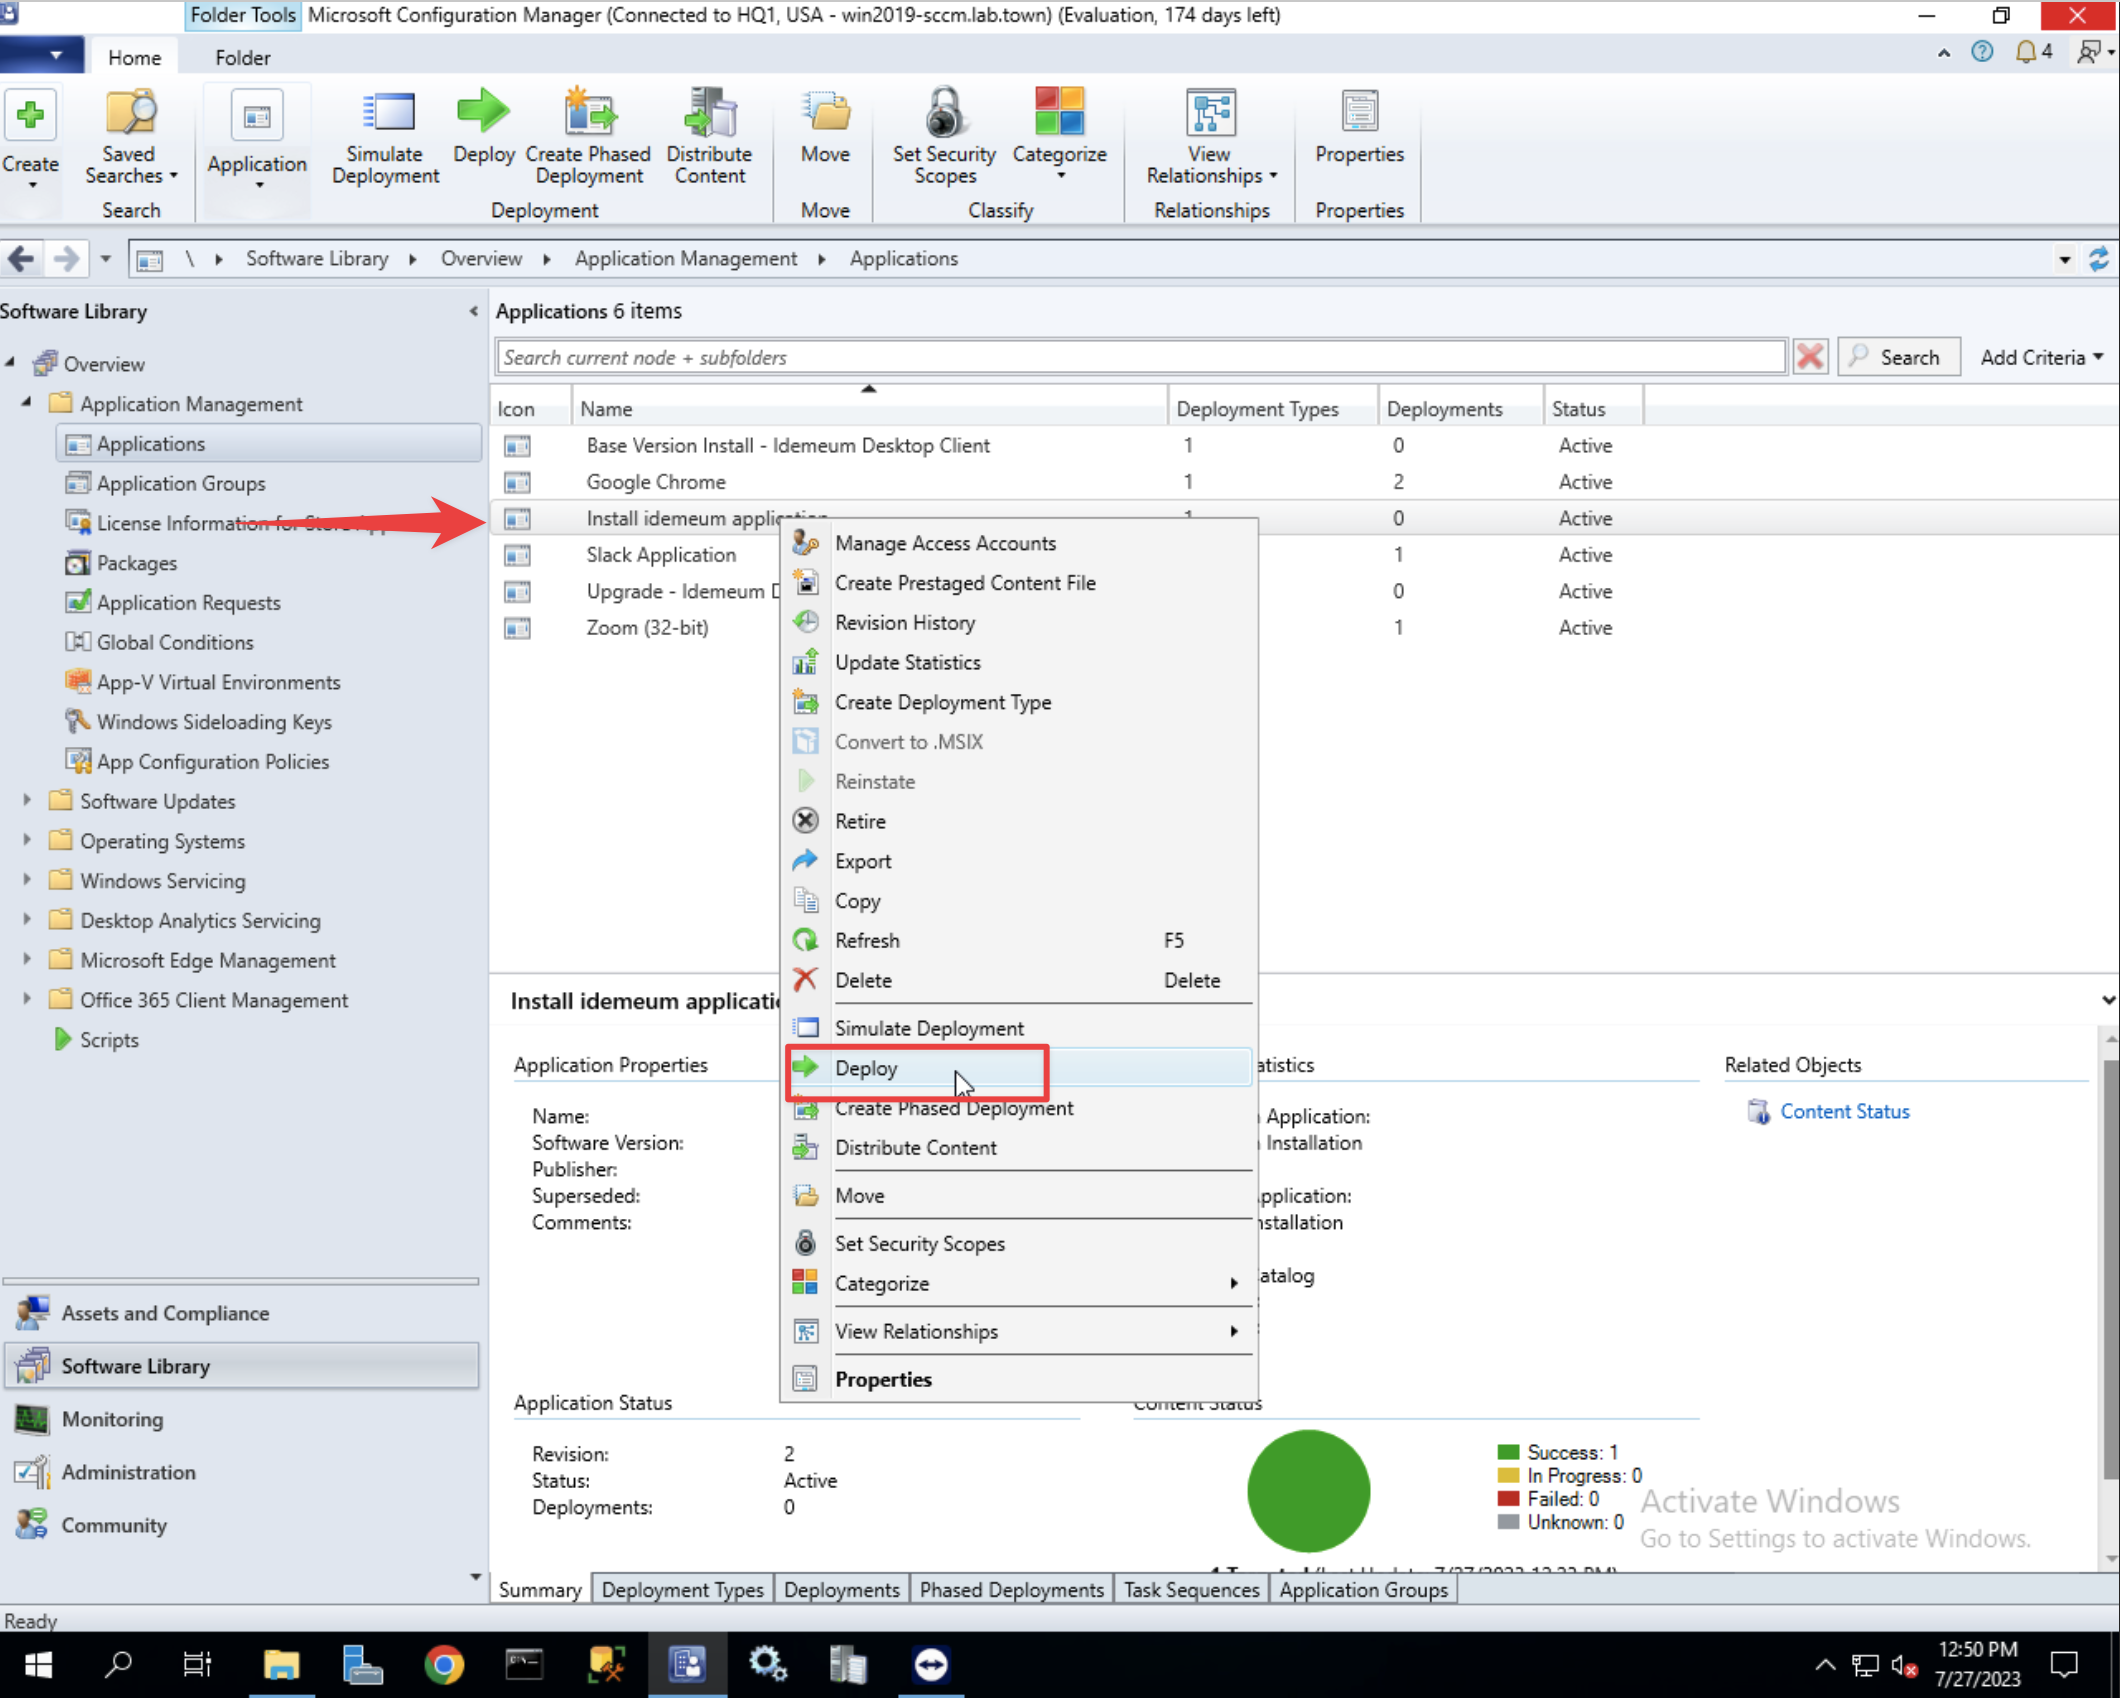
Deploy application in SCCM
Now we can deploy application to target Workstations or collections.
- Right click on your newly created application and choose
Deploy
- Choose a collection of devices you would want to deploy the application to
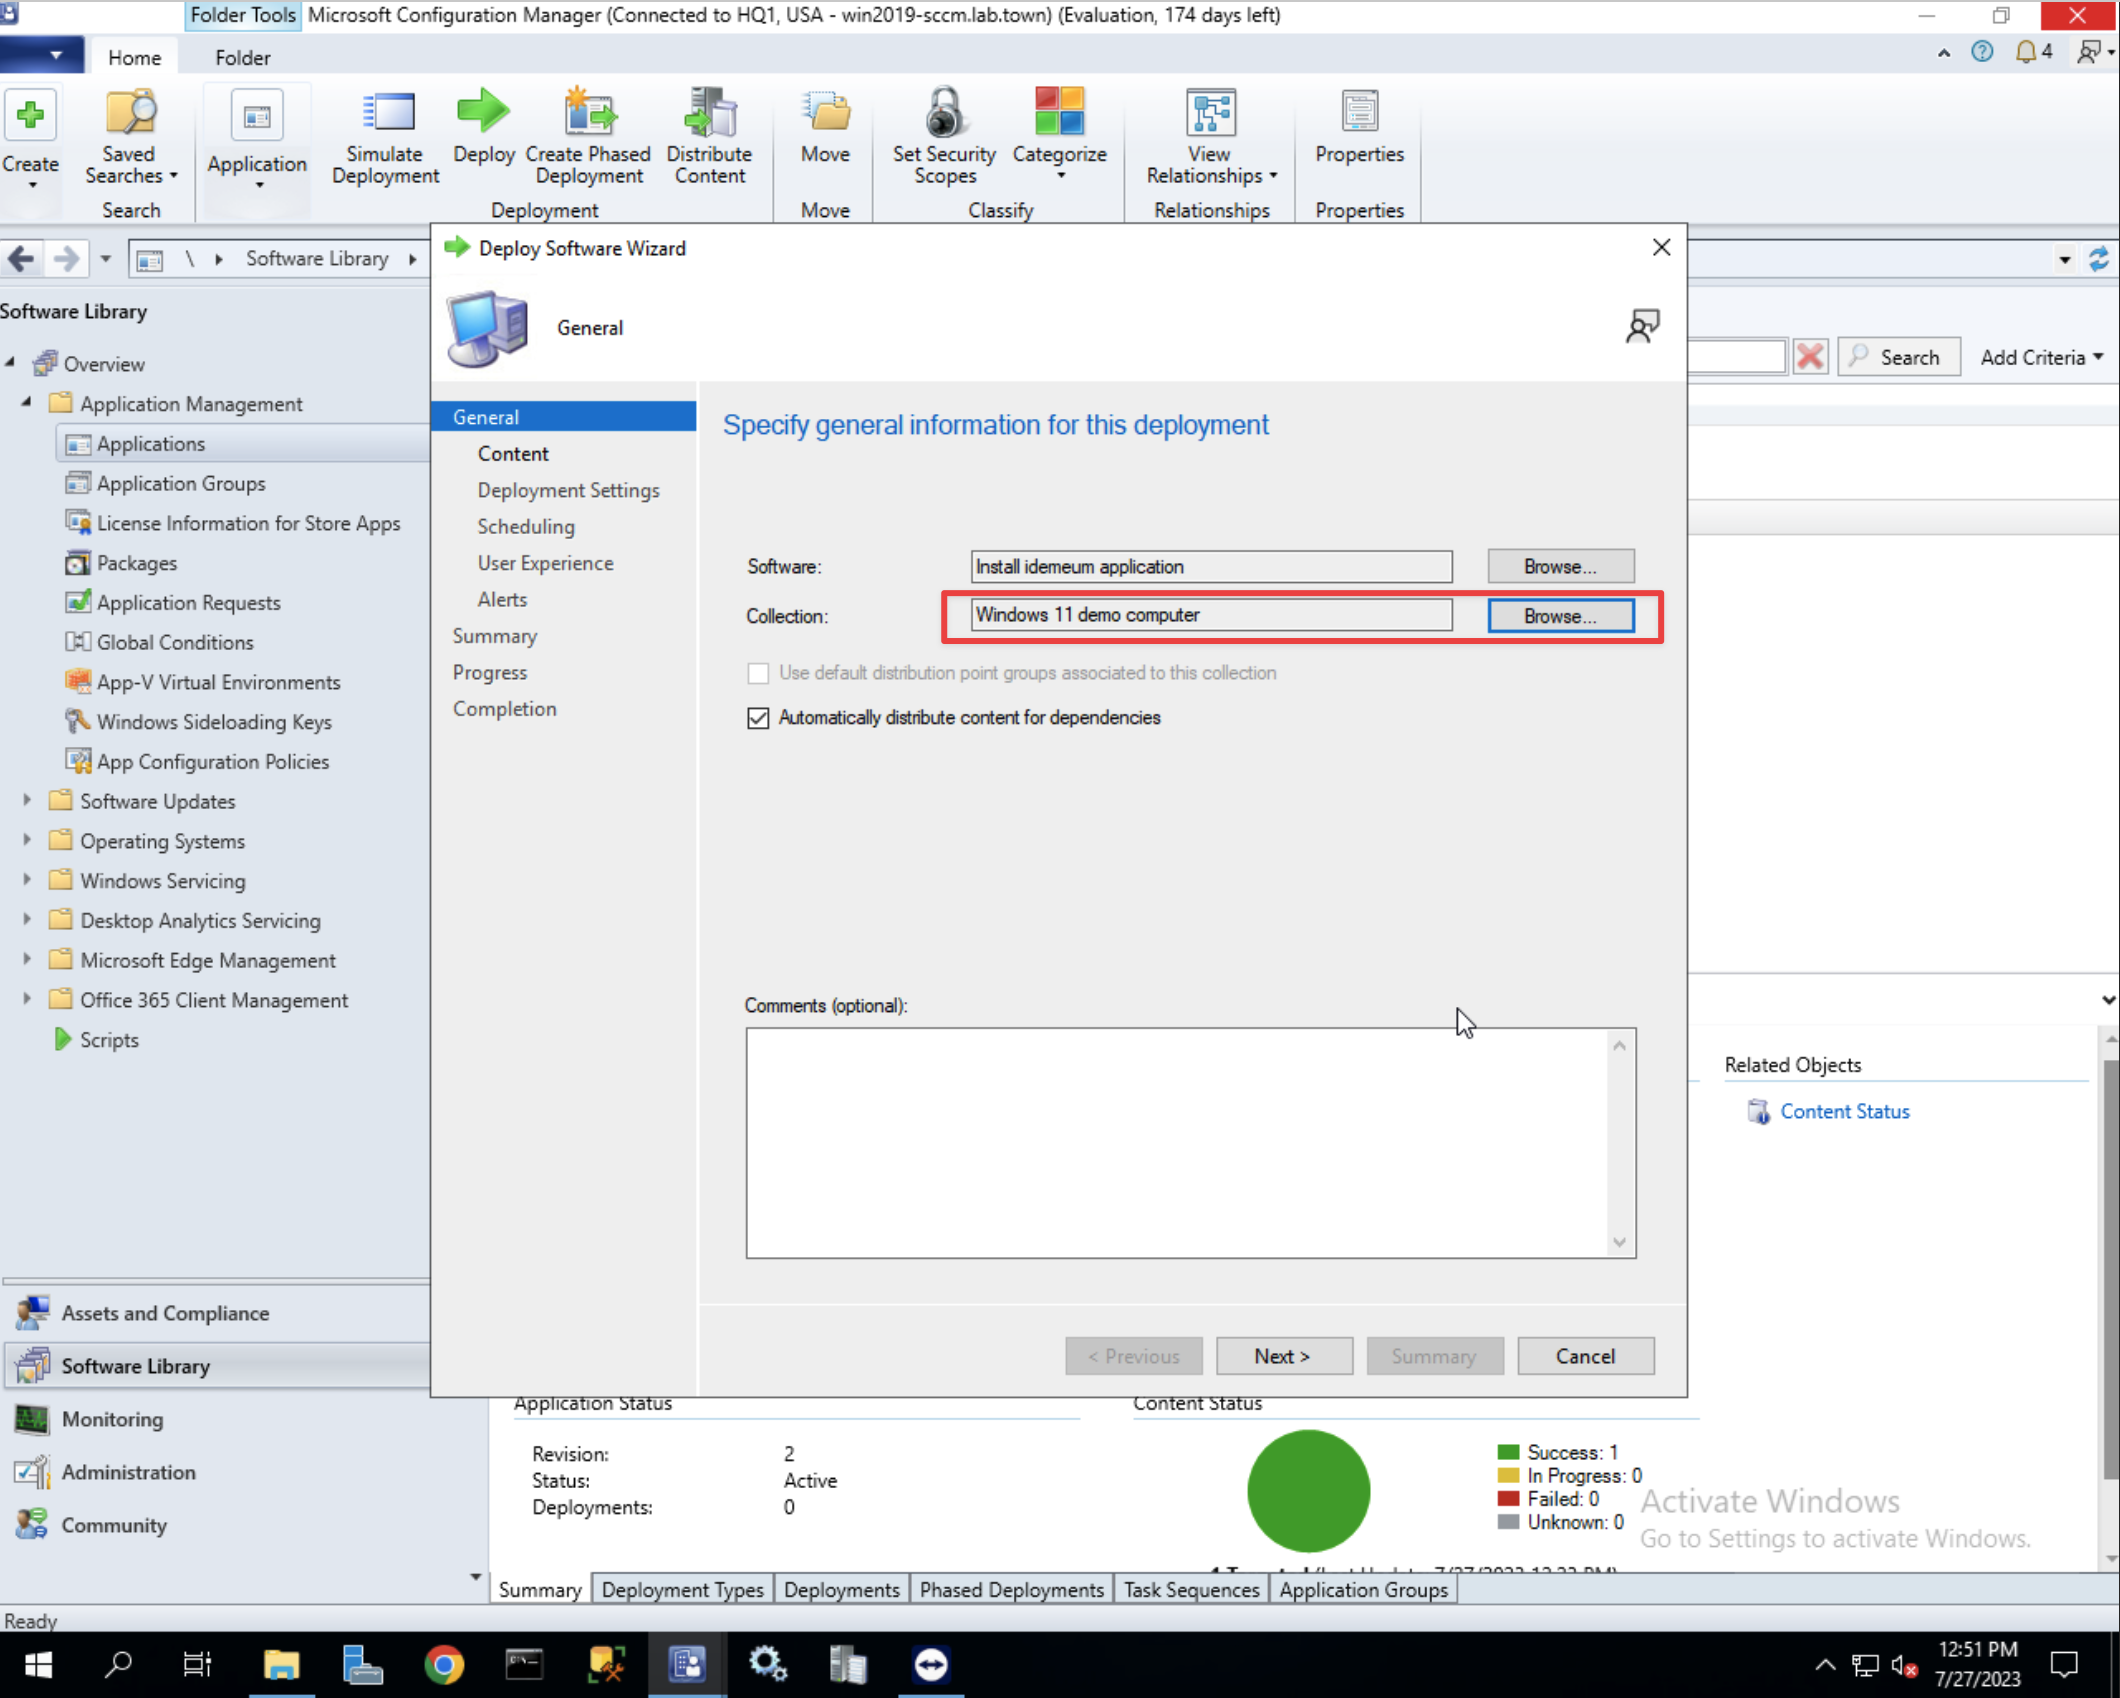
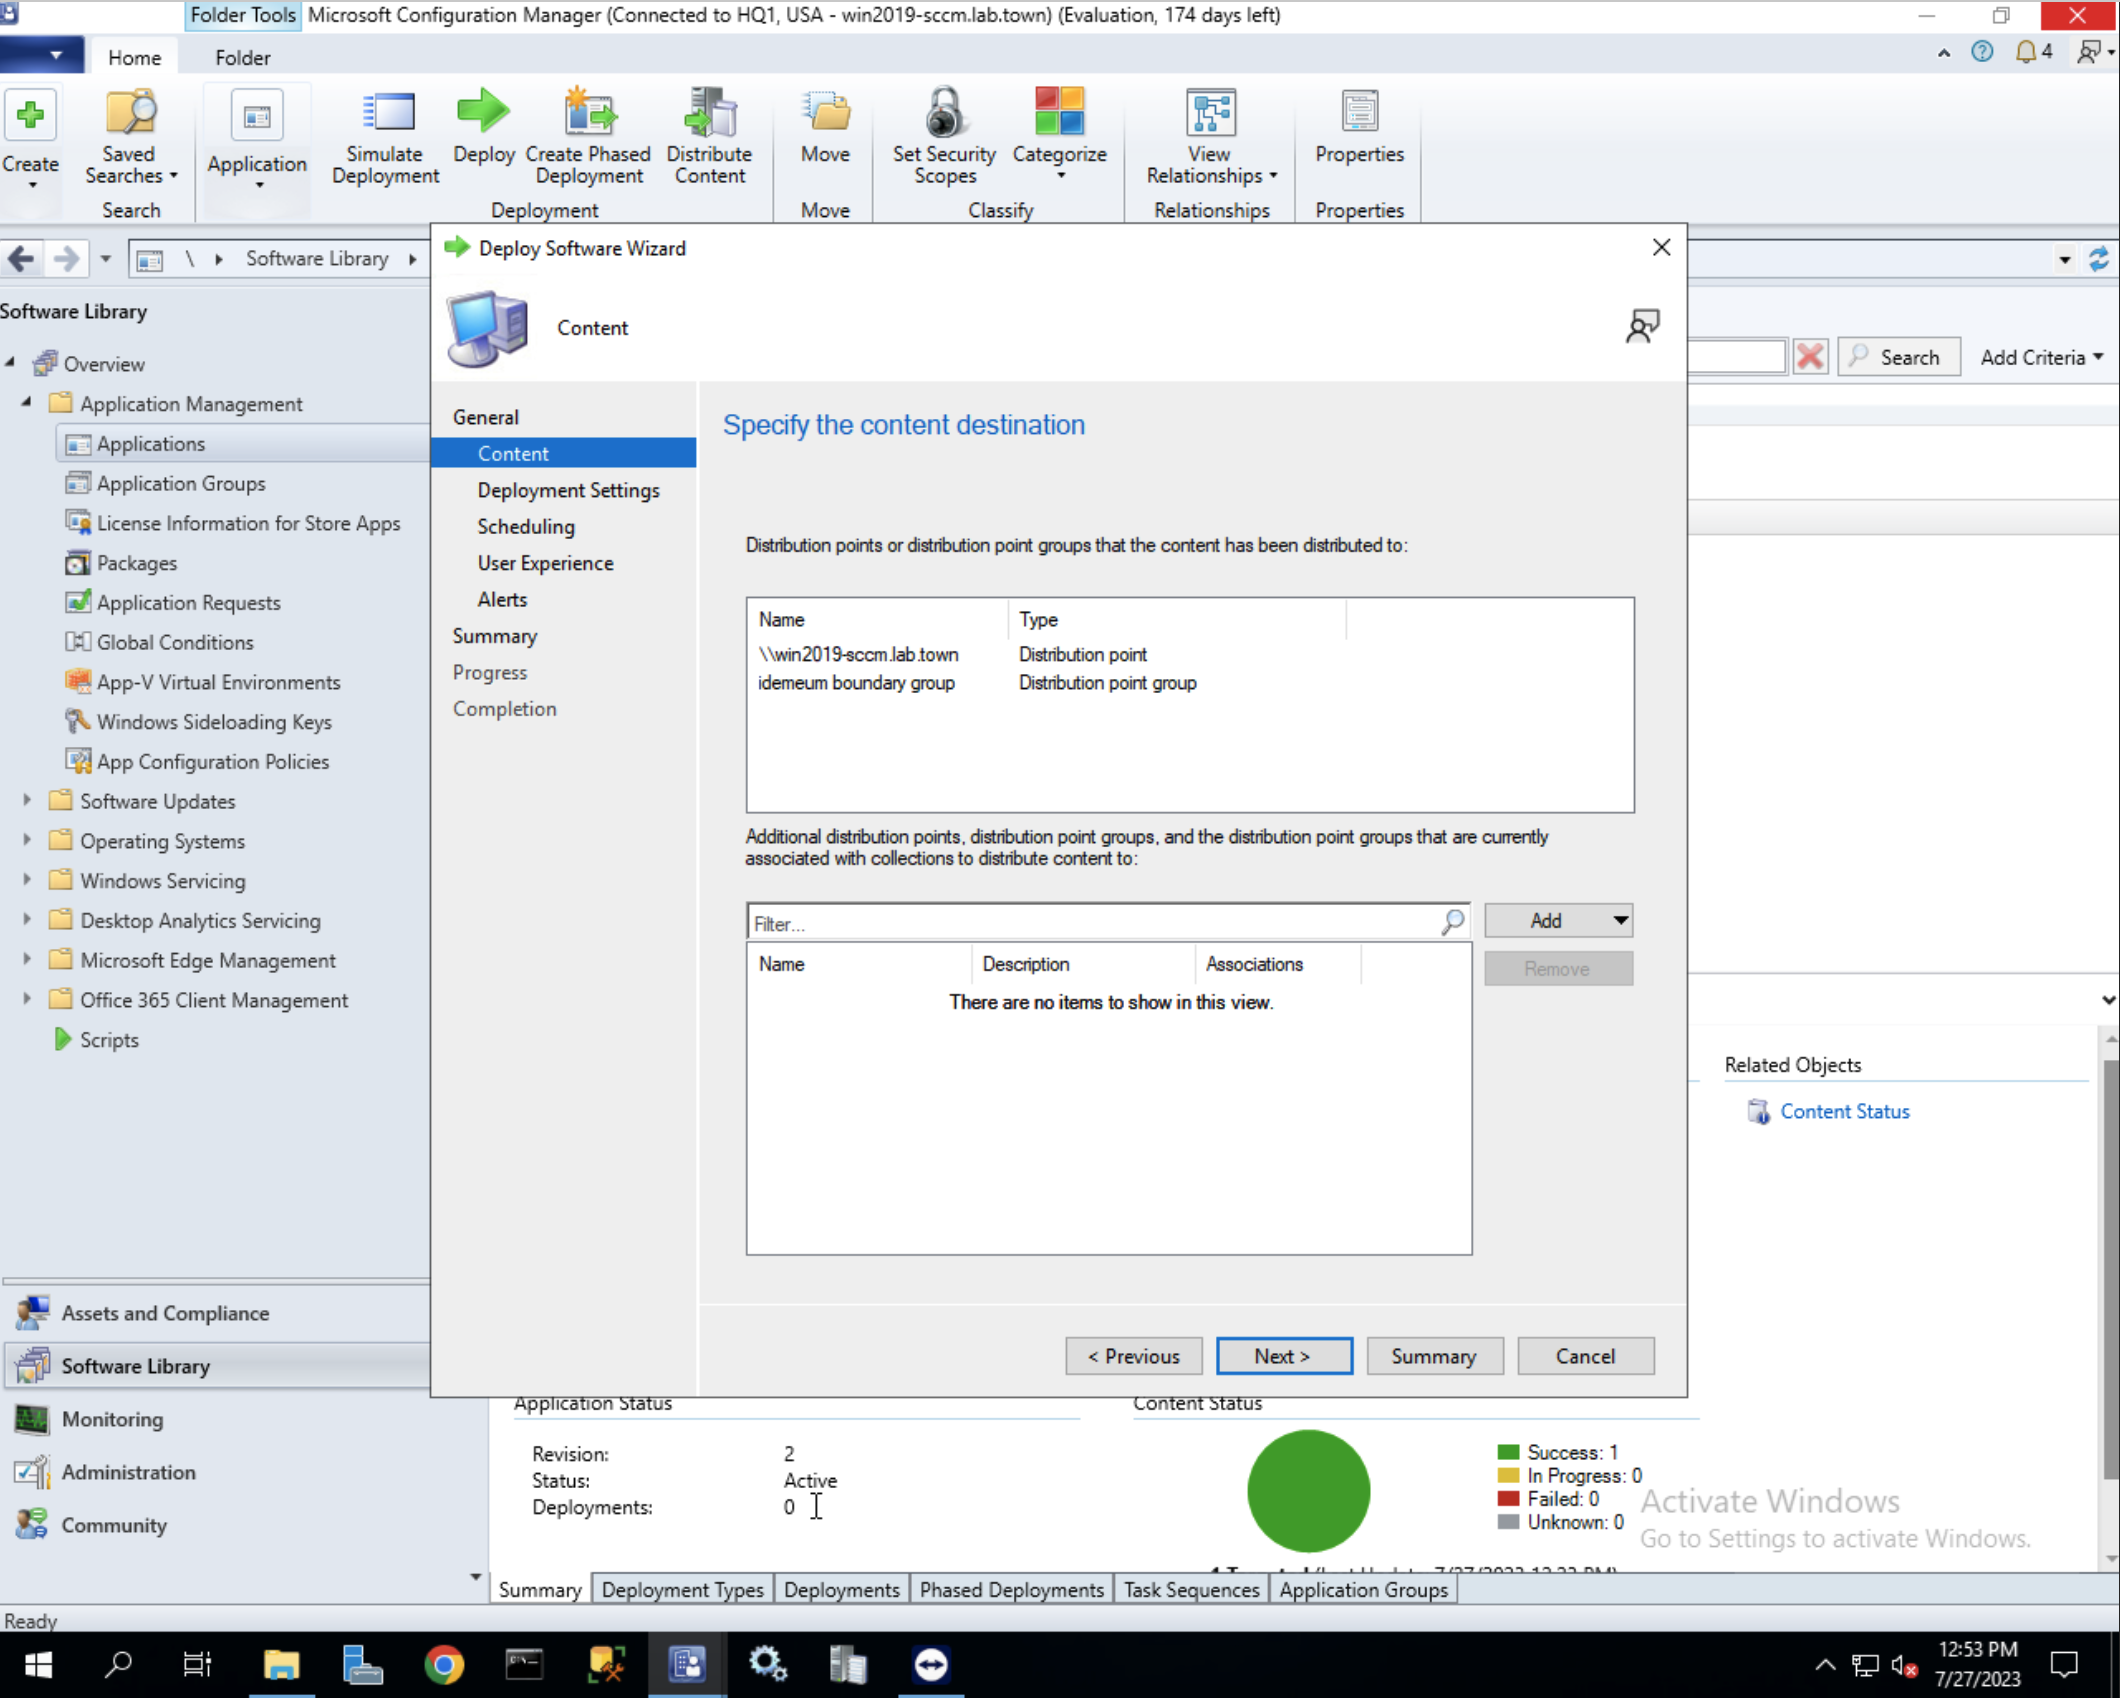
- Make sure you have your distribution points selected
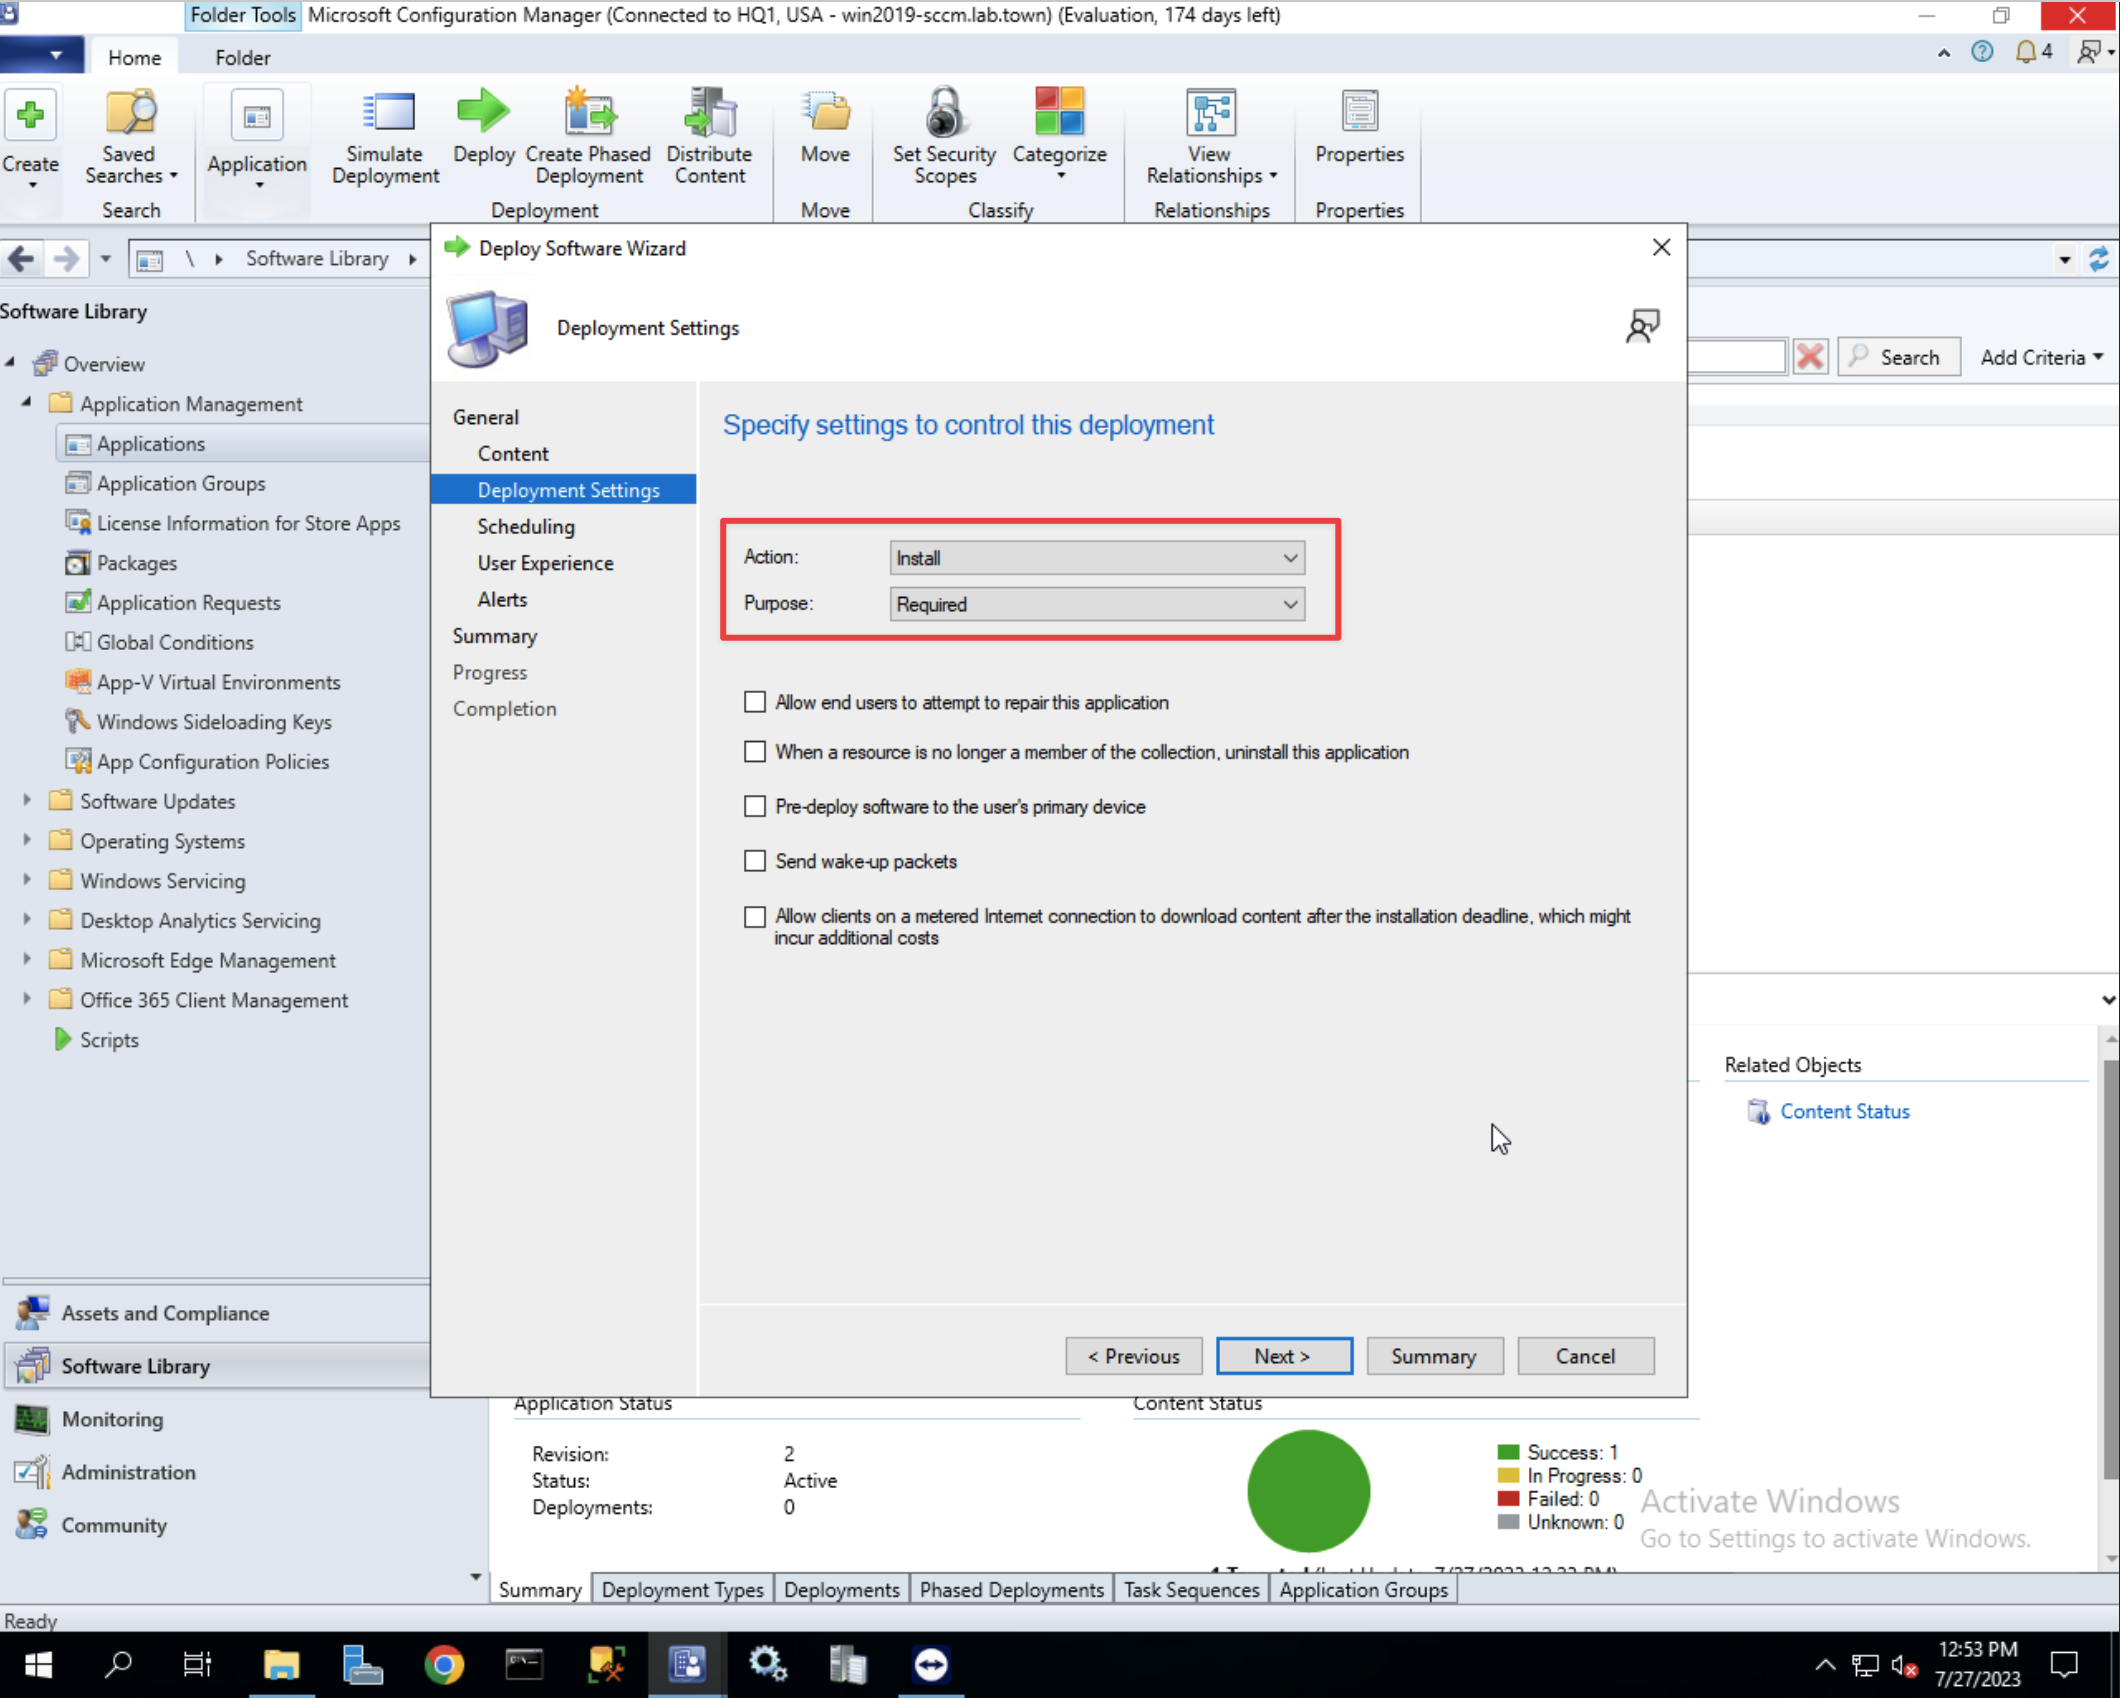
- For
Actionchoose Install, and forPurposechoose Required to make sure application silently installs on workstations
- Choose deployment schedule or leave defaults to deploy as soon as possible
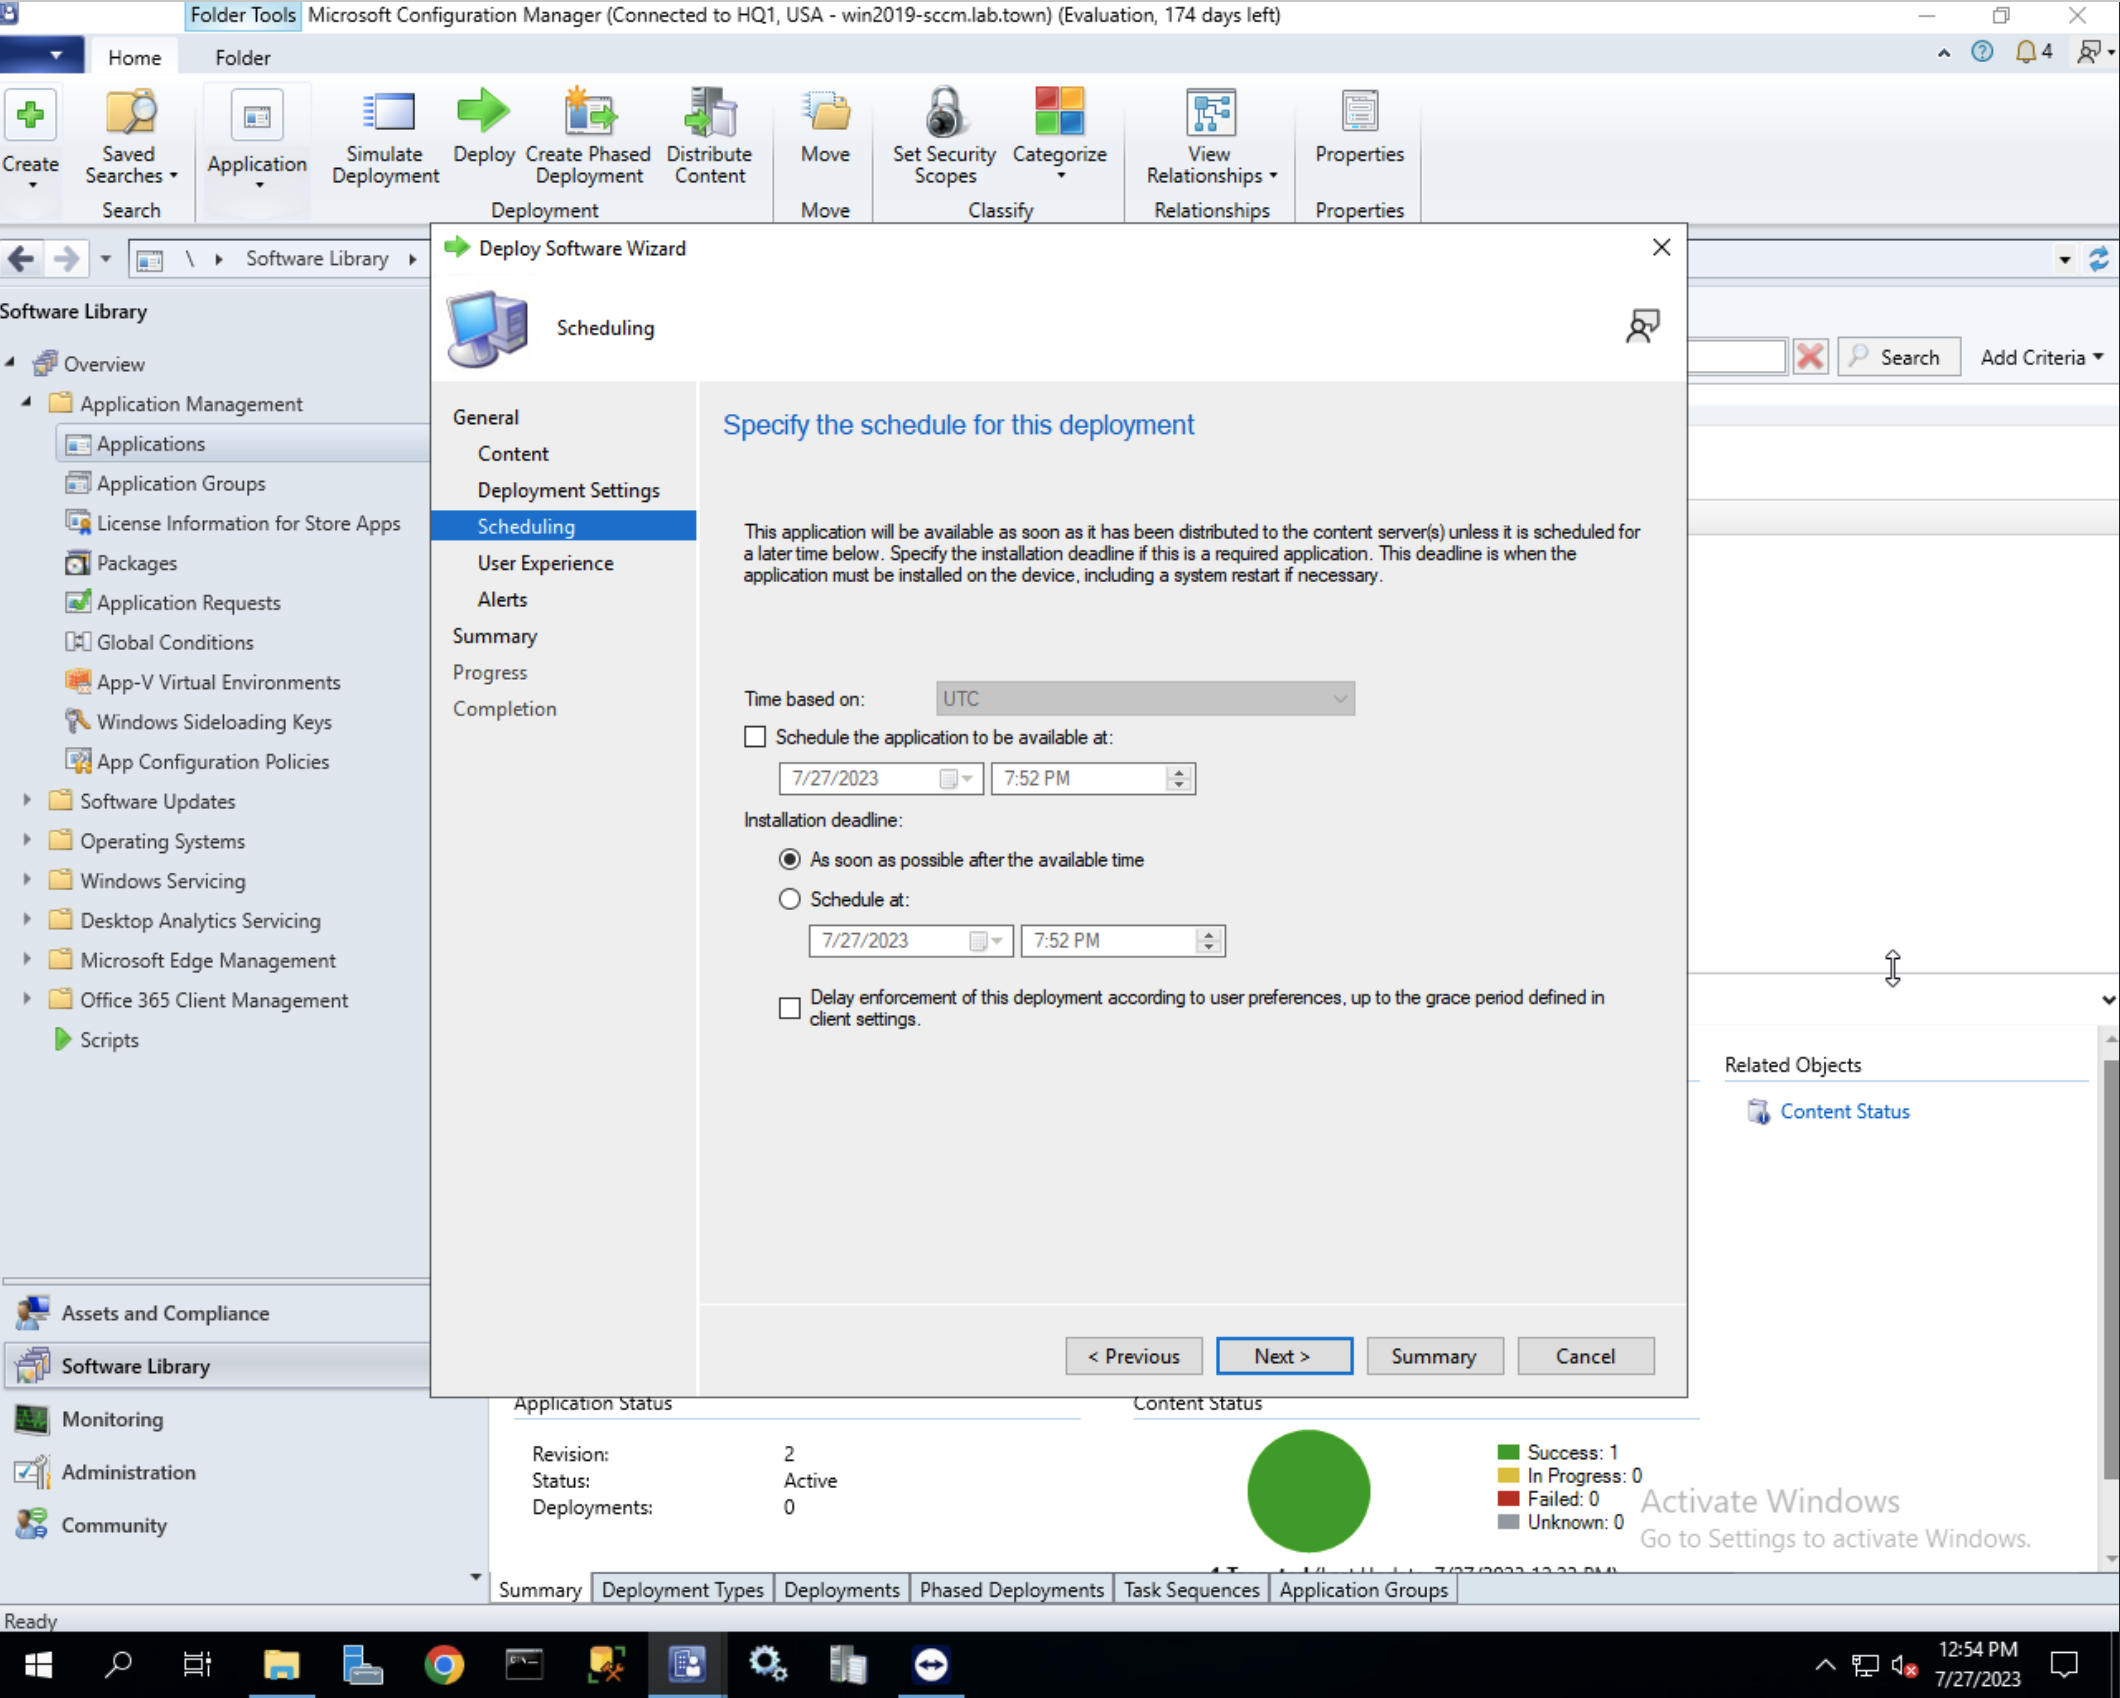
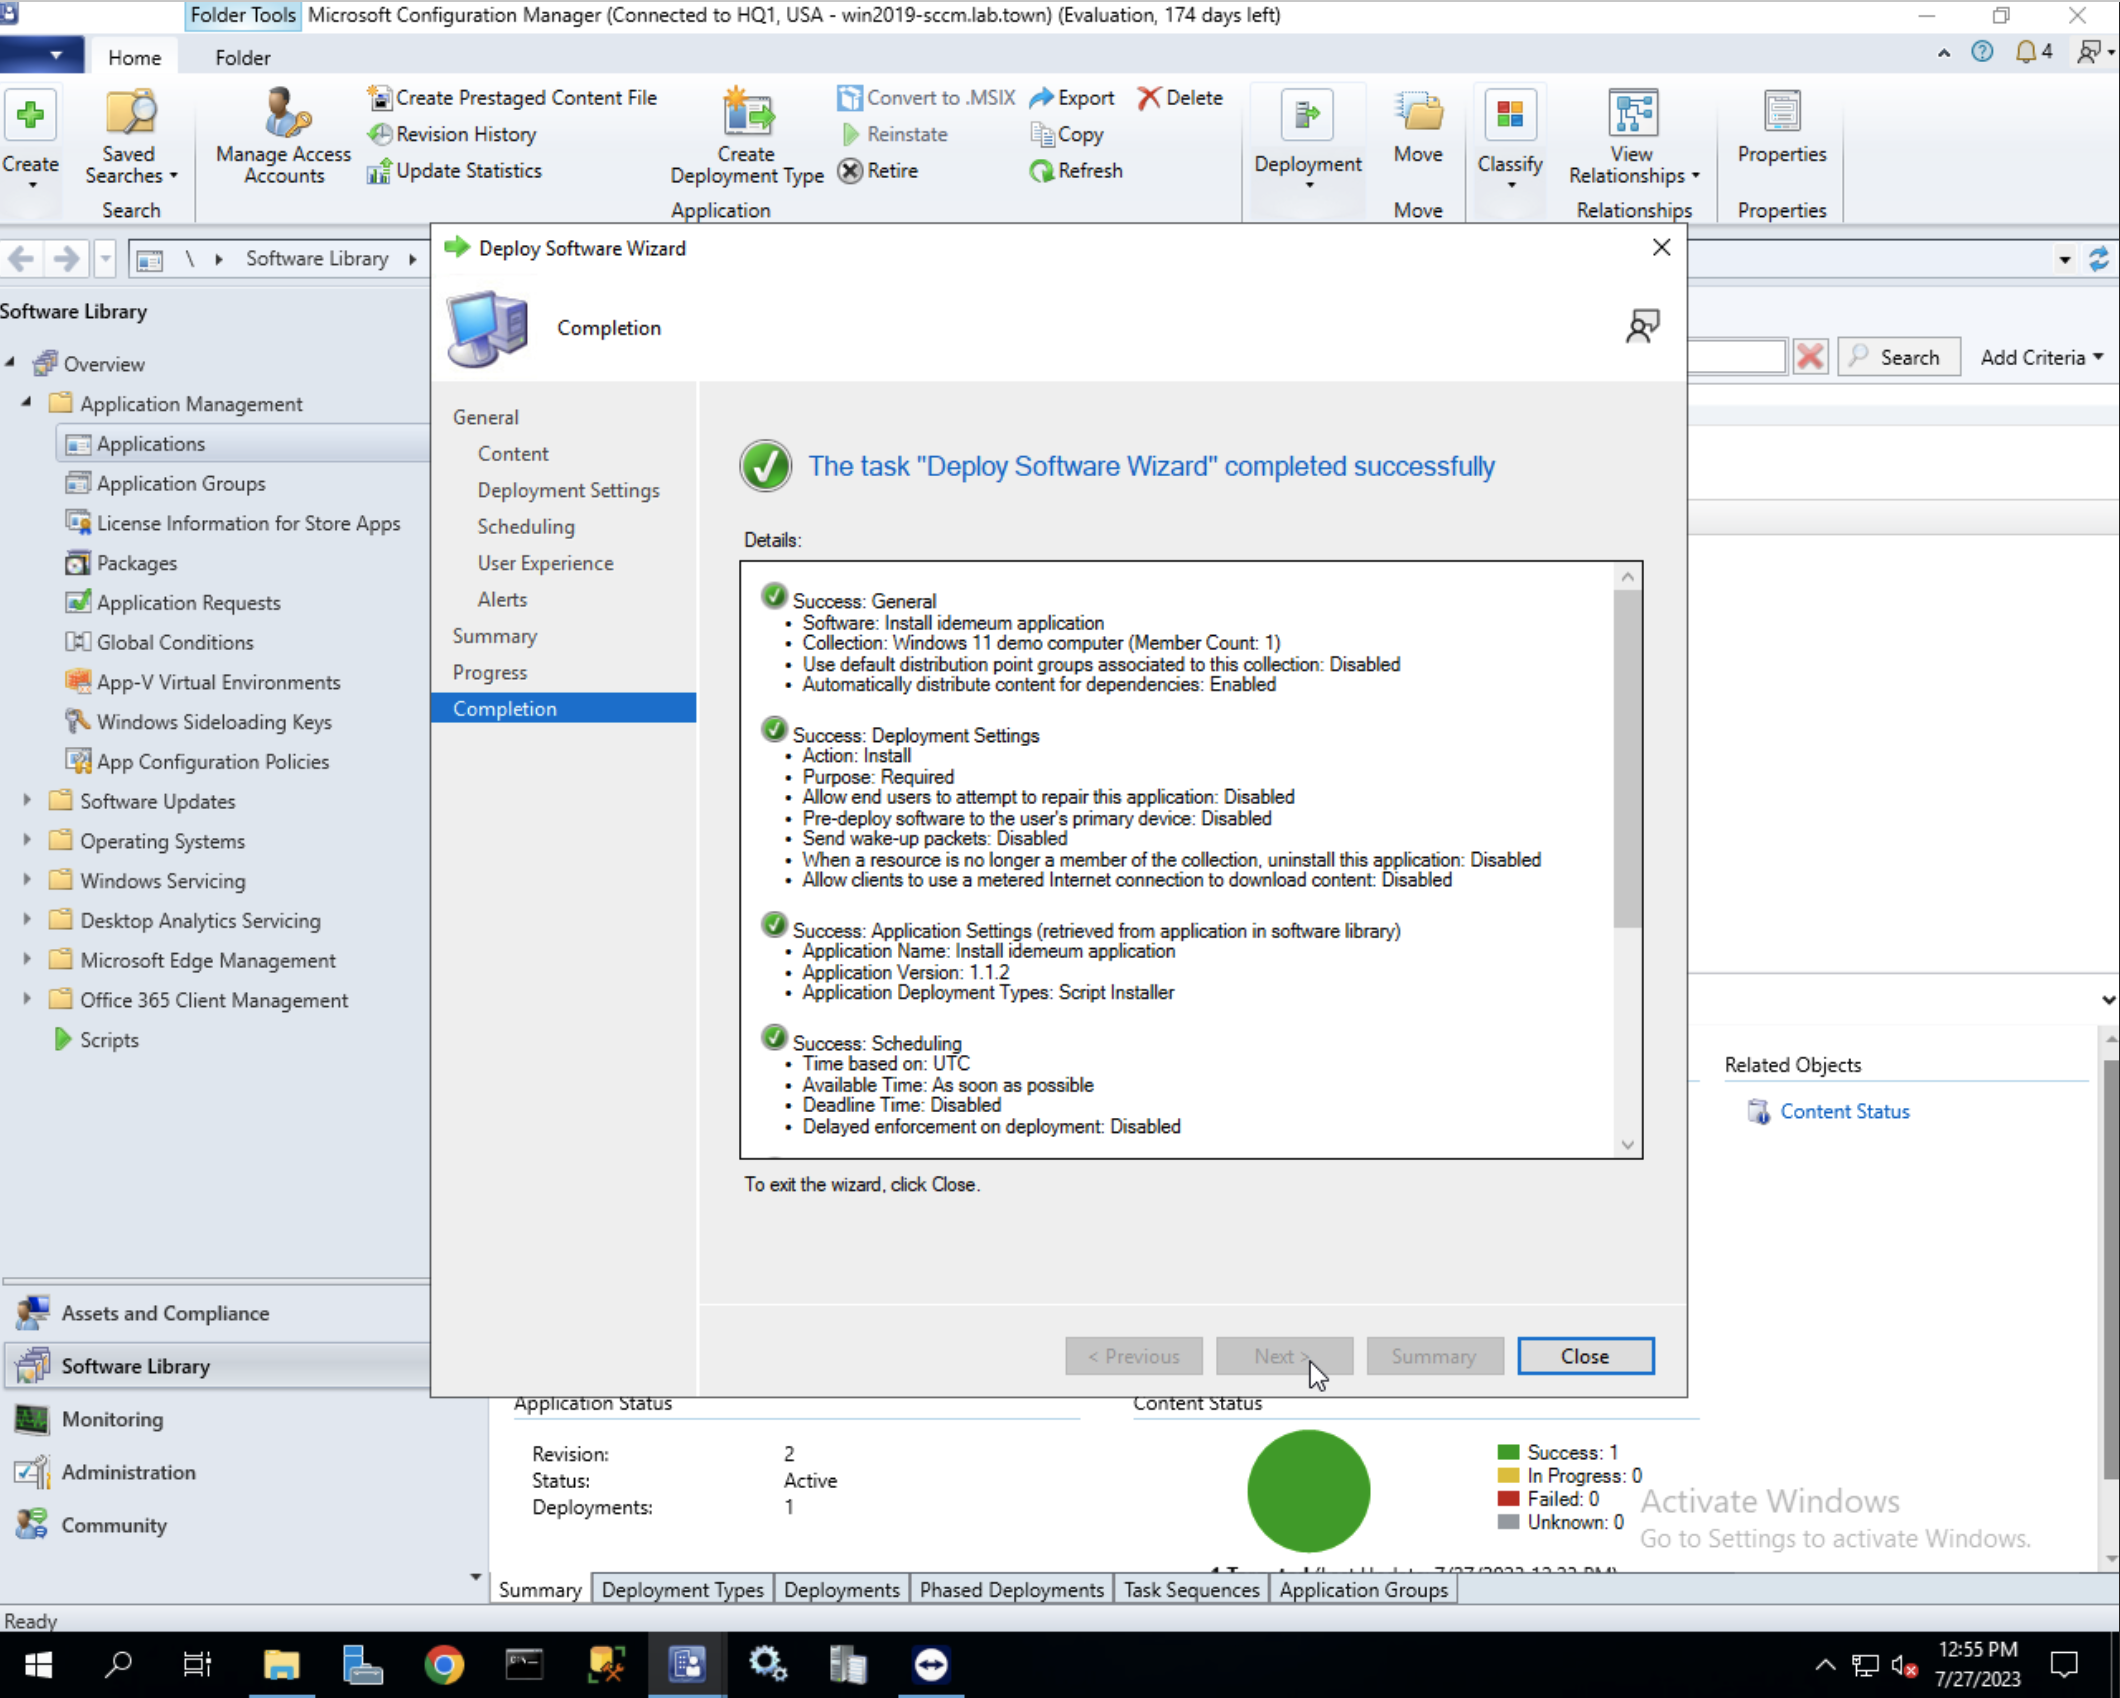
- You can leave all next sections with defaults. Click through the wizard to complete application deployment
Upgrade version install
You can perform desktop client upgrade right from idemeum portal:
- Access idemeum admin portal
- Navigate to
Devices - Choose the device you want to upgrade, click on
...and chooseUpgrade client
Client will be automatically upgraded.
